You are here: Home> Cuisine > Indian Veg Recipes > Maharashtrian recipes > Mumbai Street Food > homemade pav bhaji
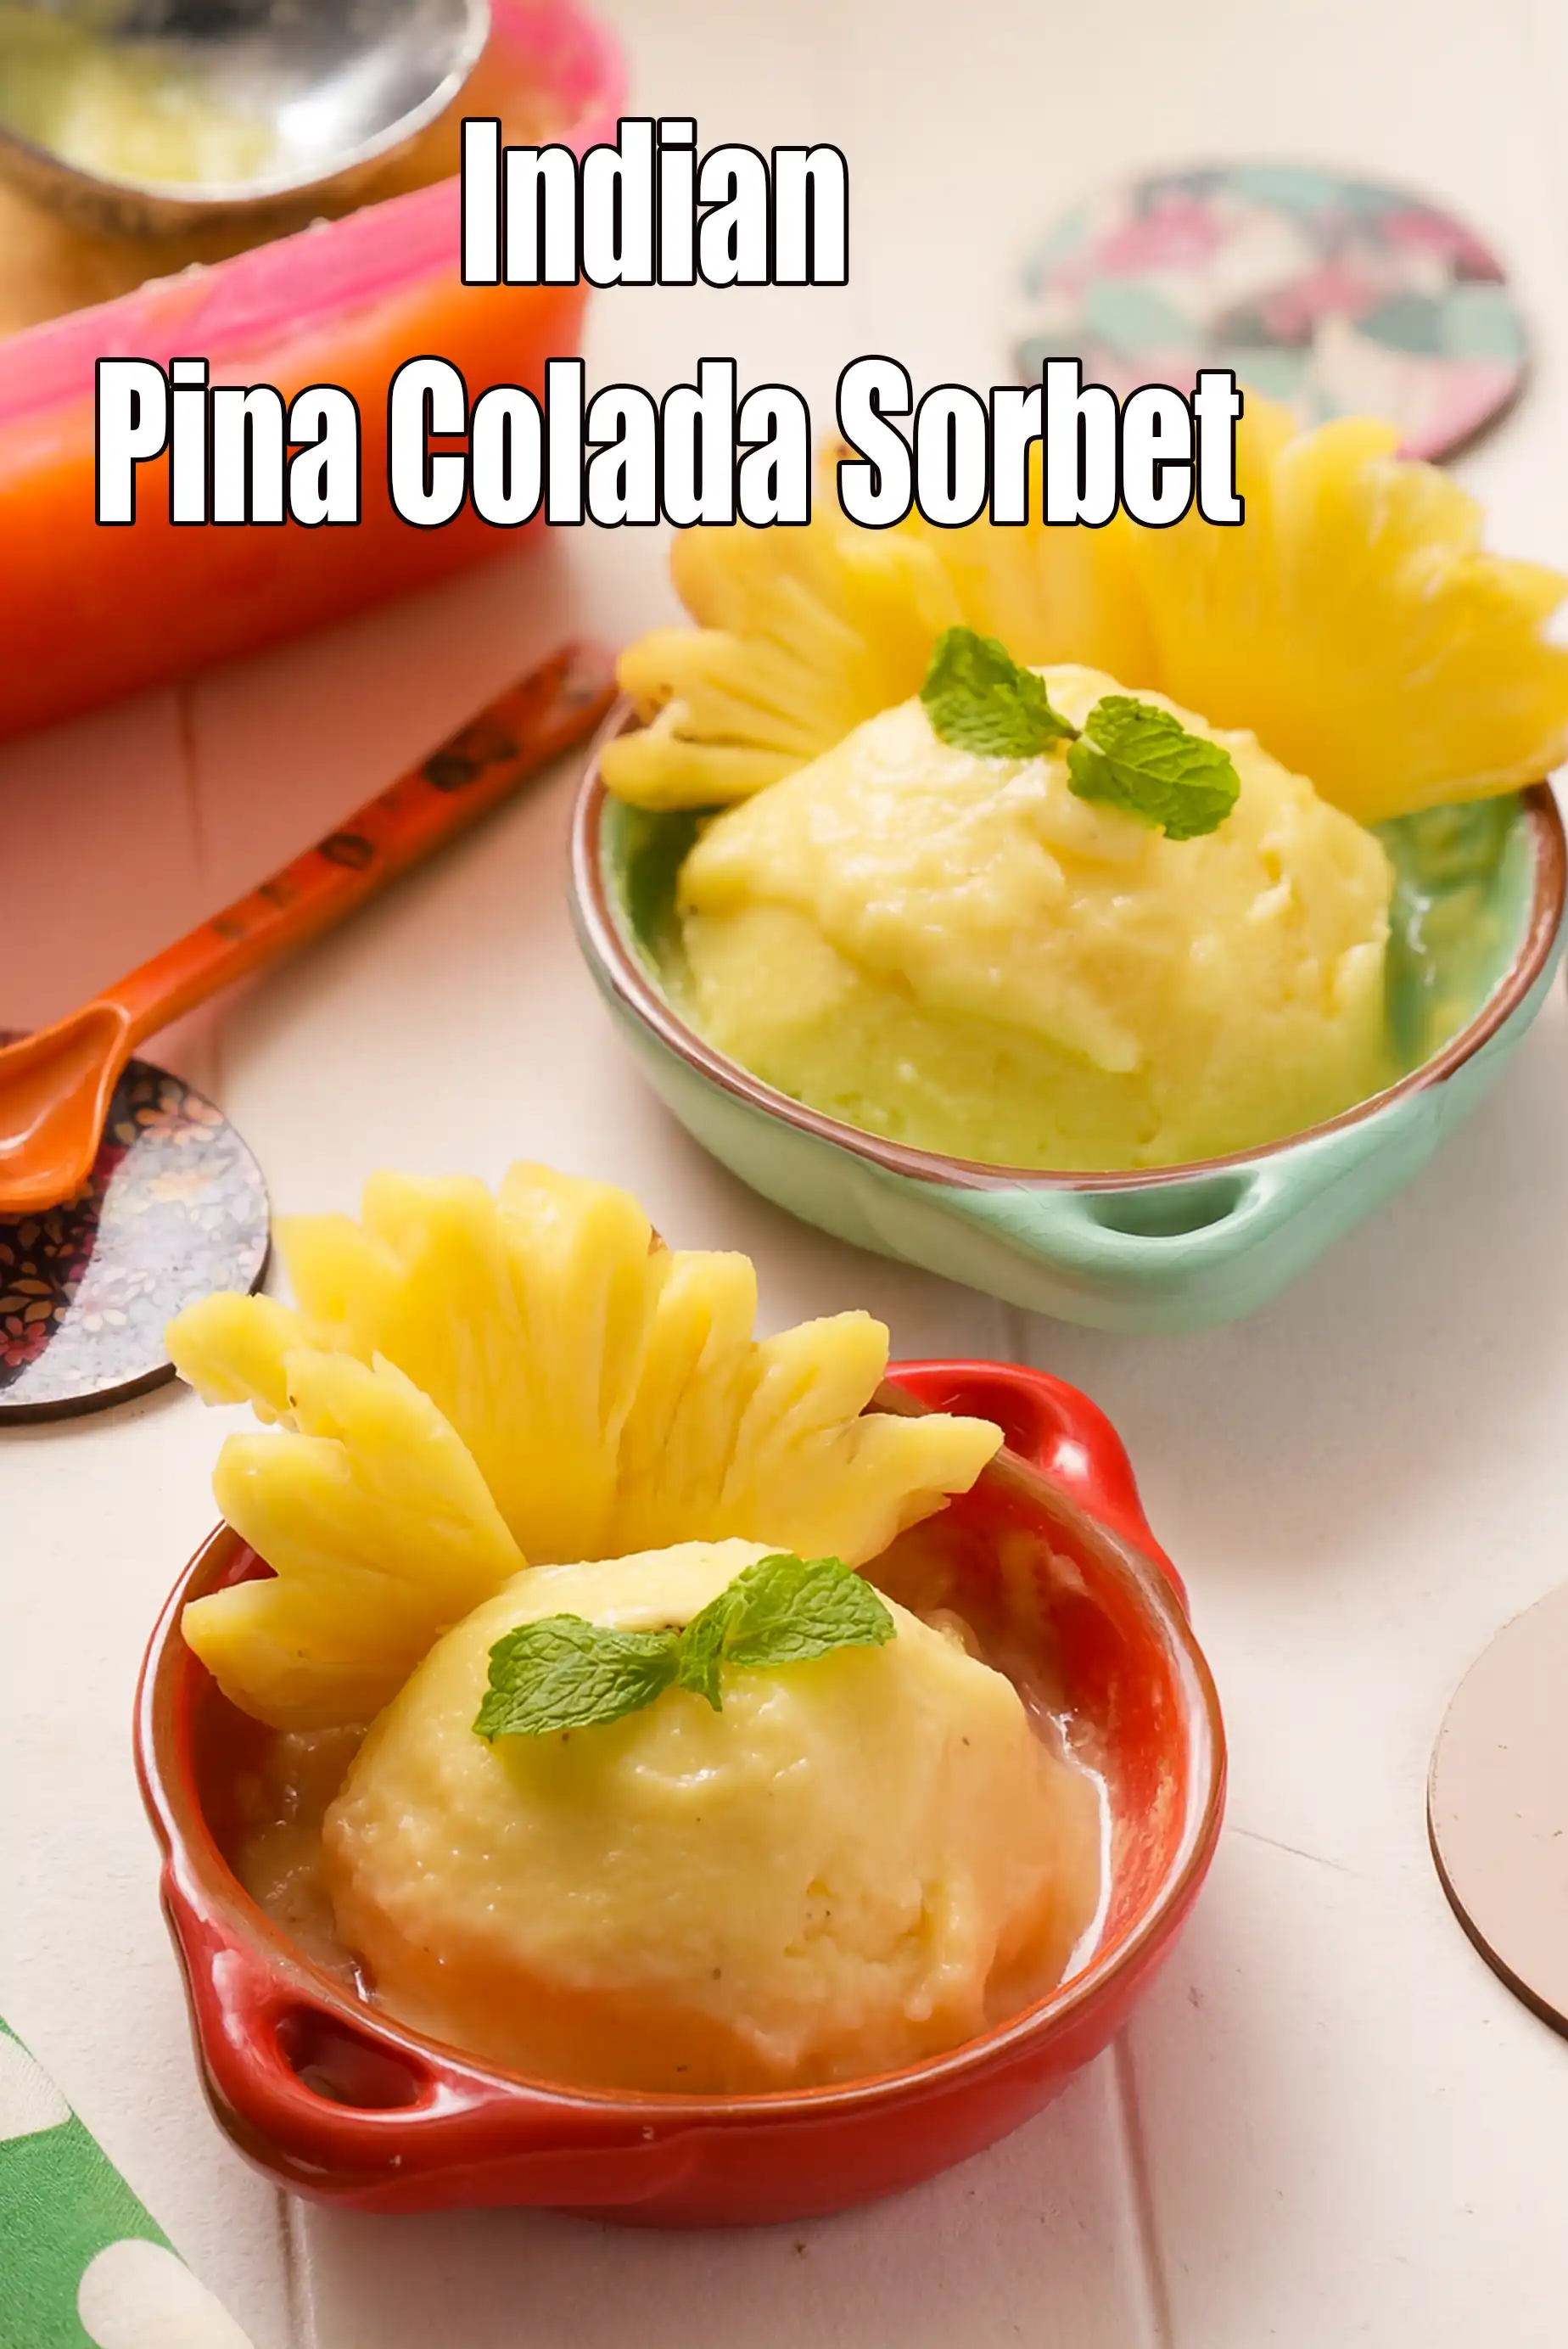
homemade pav bhaji recipe | how to make pav bhaji at home | mumbai pav bhaji made at home |

Tarla Dalal
28 April, 2021
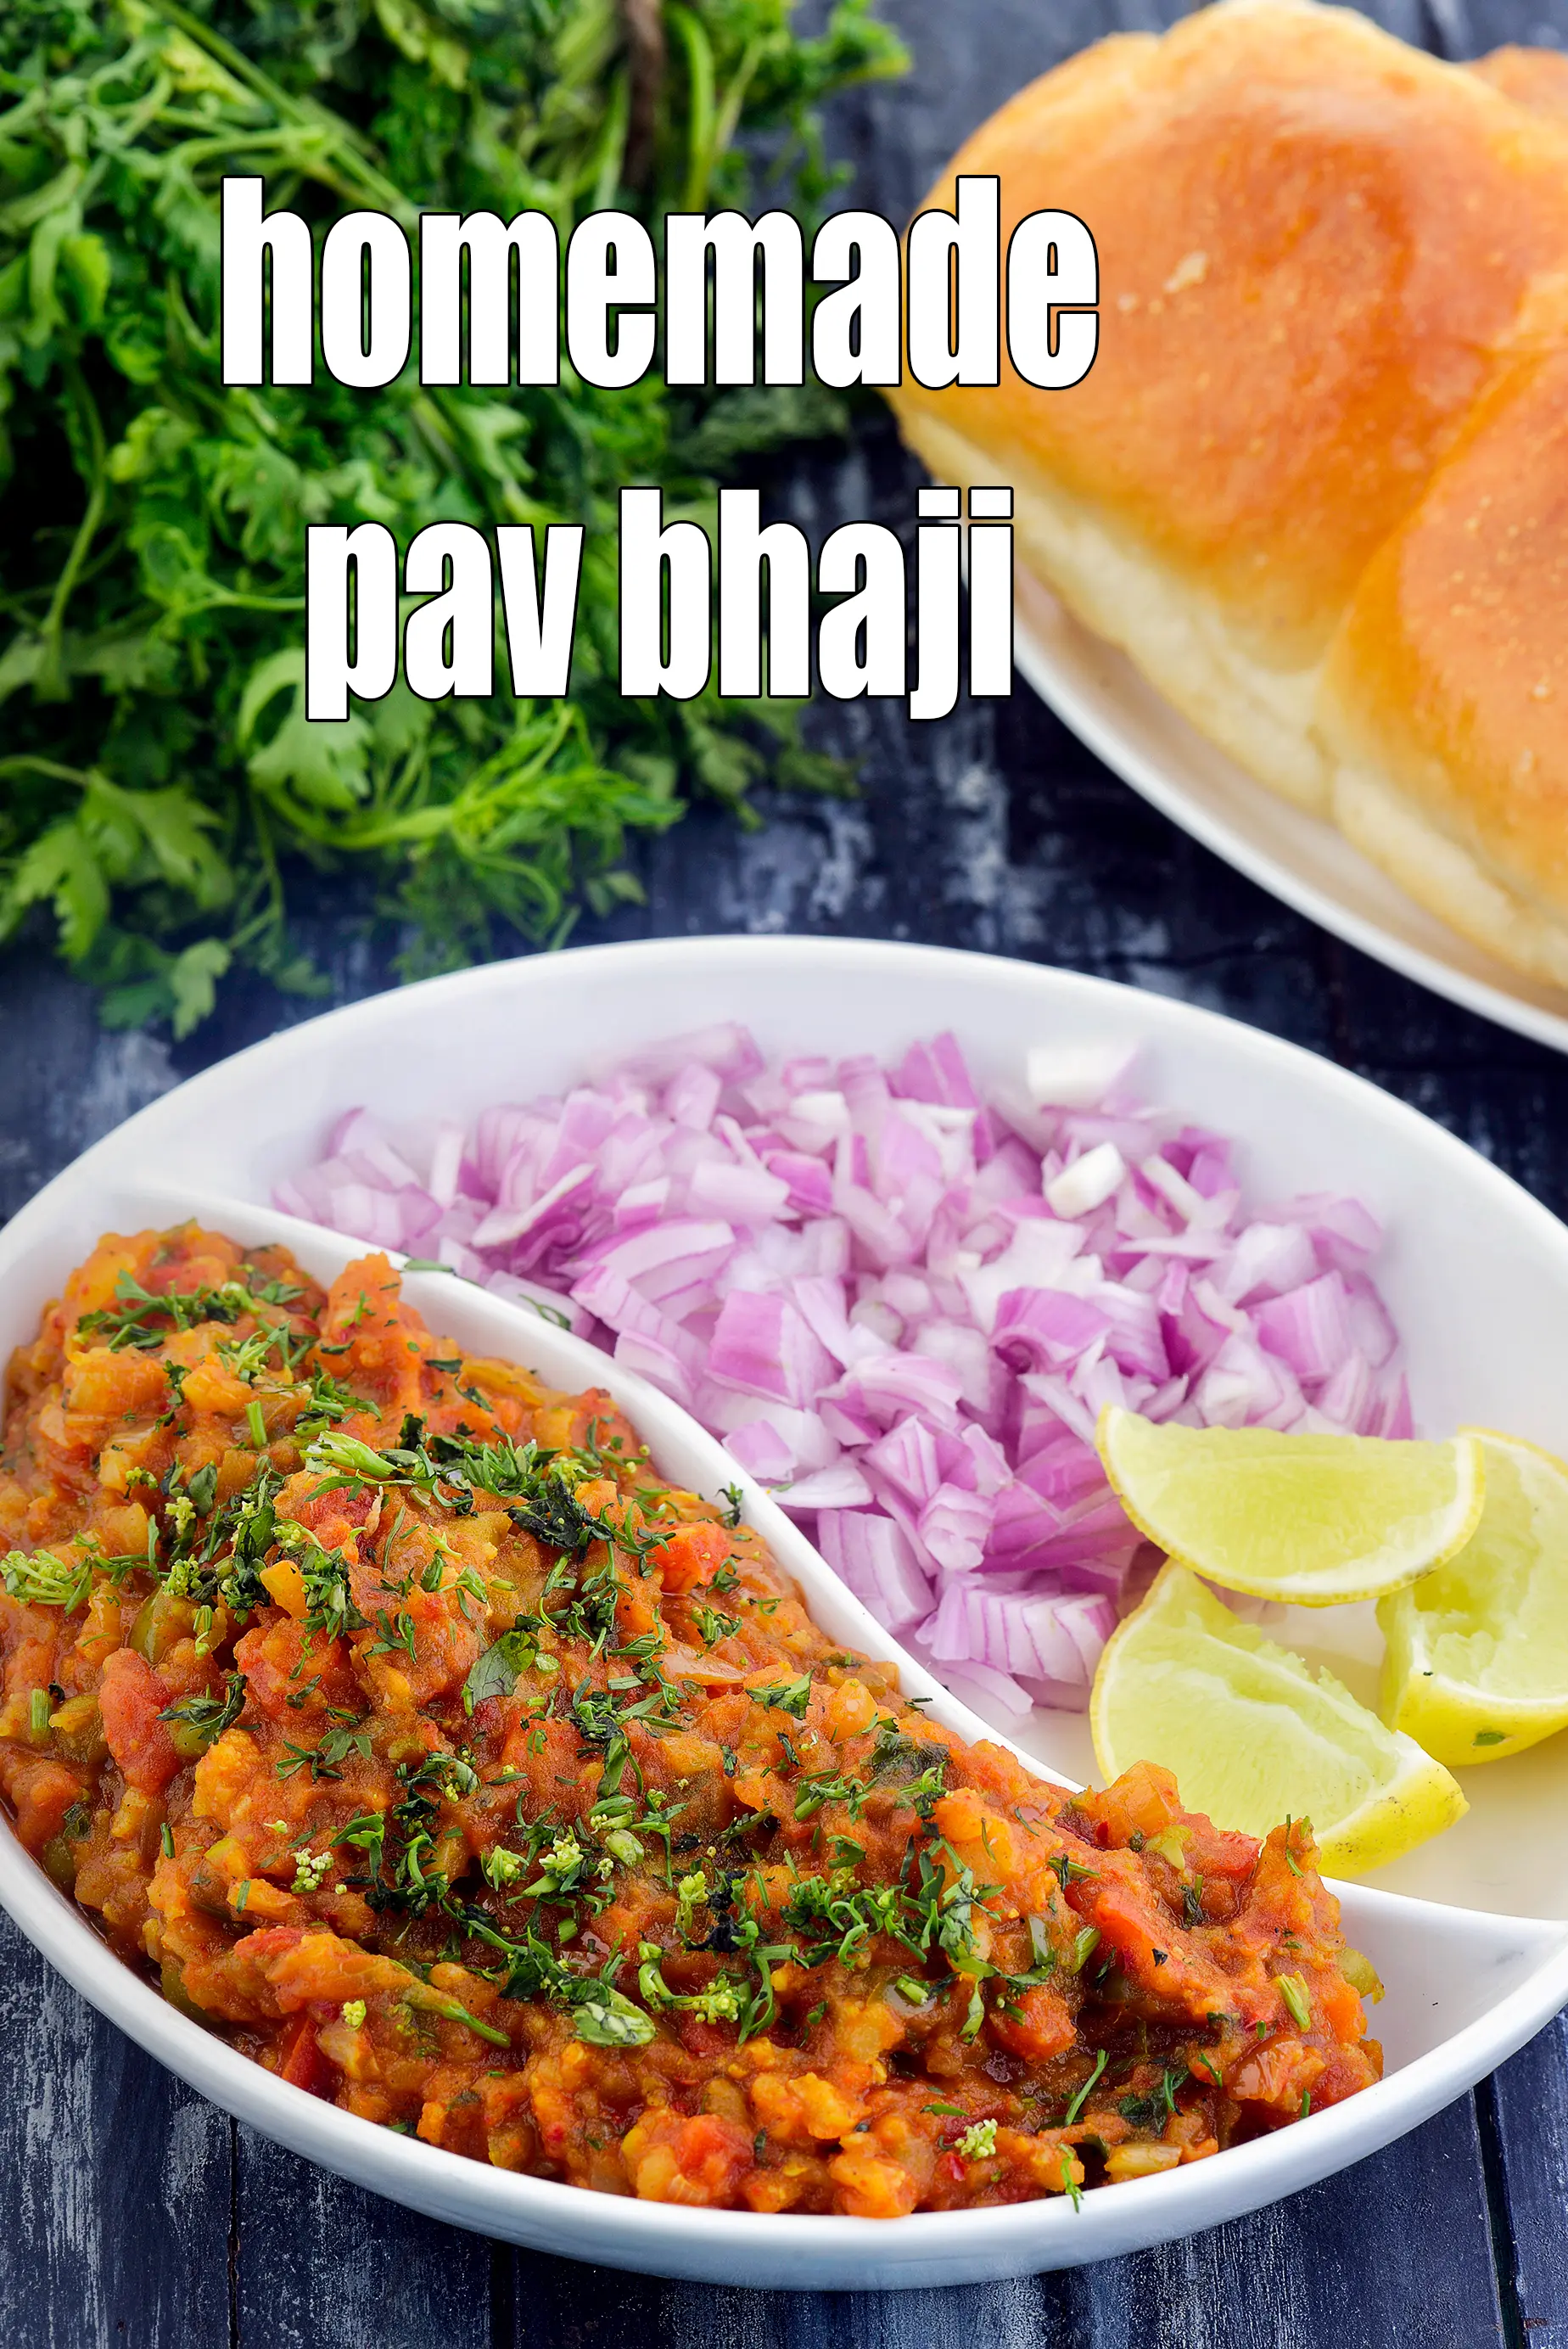
Table of Content
homemade pav bhaji | how to make pav bhaji at home | mumbai pav bhaji made at home | with 25 amazing images.
There is nothing healthier than making your homemade pav bhaji versus opting for pav bhaji from the street. While i do love mumbai roadside pav bhaji, i still think you should make your pav bhaji at home.
In this homemade pav bhaji recipe, we have first pressure cooked the vegetables (cauliflower, green peas and carrots), that go into the pav bhaji. Then in a separate deep non stick pan cooked the chilli garlic paste, sauted the onions, capsicum and tomatoes. Added the kashmiri red chillies, pav bhaji masala and cooked with some water. Finally we add the potatoes and pressure cooked vegetables and cooked the mumbai pav bhaji made at home.
Why make mumbai pav bhaji made at home? 1. Street vendors tend to use inferior quality vegetables which are not even cleaned properly. At home, we have the option to use the best quality of everything. 2. Water used to clean vegetables is not filtered by street vendors. 3. Everything is cooked in the open which leads to all kinds of infestation of the food despite it being hot. 4. The butter used is believed to be half margarine and half butter to cut costs and will lead to heart issues.
We make homemade pav bhaji as a one meal dinner. Traditionally pav bhaji is served with yummy ladi pav which is made of plain flour. We suggest you try and use homemade multigrain bread to have with your homemade pav bhaji.
homemade pav bhaji is truly an innovation that arose out of the necessity of providing a nice hot meal in a hurry and one that tickles the taste buds. When I am lazy to cook on an entire meal for my family, pav bhaji in one of the first few dishes which comes to mind. It is easy to cook and also filling.
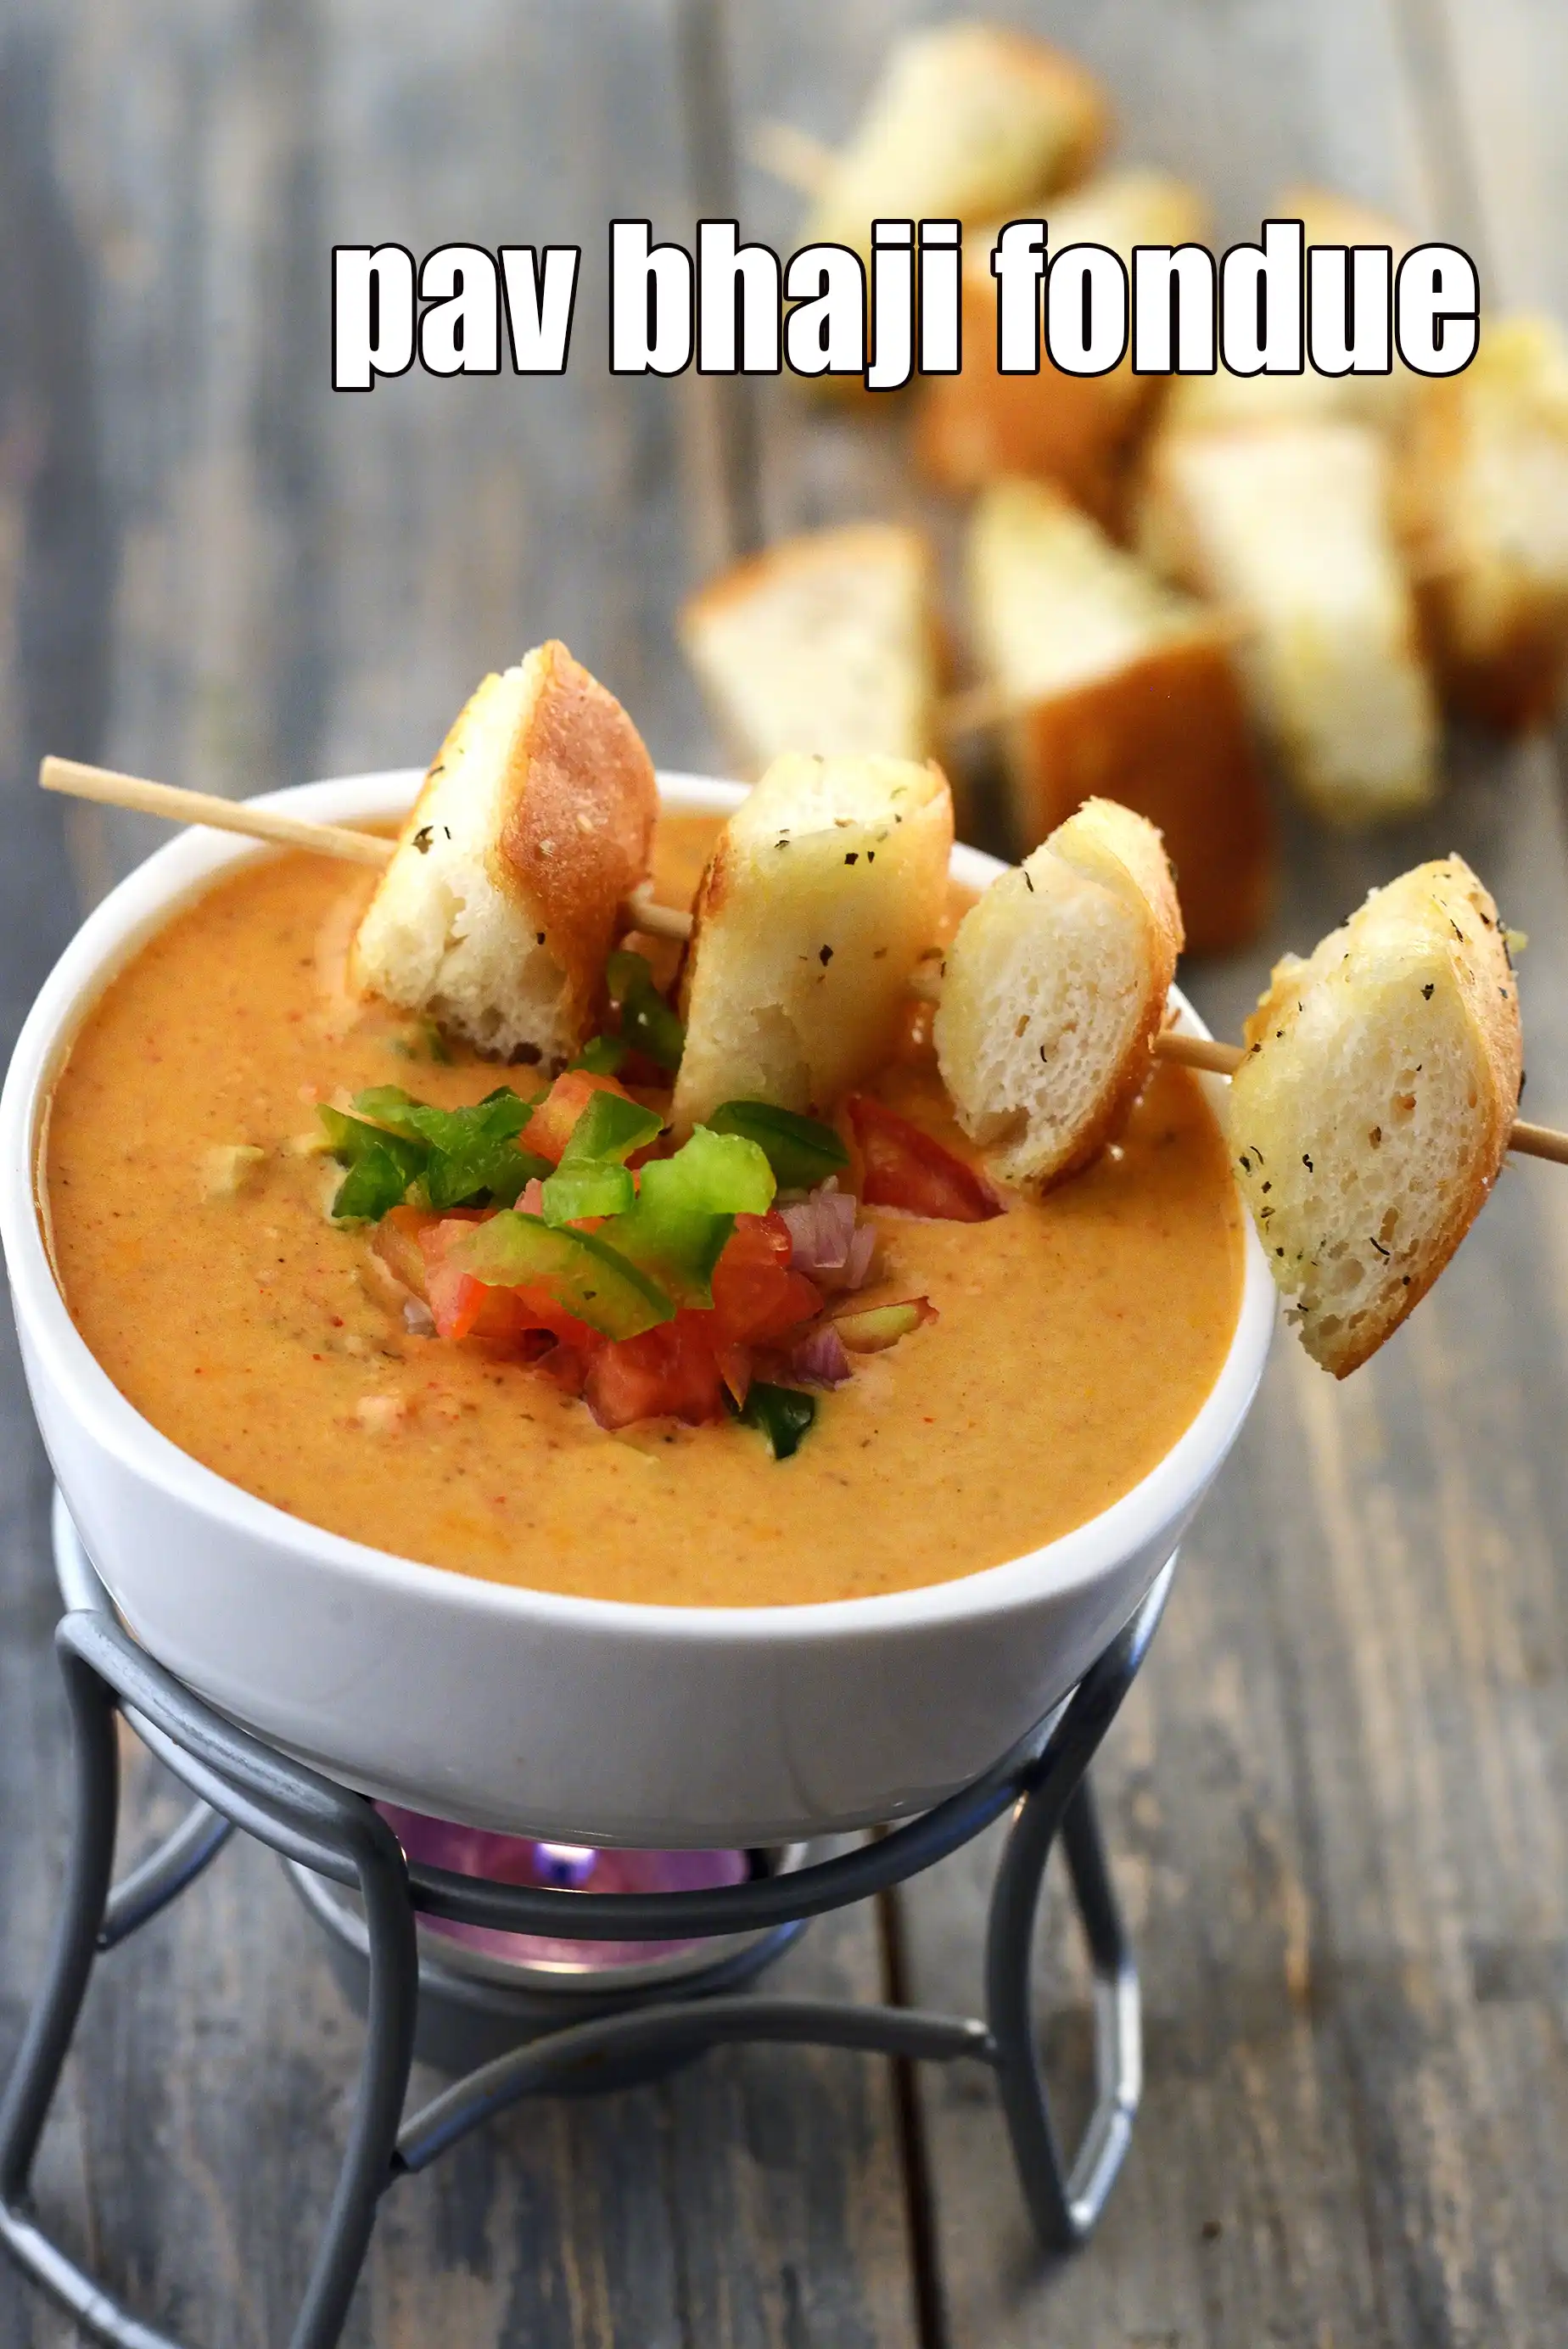
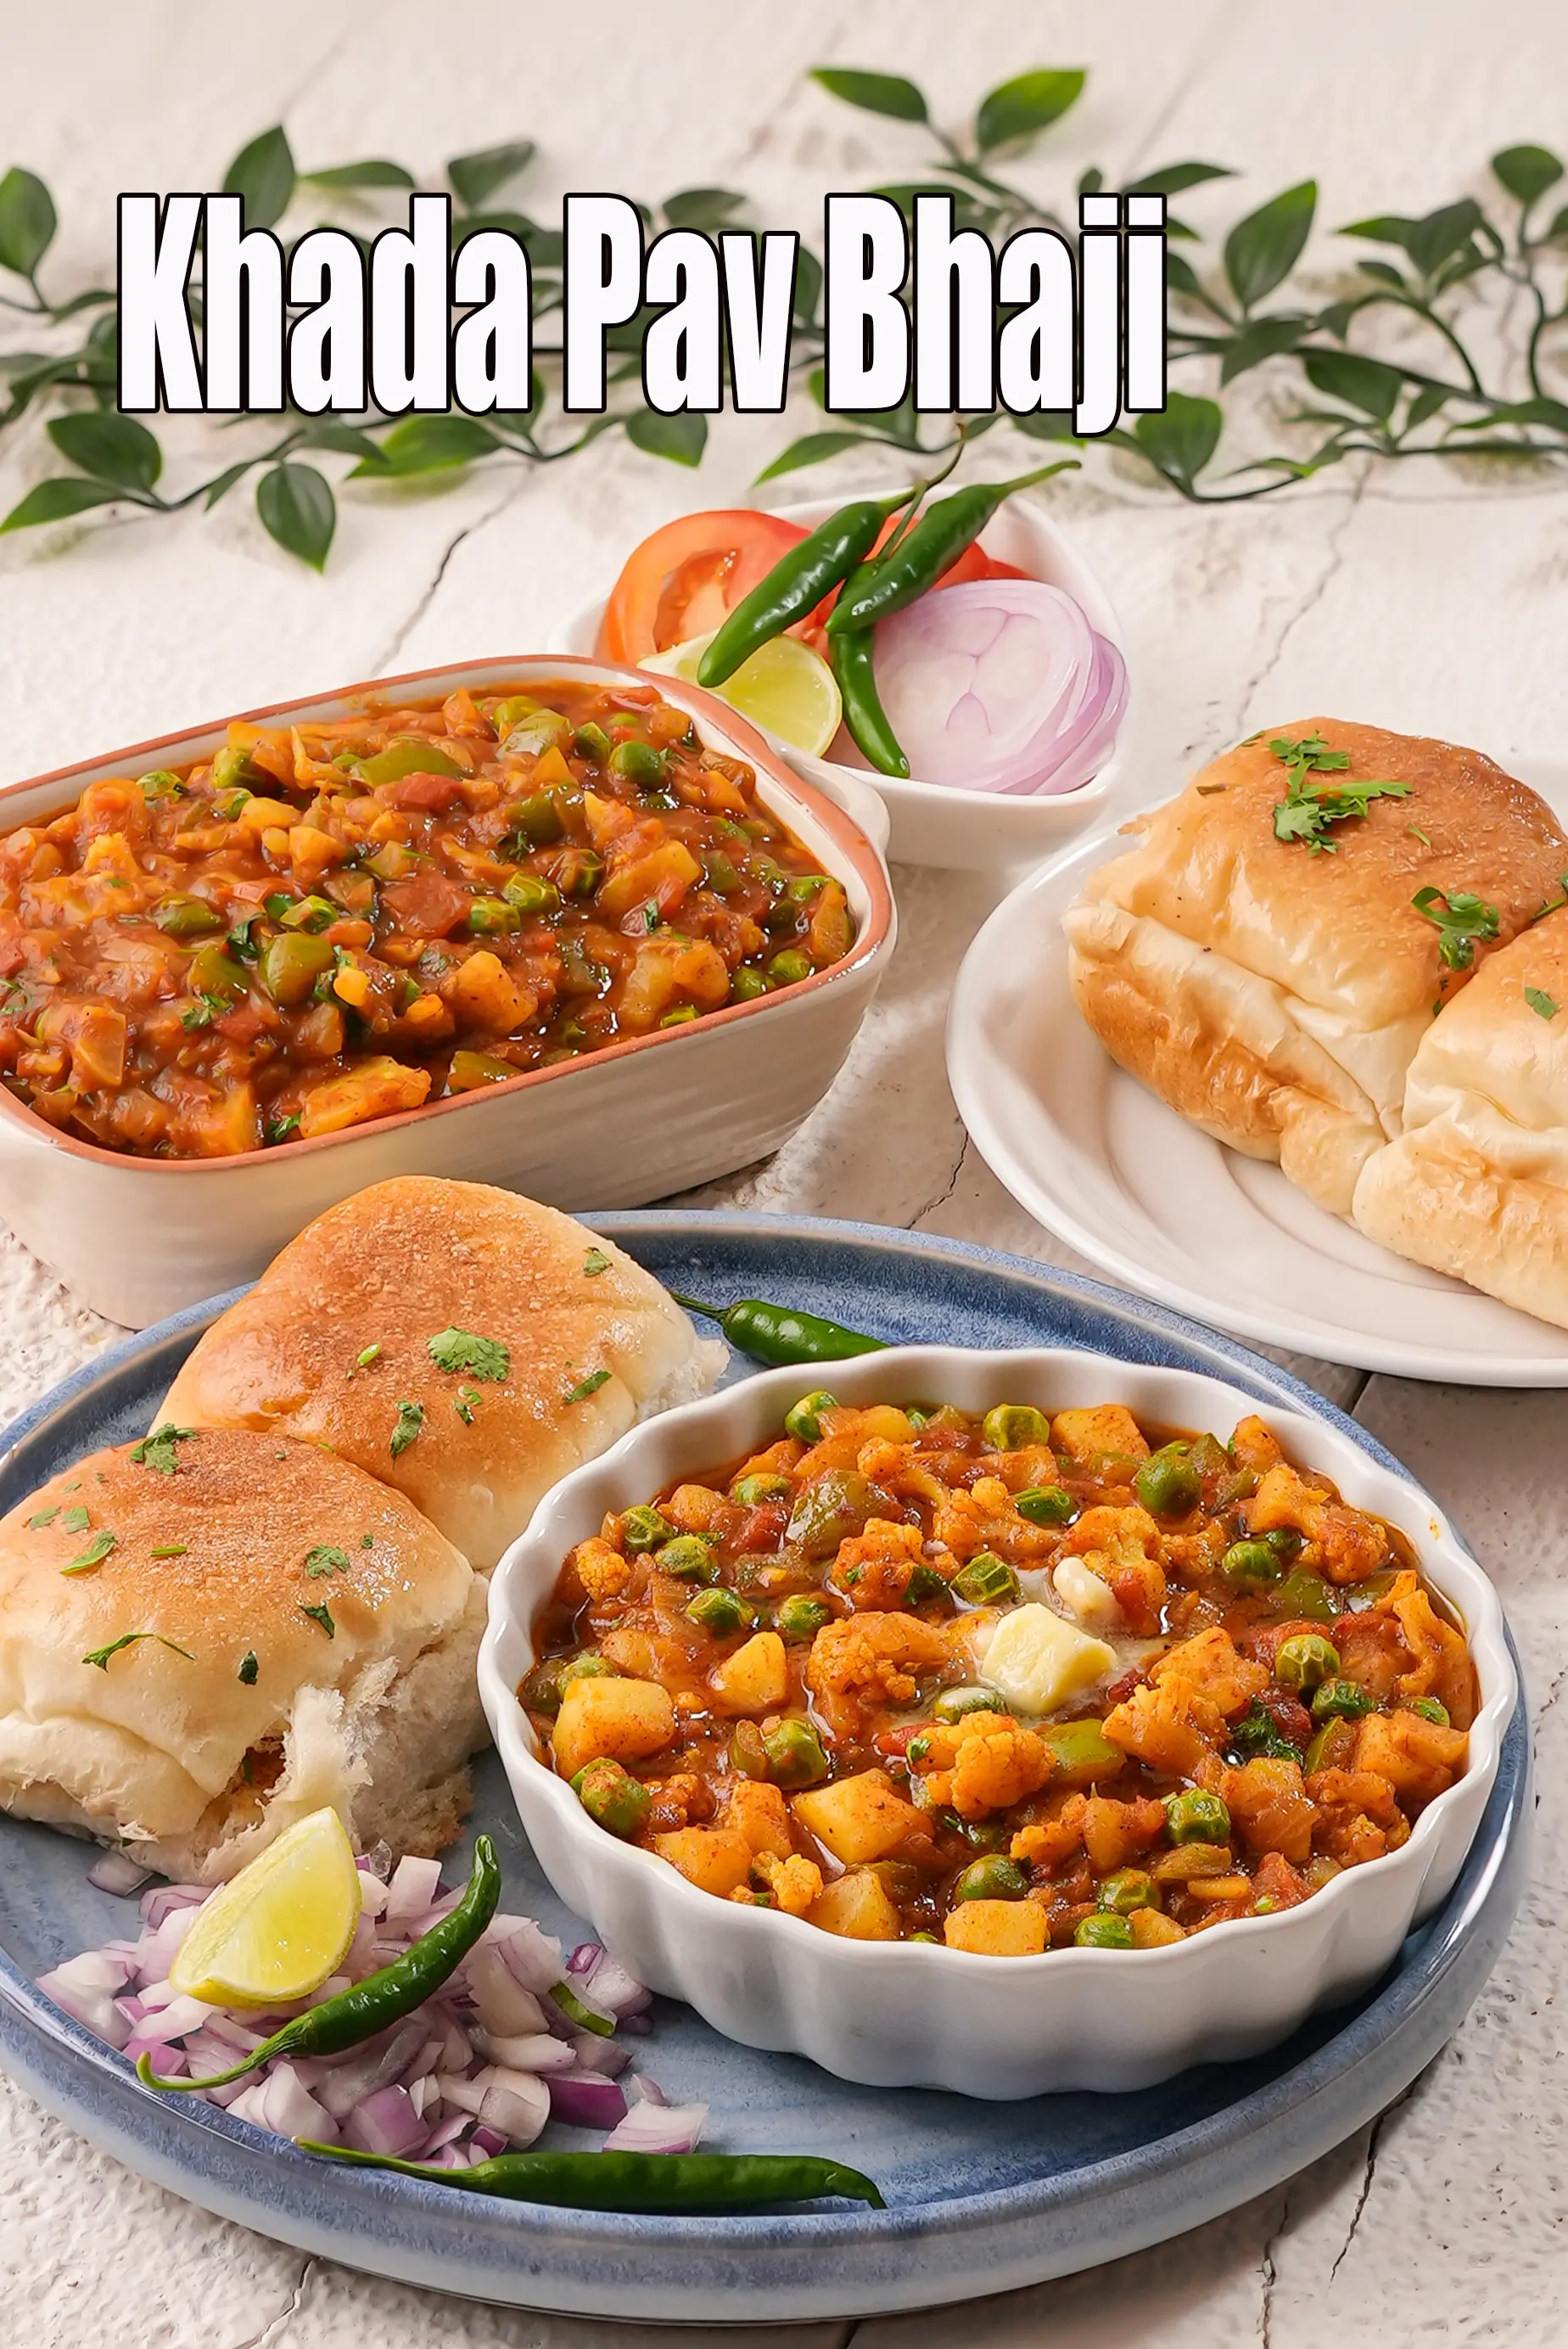
Aside from pav bhaji, we have other variations like jain pav bhaji, khada pav bhaji, pressure cooker pav bhaji and pav bhaji made with doodhi.
Pav Bhaji recipe - How to make Pav Bhaji
Tags
Soaking Time
0
Preparation Time
15 Mins
Cooking Time
30 Mins
Baking Time
0 Mins
Baking Temperature
0
Sprouting Time
0
Total Time
45 Mins
Makes
5 servings
Ingredients
For The Pav
For The Bhaji
1 cup chopped cauliflower
1/2 cup green peas
1/2 cup chopped carrot
2 tbsp butter
1 cup finely chopped onion
1/2 cup finely chopped capsicum
2 tbsp red chilli garlic paste
1 cup chopped tomato
1 1/2 tsp chilli powder
1 1/2 tbsp pav bhaji masala
1/4 tsp turmeric powder (haldi)
1 1/2 cups boiled and boiled and mashed potatoes
salt to taste
2 tsp lemon juice
1/4 cup finely chopped coriander (dhania)
For Serving With Pav Bhaji
1/2 cup finely chopped onion
Method
For the bhaji
- Combine the cauliflower, green peas, carrot and 1 cup of water in a pressure cooker and pressure cook for 2 whistles.
- Allow the steam to escape before opening the lid. Keep aside.
- Heat the butter in a deep non-stick pan, add the onions and sauté on a medium flame for 2 minutes.
- Add the capsicum and chilli-garlic paste and sauté on a medium flame for 2 minutes.
- Add the tomatoes, chilli powder, turmeric powder and ¼ cup of water, mix well and cook on a medium flame for 3 minutes, while stirring occasionally.
- Add the potatoes, cauliflower mixture along with the water and salt, mix well and cook on a medium flame for 4 minutes, while stirring occasionally and mashing it.
- Add the lemon juice and coriander and mix well. Keep aside.
For the pav
- Slit 2 pavs vertically and keep aside.
- Heat a non-stick tava (griddle), add 1 tbsp of butter and slit open the pavs and place on it.
- Cook on a medium flame till they turn light brown and crisp on both the sides.
- Repeat steps 1 to 3 to cook more pavs. Keep aside.
How to proceed to serve pav bhaji
- Serve the bhaji hot with pavs, onions and lemon wedges.
homemade pav bhaji | how to make pav bhaji at home | mumbai pav bhaji made at home Video by Tarla Dalal
Pav Bhaji recipe with step by step photos
-
-
To make Pav Bhaji a complete meal, here are some recipe suggestions that go well with it :
-
To try something new, checkout our Pav bhaji recipe collection to explore variations like :
-
-
-
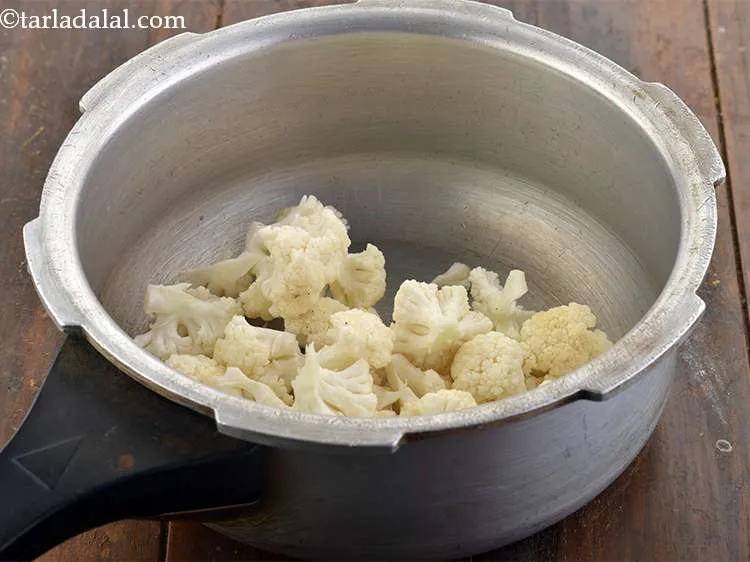
For the Bhaji to make Pav Bhaji, take a pressure cooker and add the cauliflower florets.
![]()
-
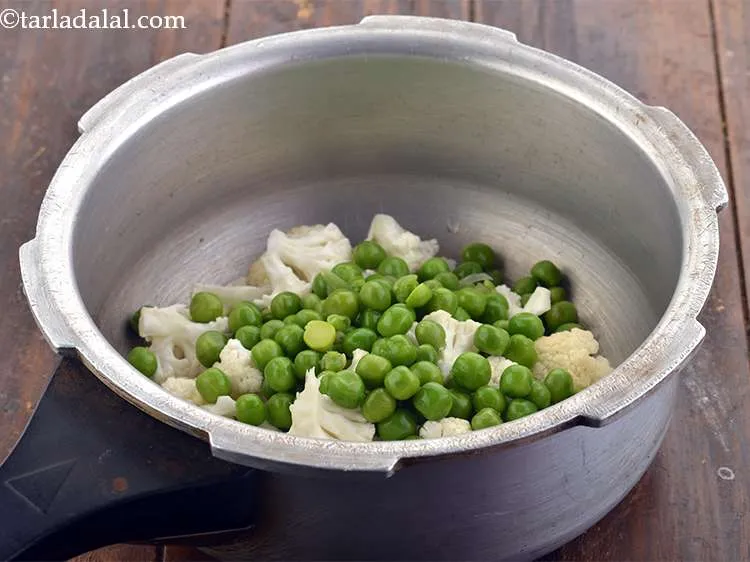
Add the green peas.
![]()
-
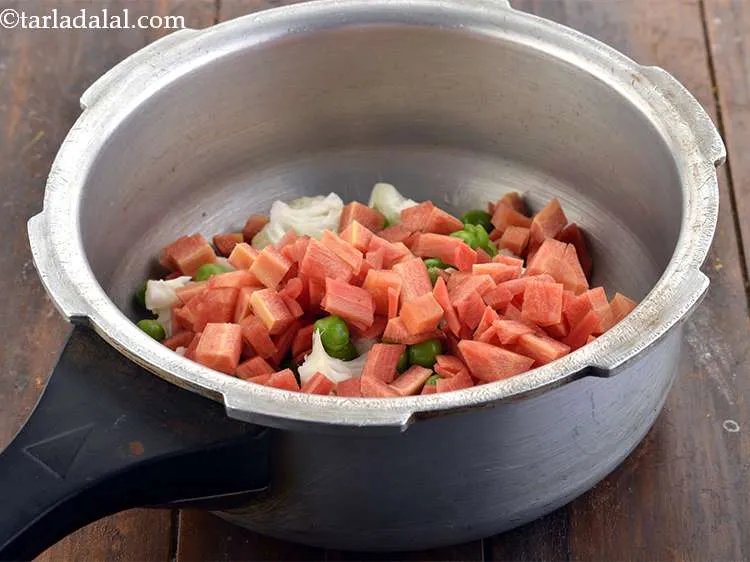
Furthermore, add the carrot.
![]()
-
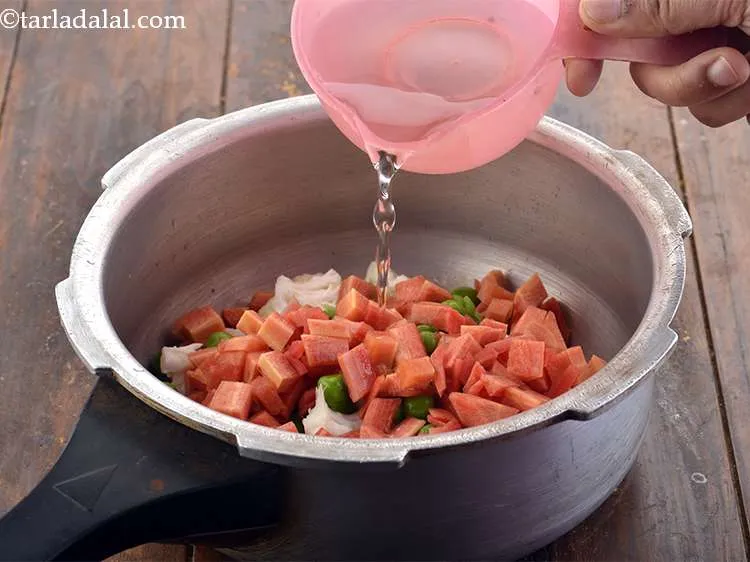
Finally, add 1 cup of water in the pressure cooker.
![]()
-
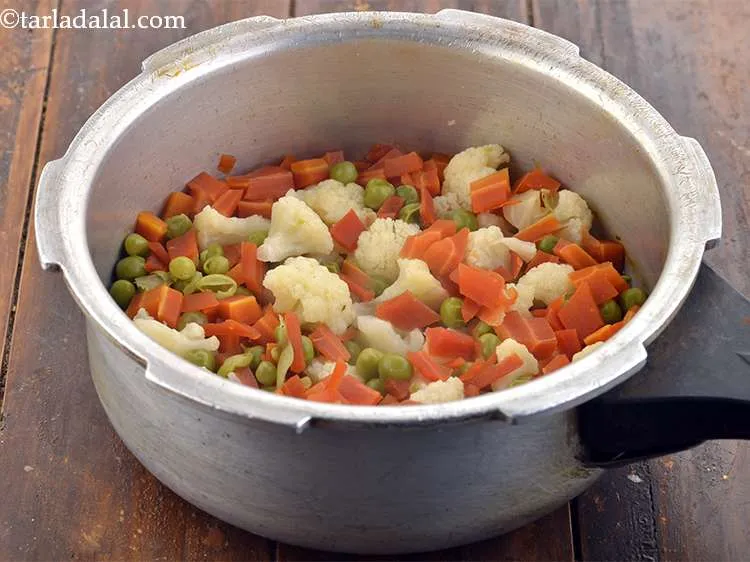
Close the lid and pressure cook for 2 whistles. Allow the steam to escape before opening the lid. The vegetables have cooked completely. There is no need to drain them.
![]()
-
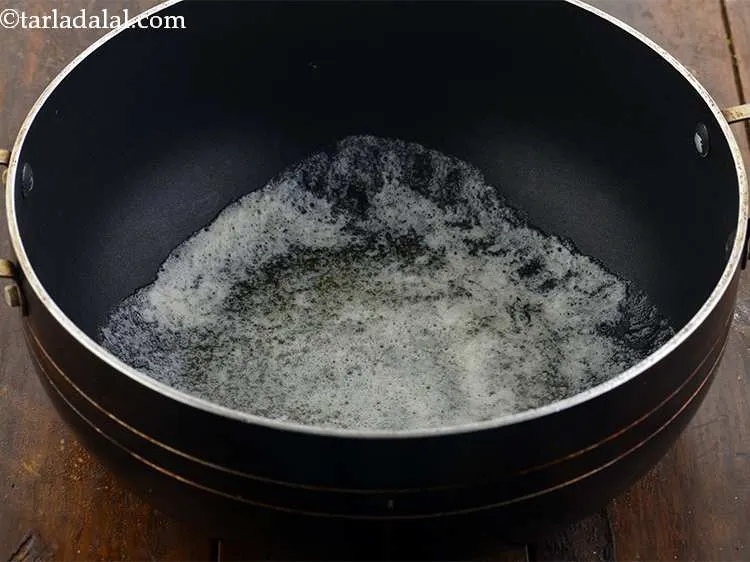
Take a deep non-stick pan or kadhai and heat it over a medium flame. Add butter and oil. Adding a little oil along with your butter will prevent it from getting burnt.
![]()
-
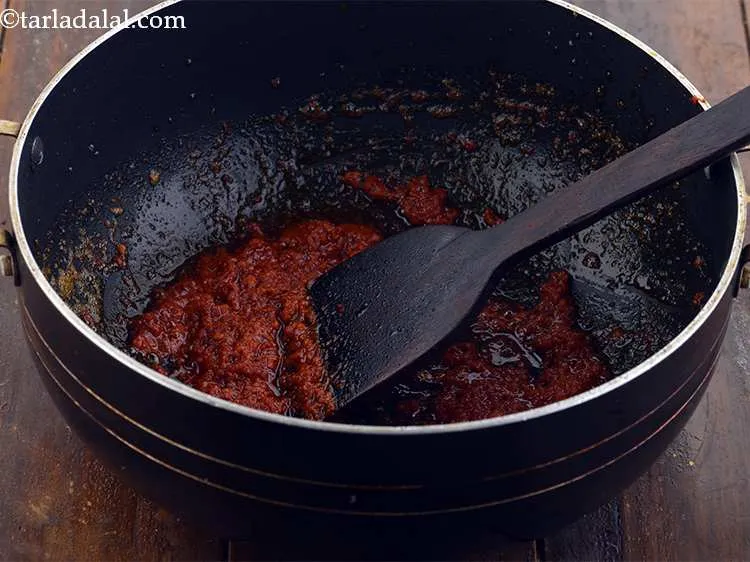
Add the chilli-garlic paste and sauté on a medium flame for 1 to 2 minutes. Here is a recipe with detailed step by step photos to make homemade chilli garlic paste.
![]()
-
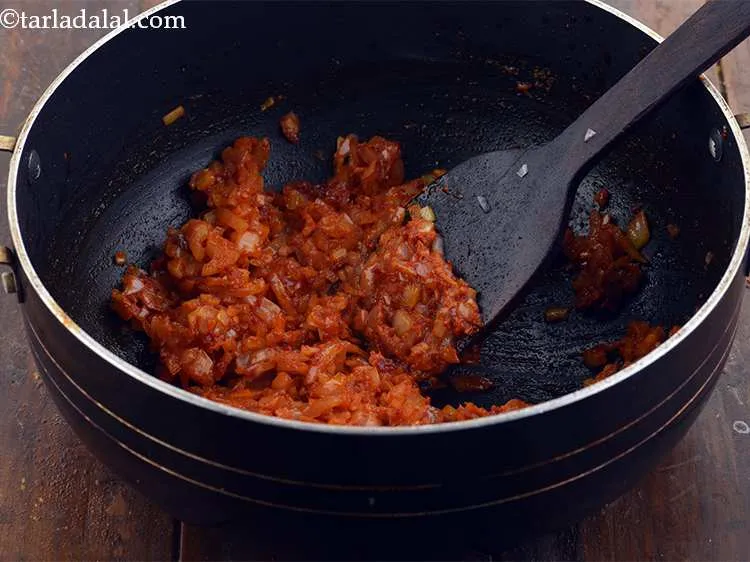
Add the onions and sauté for 3 to 4 minutes, while stirring occasionally till the onions become translucent.
![]()
-
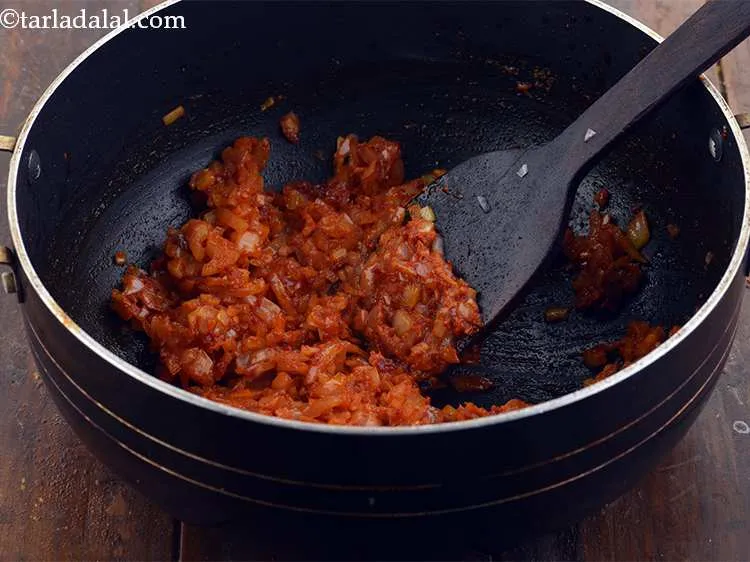
Now add the capsicum and sauté for 1 more minute.
![]()
-
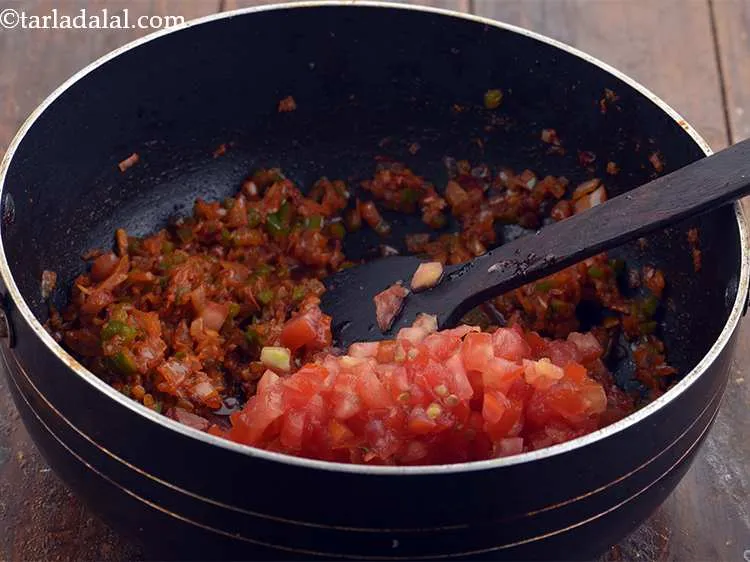
Add the tomatoes into the pan.
![]()
-
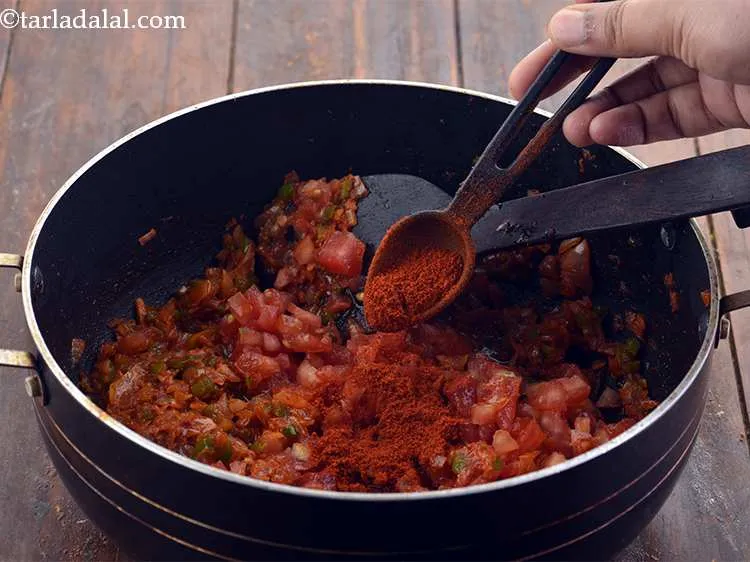
Add the chilli powder. To give it a vibrant colour, you can also add Kahsmiri red chilli powder if you like.
![]()
-
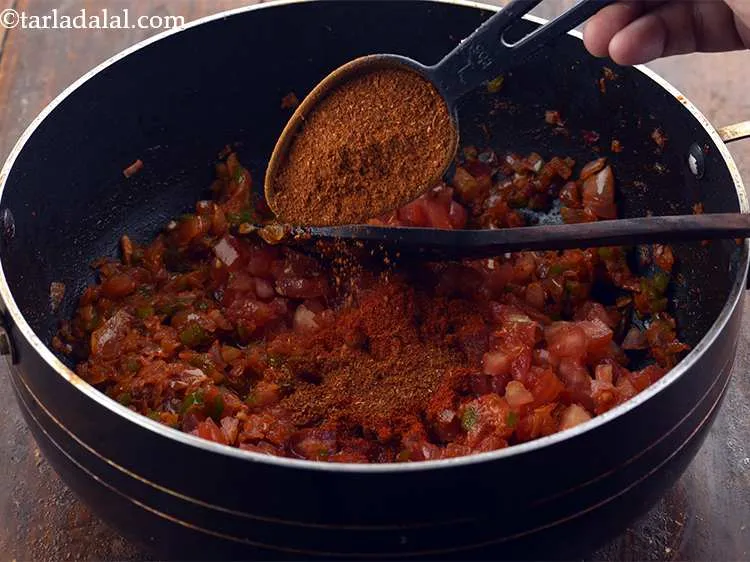
Add the pav bhaji masala. While it is readily available in the amrket, here is a detailed recipe to make homemade pav bhaji masala.
![]()
-
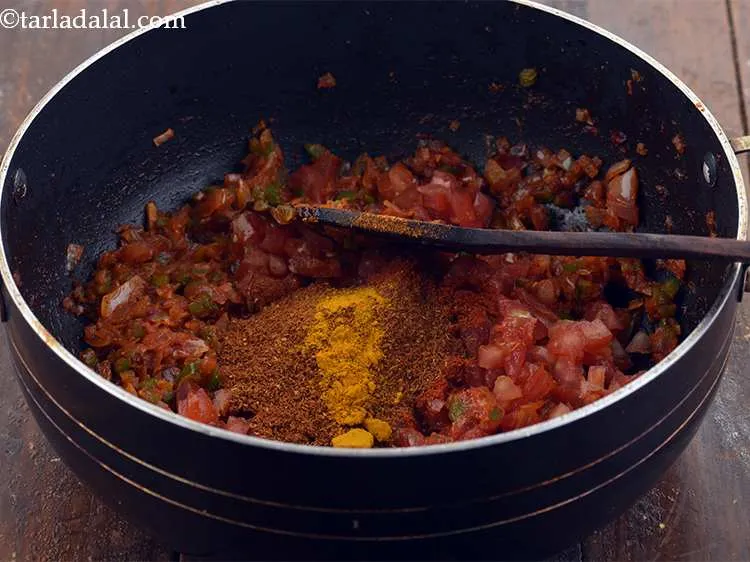
Add the turmeric powder and salt to taste. Turmeric powder is totally optional. You can skip if you dislike it.
![]()
-
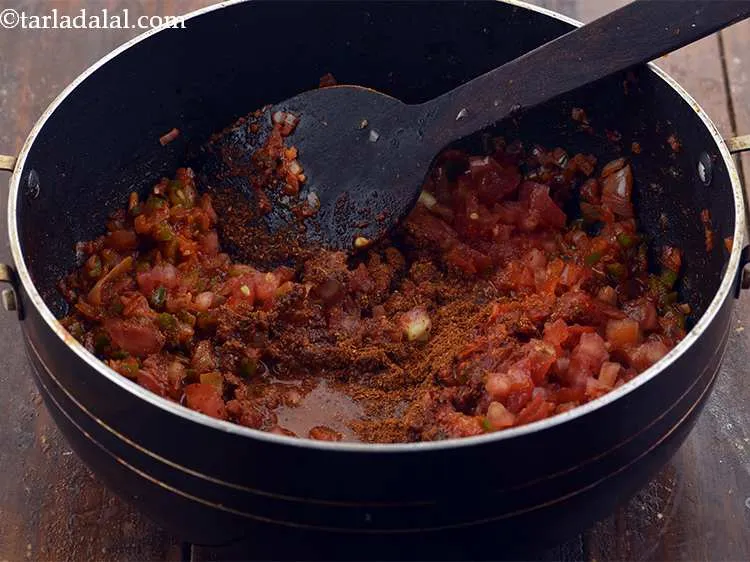
Add ¼ cup of water.
![]()
-
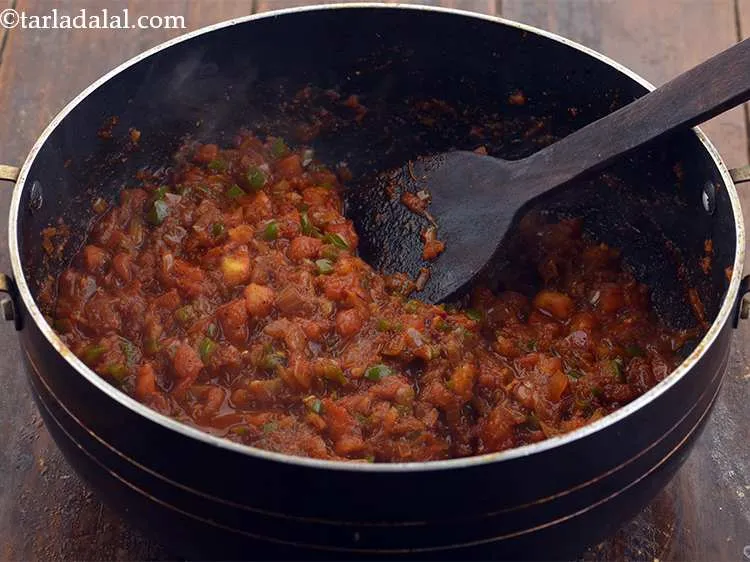
Mix well and cook for another 2 minutes till the masalas release their flavour.
![]()
-
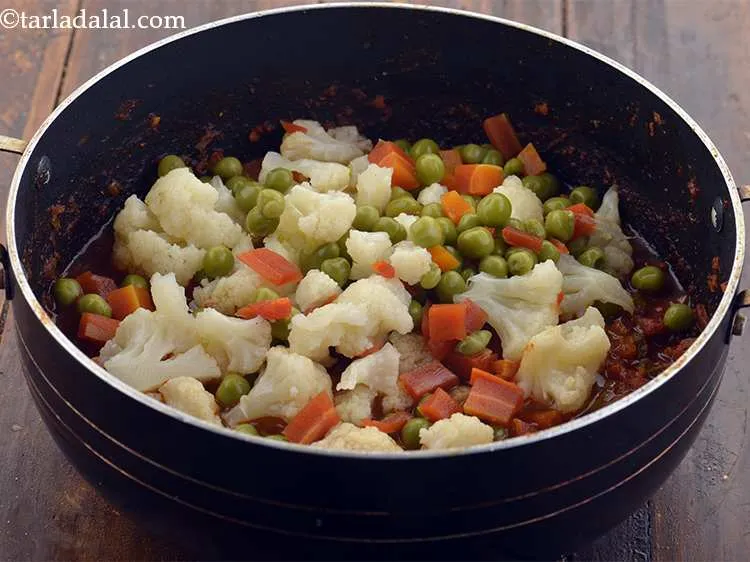
Add the potatoes and boiled vegetable mixture along with the water.
![]()
-
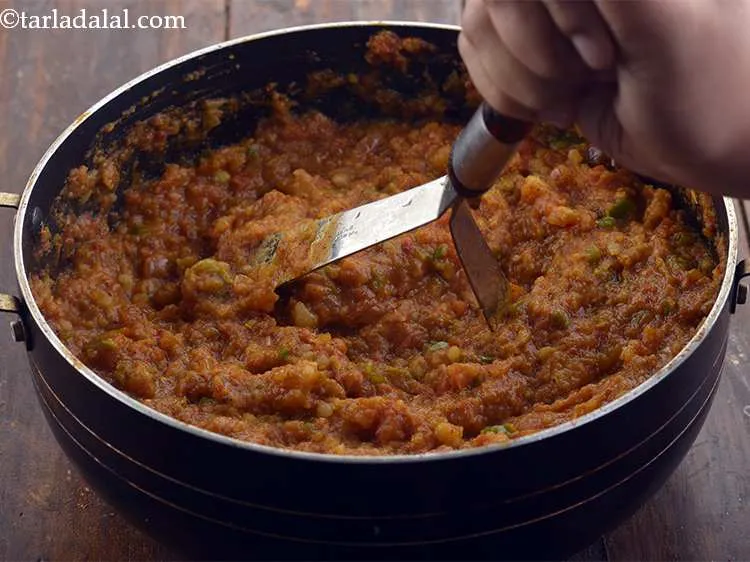
Mash the contents with the help of a potato masher so that the tomatoes release their juices. Also, this helps to get a bhaji consistency so that there are no big chunks left.
![]()
-
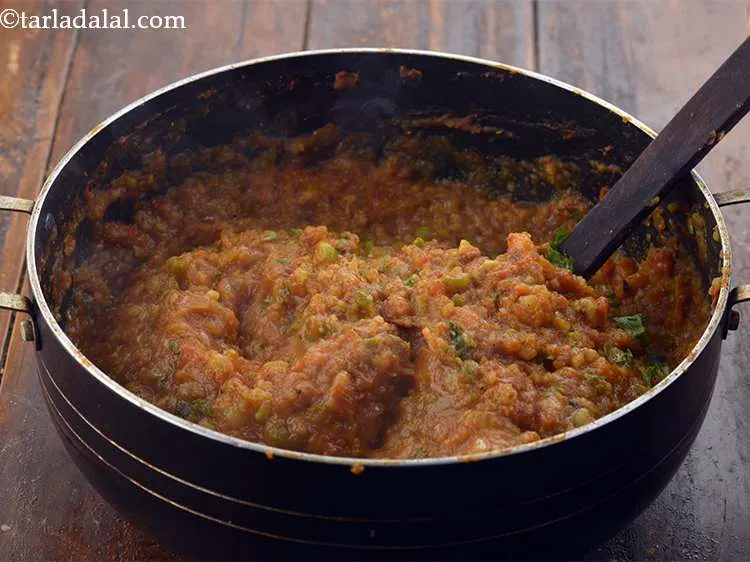
Cook on a medium flame for 4 minutes, while stirring occasionally.
![]()
-
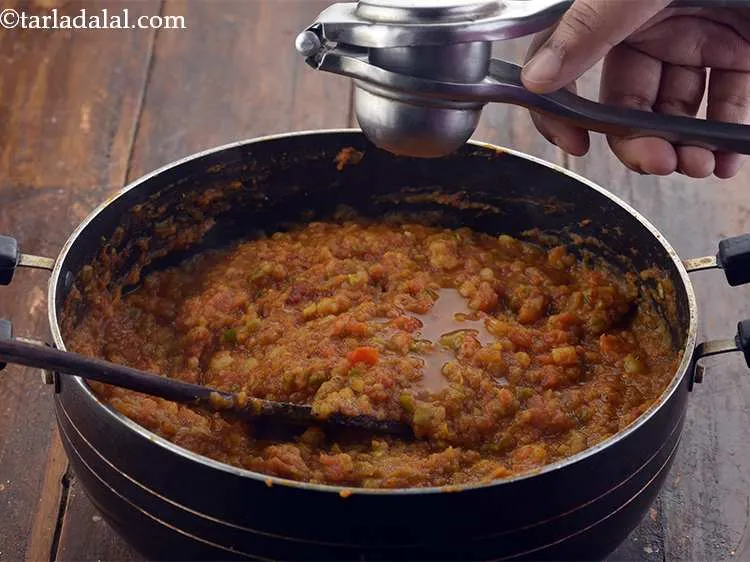
Now add the lemon juice.
![]()
-
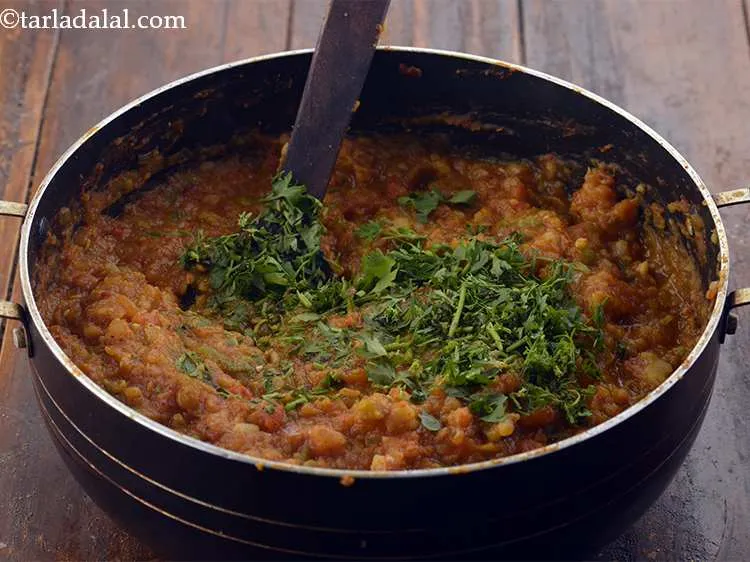
Finally, add the coriander leaves.
![]()
-
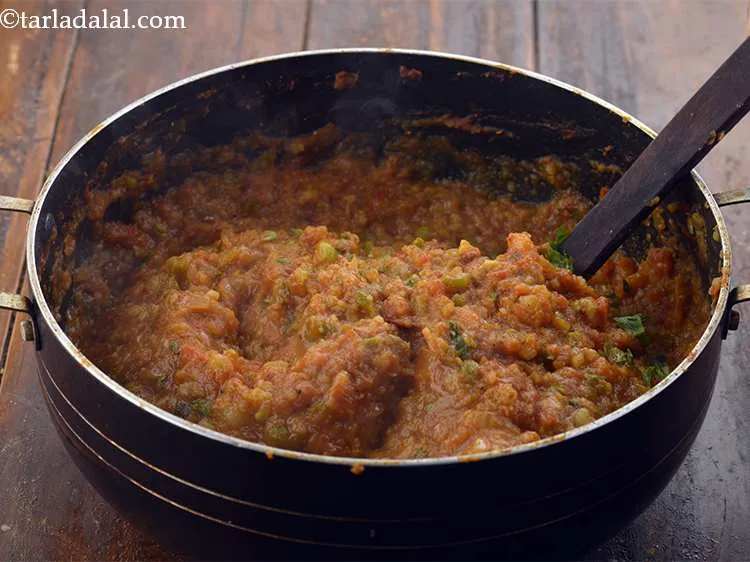
Mix well and cook till the flavour of the coriander gets incorporated into the Bhaji. Switch off the flame and your bhaji for Pav Bhaji is ready.
![]()
-
-
-
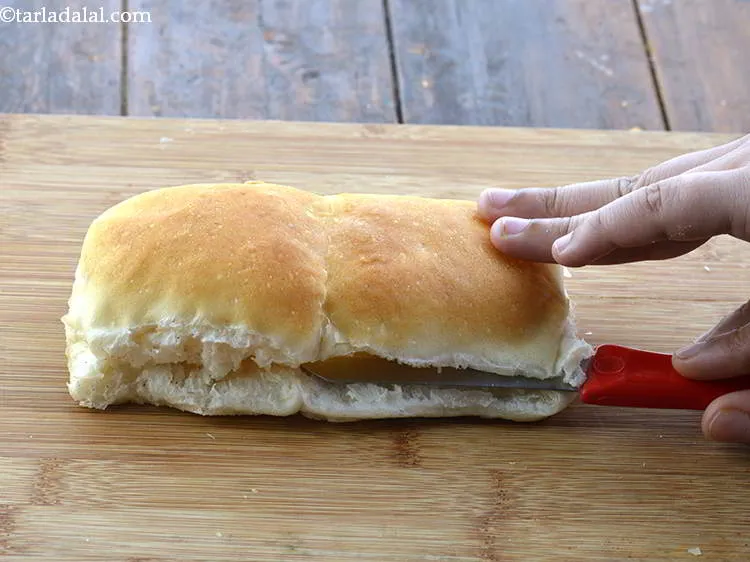
Take 2 pavs at a time and slit them horizontally. Use a serrated knife or a bread knife to cut through the pav easily.
![]()
-
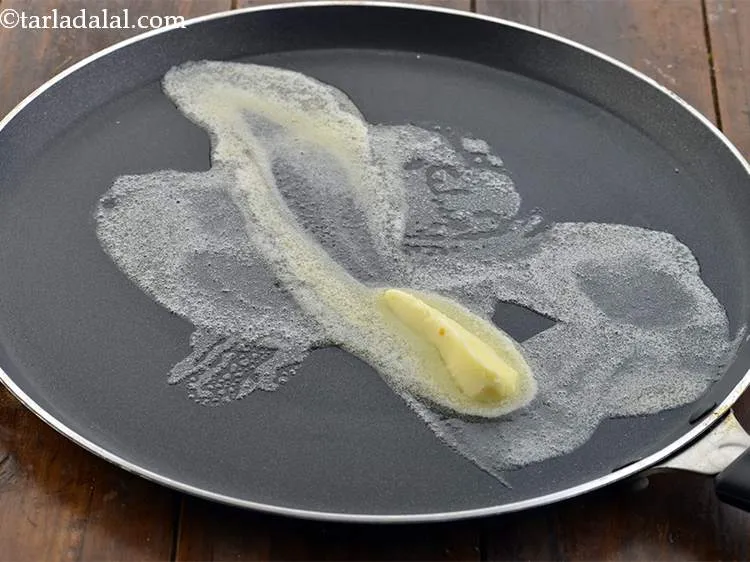
Take a tava and heat it till it is hot enough. Put 1 tbsp of butter on it.
![]()
-
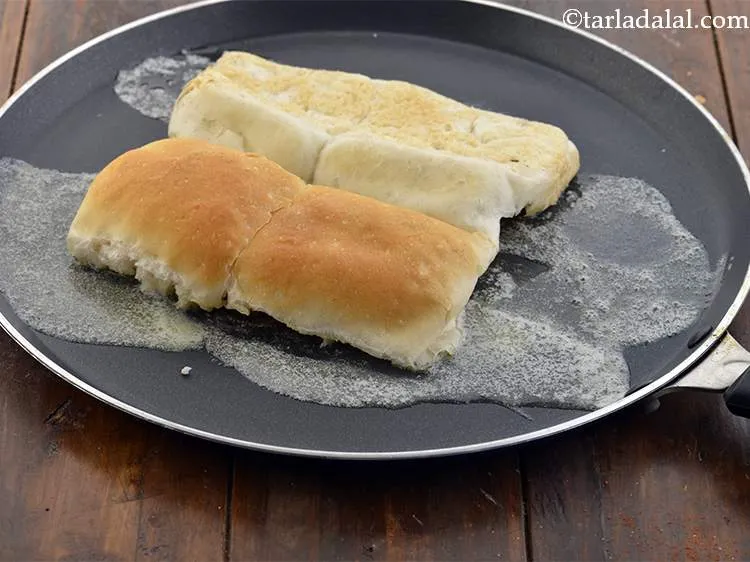
Place the slit open pavs on the hot tava.
![]()
-
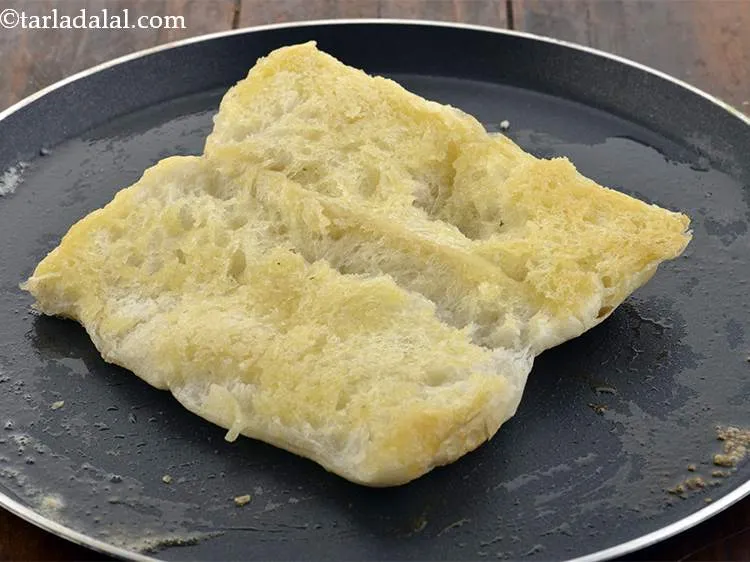
Cook on a medium flame till they turn light brown and crisp on both the sides. Add more butter if required.
![]()
-
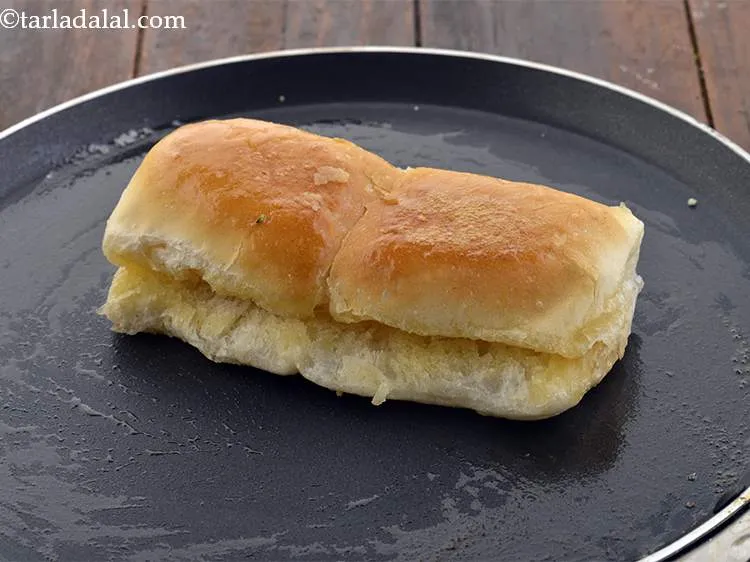
Repeat steps 1 to 4 to cook more pavs. Keep aside.
![]()
-
-
-
Serve the bhaji hot with pavs, onions, lemon wedges and papad. Don't forget to put a blob of butter on the bhaji.
-1-185593.webp)
![]()
- Repeat the steps with the remaining ingredients to make 3 more plates.
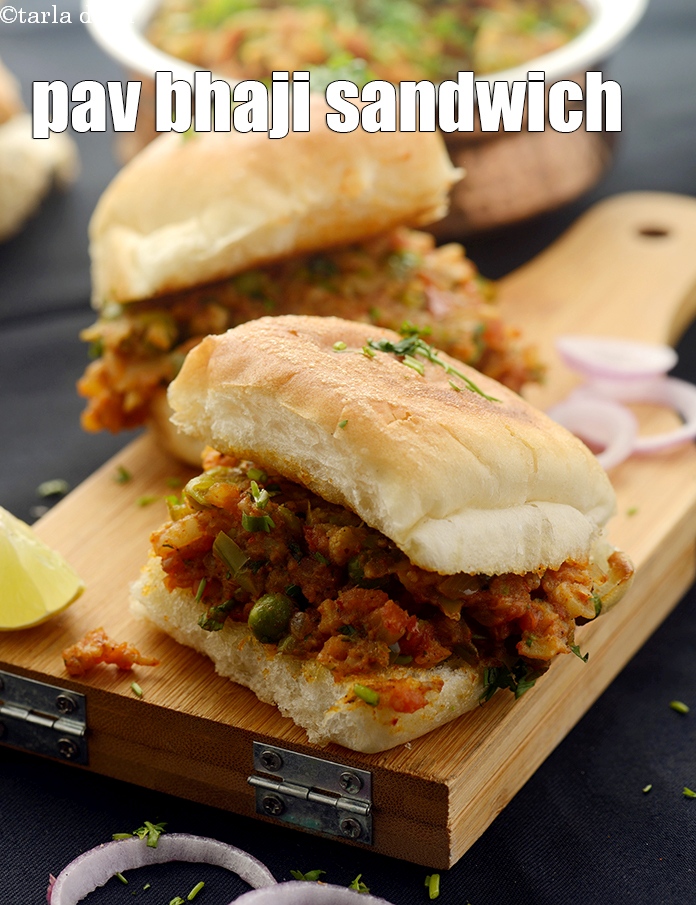
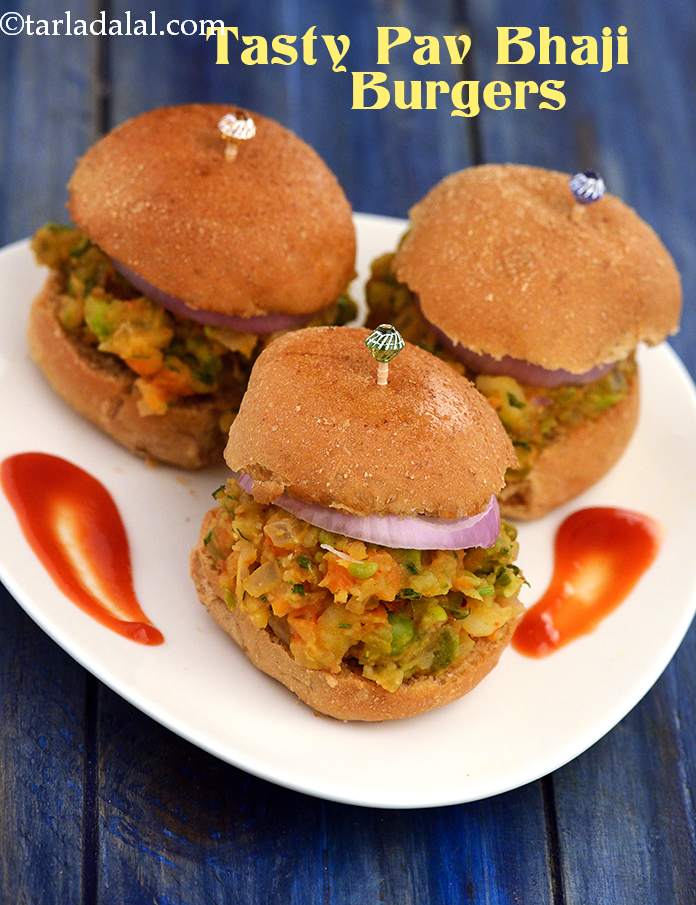
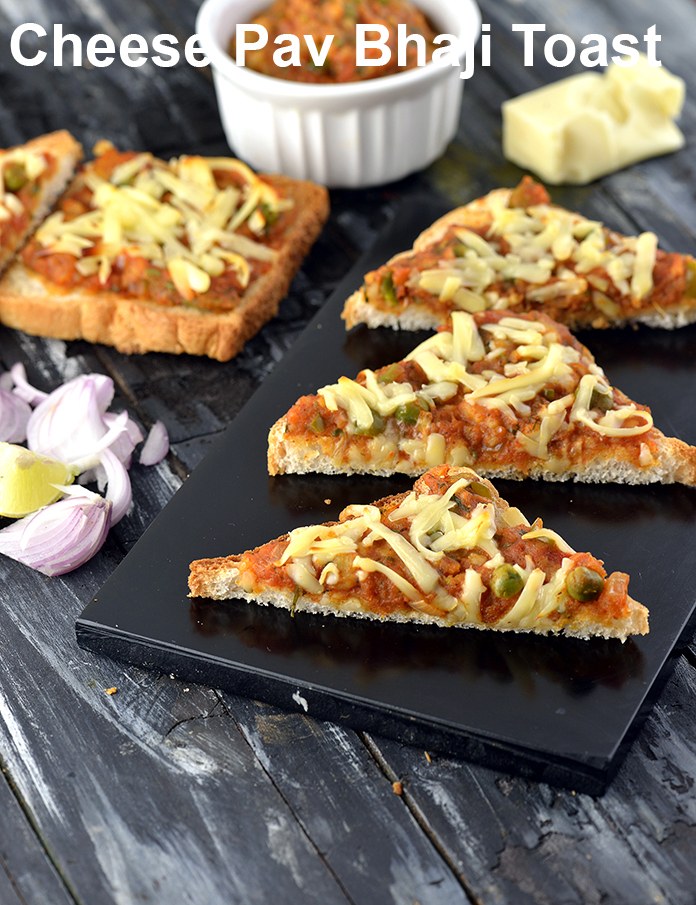
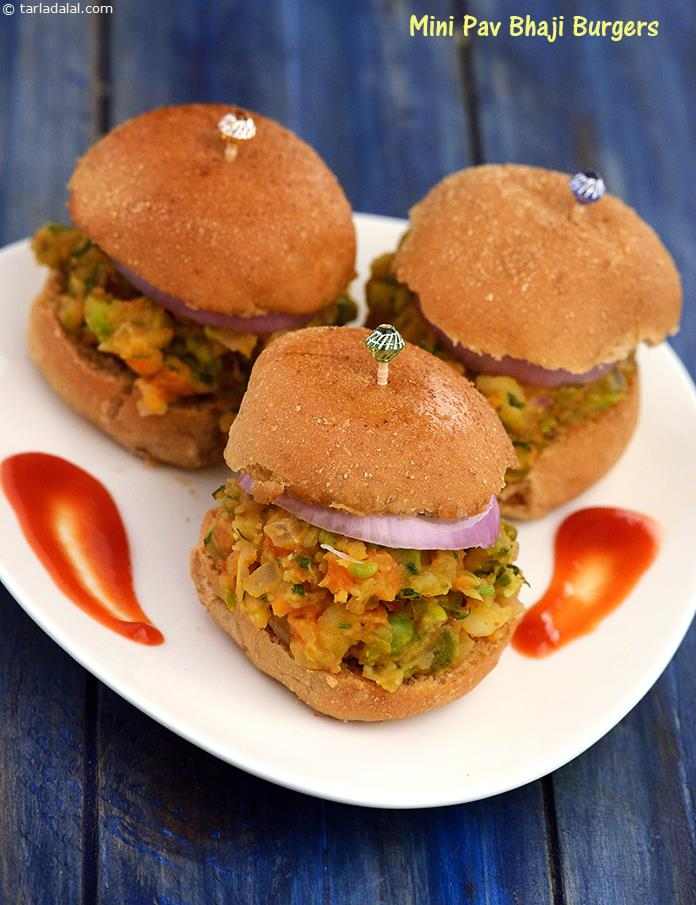
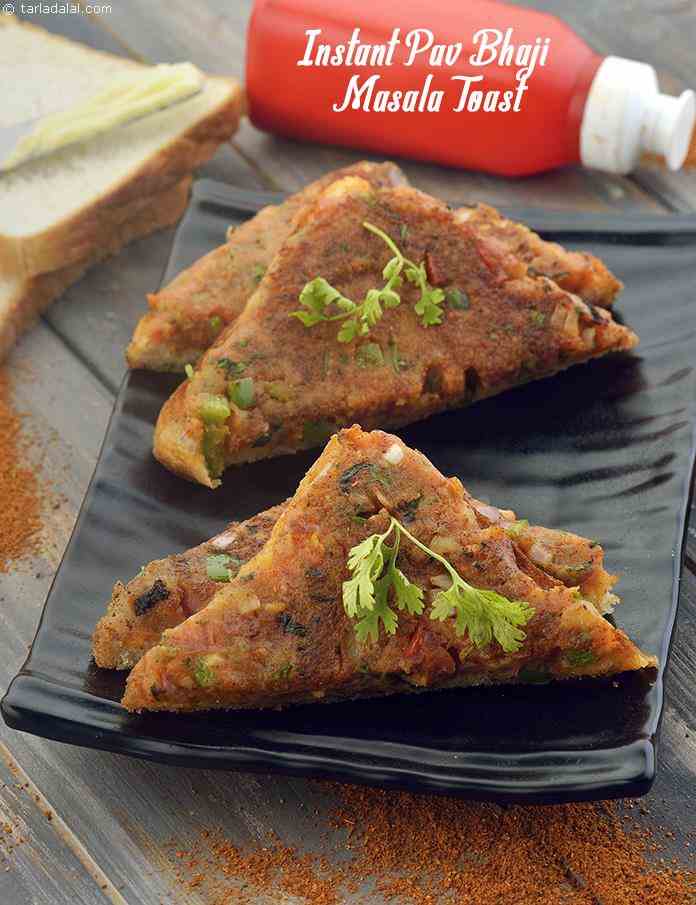
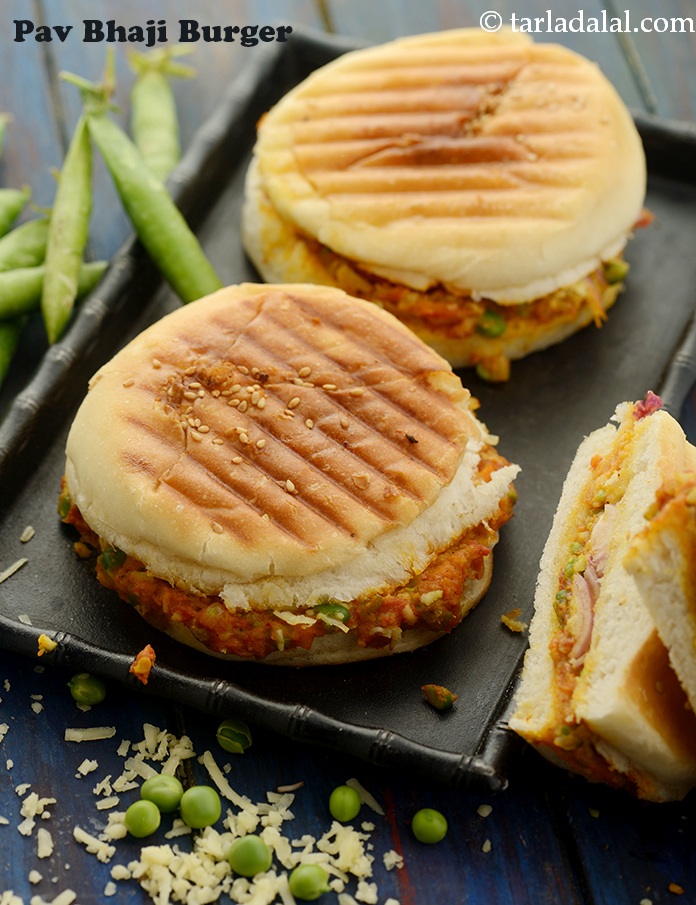
- Using the pav bhaji recipe, you can also make Pav Bhaji burger, Pav Bhaji toast or Pav Bhaji sandwich.
-
Serve the bhaji hot with pavs, onions, lemon wedges and papad. Don't forget to put a blob of butter on the bhaji.
-
-
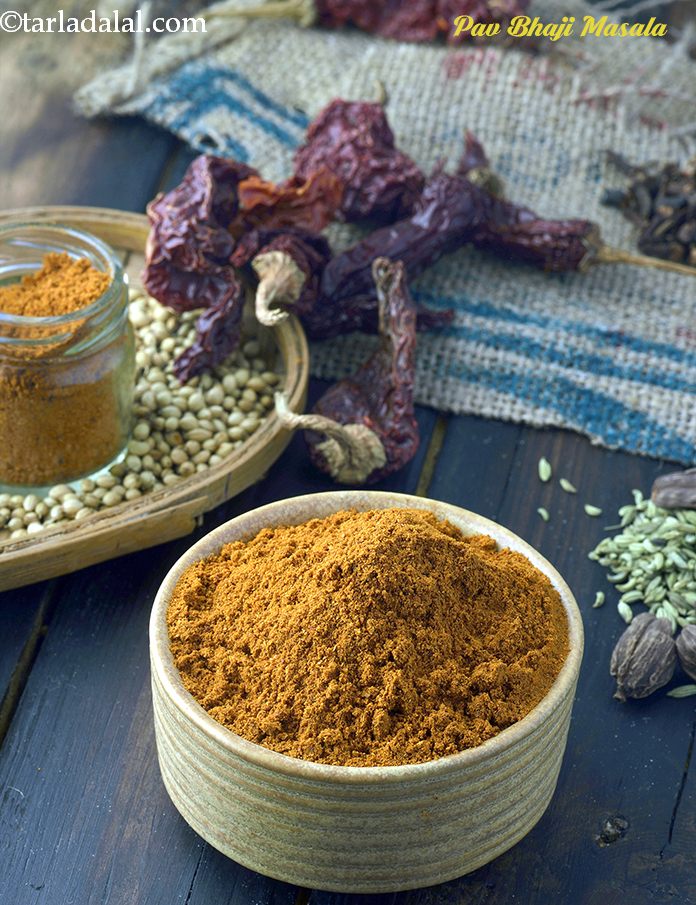
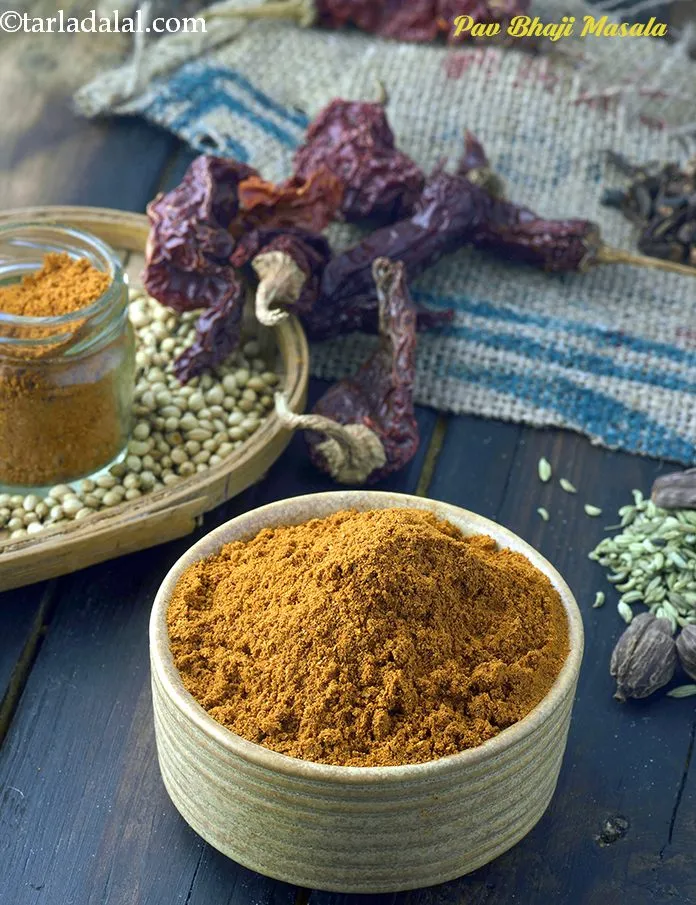
To make Pav Bhaji, it's aways a must to know how to make pav bhaji masala. Given below is the pav bhaji masala which gives the pav bhaji its unique taste. See detailed step by step homemade pav bhaji masala recipe. Makes 1 cup.
Ingredients for pav bhaji masala
10 whole dry kashmiri red chillies , broken into pieces
1/4 cup coriander (dhania) seeds
6 cloves (laung / lavang)
2 tbsp cumin seeds (jeera)
1 1/2 tbsp fennel seeds (saunf)
1 stick cinnamon (dalchini)
4 black cardamom (badi elaichi)
1 tbsp turmeric powder (haldi)
2 tbsp dried mango powder (amchur)
1 tbsp black salt (sanchal)
1 tbsp freshly ground black pepper (kalimirch)
Method for pav bhaji masala- Combine the kashmiri dry red chillies, coriander seeds, cloves, cumin seeds, fennel seeds, cinnamon and cardamom in a broad non-stick pan and dry roast on a medium flame for 3 minutes.
- Remove and cool completely.
- Blend in a mixer along with all the remaining ingredients till smooth.
- Strain the mixture using a sieve.
- Store pav bhaji masala in an air-tight container and keep in the fridge. Use as require as pav bhaji masala will last for 6 months.
![]()
-
To make Pav Bhaji, it's aways a must to know how to make pav bhaji masala. Given below is the pav bhaji masala which gives the pav bhaji its unique taste. See detailed step by step homemade pav bhaji masala recipe. Makes 1 cup.
Nutrient values (Abbrv)per plate
Nutrient values (Abbrv) per serving
| Energy | 400 cal |
| Protein | 9.4 g |
| Carbohydrates | 57.9 g |
| Fiber | 4.5 g |
| Fat | 14.5 g |
| Cholesterol | 42 mg |
| Sodium | 170.5 mg |
Click here to view Calories for Pav Bhaji
The Nutrient info is complete

manjirid
Nov. 11, 2021, 11:57 p.m.
I have tried various Pav Bhaji recipes and this one is by far the best! Its well spiced and thankfully not too heavy. Its a delight to see the butter melt on the bhaji, and the bhaji melt in your mouth! Absolutely Yummmy! :)

Foodie #569108
June 2, 2021, 11:18 p.m.
This recipe turned out to be quite good. I have eaten pav bhaji several times but never liked it that much. I think I will stick to this recipe for any pav bhaji cravings :); now that I can finally say that I do like pav bhaji..

Beeru Bhardwaj
March 24, 2021, 2:50 p.m.
Tarla Dalal
March 24, 2021, 2:50 p.m.
Thanks for the feedback !!! Keep reviewing recipes and articles you loved.

Foodie #556808
Feb. 15, 2021, 3:17 p.m.
This is really awesome.it was ver easy to make and my family relished it. Thanks a lot Tarlaji for making life simpler. I have tried numerous recipes and all were fantastic.

Urvi Shah
Jan. 28, 2021, 9:30 p.m.
Hello, When you say one serving, how many grams of bhaji do you mean? Awaiting your response!

Tarla Dalal
Jan. 28, 2021, 9:30 p.m.
Urvi, we don''t weigh each dish we make. To cut calories, drop the pav which is not healthy and most of the issues get solved.

Manali Gawad
Nov. 2, 2020, 10:44 a.m.
Tastes good. Could have been much better though

Tarla Dalal
Nov. 2, 2020, 10:44 a.m.
Thanks for the feedback !!! Keep reviewing recipes and articles you loved.

Mangla Raman
Oct. 28, 2020, 3:06 p.m.
The recipe misses on when to add the pav bhaji masala. Anyways tried this recipe and bhaji came out very well. Thanks

Alka
Oct. 8, 2020, 1:58 a.m.

Tarla Dalal
Oct. 8, 2020, 1:58 a.m.
Thanks for the feedback !!! Keep reviewing recipes and articles you loved.

Rhishikesh Gaikwad
Aug. 16, 2020, 4:05 p.m.
nice information thanks for sharing this recipe.

Divya Babbar
May 20, 2020, 2:40 p.m.
The bestest recipe by far. all tnx to tarla mam.

royal 12334
May 18, 2020, 3:19 p.m.
I have liked pav bhaji for soo long but haven''t been able to make one like this since.long .. thanks to tarlaji ...

Tarla Dalal
May 18, 2020, 3:19 p.m.
Thanks Royal. We are delighted you loved the Pav Bhaji recipe. Please keep posting your thoughts and feedback.

????
May 14, 2020, 4:18 p.m.
Hi Mam , I hv loved this receipe and I always try new receipes from ur blog .

Tarla Dalal
May 14, 2020, 4:18 p.m.
We are delighted you loved the Pav Bhaji recipe. Please keep posting your thoughts and feedback.

Ishita Bhaduri
May 7, 2020, 2:57 p.m.
directions were perfect. Made excellent pav bhaji breakfast for the whole family. Tastes much better than popular roadside stalls

Tarla Dalal
May 7, 2020, 2:57 p.m.
Ishita, we are delighted you loved the recipe. Please keep posting your thoughts and feedback.

Aditya Singh
May 5, 2020, 7:54 p.m.

Tarla Dalal
May 5, 2020, 7:54 p.m.
Thanks for the feedback !!! Keep reviewing recipes and articles you loved.

megha
March 28, 2020, 7:58 p.m.

shailly Jain
July 21, 2019, 2:35 p.m.
perfect explanation for starters. thank you

Sarah
April 6, 2018, 1:55 p.m.
Thank you for recipe. However I am not sure the recipe included when to add the pav bhaji masala?

Tarla Dalal
April 6, 2018, 1:55 p.m.
Hi Sarah, Apologies. We have rectified the recipe now. Thank you for noticing. We are delighted you loved the recipe. Do try more and more recipes and keep posting your thoughts and feedback. Happy Cooking!

Harishkumar
Nov. 5, 2016, 2:46 p.m.

deeptivarma
Oct. 20, 2016, 12:29 p.m.
Read hindi recipe and enjoyed.

nilakshe mhatre
Oct. 12, 2016, 12:22 a.m.
???? ????????? ?? ?????? ?? ?????? ?? ?????? ?? ??? ?? ???-???? ???? ?????? ????? ?? ?? ???????? ?????? ?? ????? ???? ?? ???? ???? ???

Prithviraj
Sept. 20, 2016, 9:52 a.m.
Very nice information article about pav bhaji recipe

Rajesh
June 12, 2016, 8:57 p.m.

Tarla Dalal
June 12, 2016, 8:57 p.m.
Thanks for the feedback !!! Keep reviewing recipes and articles you loved.

Divya
June 5, 2016, 11:59 p.m.
Tried and loved this recipe. Thank you

Goutham
May 19, 2016, 3:22 p.m.
Hi Tarla, what constitutes one serving?

Divya Vijay
April 22, 2016, 11:23 a.m.
Hi mam, Thanks a lot for ur lovely recipe... My family members r big fan of pav bhaji I tried d recipe from ur blog, it came out very well..feel great

Tarla Dalal
April 22, 2016, 11:23 a.m.
Thanks Divya. We are delighted you loved the Pav Bhaji recipe. Please keep posting your thoughts and feedback.

Priti
April 18, 2016, 11:12 a.m.
I want to know abt without tomato pav bhaji reccipie, because reaction of tomato

Tarla Dalal
April 18, 2016, 11:12 a.m.
Hi Priti, You can omit the tomatoes and make it, it will taste different but it will not be bad in taste.

Sagun bajpai
March 25, 2016, 11:12 a.m.
It''s a quick n very tasty dish .. Thanks Tarla ji

Tarla Dalal
March 25, 2016, 11:12 a.m.
Hi Sagun, Happy to know you liked the recipe. Do try more and more recipes from our website and share with us your feedback. Happy Cooking!

Aditya
Feb. 4, 2016, 2:18 p.m.
Its superb mam.... i tried it once.... n i cant stop cooking it again n again... my family n frnds call me a best chef....all credit credit goes to ur yemmy recipe

Tarla Dalal
Feb. 4, 2016, 2:18 p.m.
Thanks Aditya. We are delighted you loved the Pav Bhaji recipe. Please keep posting your thoughts and feedback. Credit goes to the hard work you have put in and becoming a better cook.

Shama
Feb. 3, 2016, 10:03 a.m.
Mam the recipe is an awesome..but i need a recipe or lav bhaji masala pls if possible for u..coz i dont live in india..i live in south africa n its difficult to find it easily here...

Tarla Dalal
Feb. 3, 2016, 10:03 a.m.
Hi Shama. Thanks for asking. Here is the recipe. http://www.tarladalal.com/Pav-Bhaji-Masala-Homemade-Pav-Bhaji-Masala-40578r

Priyanka Patel
Jan. 16, 2016, 5:04 p.m.
Thank you very much for this lovely recipe.... I will make it tonight... It is my first recipe in the kitchen in my life....

Tarla Dalal
Jan. 16, 2016, 5:04 p.m.
All the best Priyanka. The joy of cooking is trying new recipes and you will get better each time. Let me know how the recipe came out !!!!

Foodie #638778
Dec. 26, 2015, 1:55 p.m.
Love this recipe. Absoultely loved the receipe the taste has came out well.

Tanvi. D
Oct. 10, 2015, 9:49 a.m.
I''ve tried this recipe of yours and had a great experience. But my question is if there is un availability of cauliflower can we replace it with cabbage

Tarla Dalal
Oct. 10, 2015, 9:49 a.m.
Hi Tanvi, we are delighted you loved the recipe. Please keep posting your thoughts and feedback. Happy Cooking.

Pooja
Sept. 7, 2015, 4:54 p.m.
Mam.. can we add sitafal veg in pavbhaji..

Tarla Dalal
Sept. 7, 2015, 4:54 p.m.
Hi, Sorry i did not understand your query..

kalpana
Sept. 5, 2015, 7:03 p.m.
Hello man Before this I use to think that pav bhaji oh no it is long process but now I feel like its very easy Thank you so much mam

Tarla Dalal
Sept. 5, 2015, 7:03 p.m.
Hi Kalpana, we are delighted you loved the recipe. Please keep posting your thoughts and feedback. Happy Cooking.

Murtaza Vohra
Aug. 27, 2015, 3:35 p.m.
Ma''am, i am a bachelor and will try the pav bhaji recipe which you explaint it so nicely. I had one question though.. I don''t have a potato smasher, is there any way i could do that process, secondly is it important to smash the vegetables white it is on the stove? Or it could be done after cooking as well? Hoping for your valuable answers and do wish me luck for preparing this delicious dish. Thank you

Tarla Dalal
Aug. 27, 2015, 3:35 p.m.
Hi Murtaza Vohra, Happy to know that you are going to try the recipe, if you do not have the potato masher,you can mash it with the back of a spoon. It is important to mash it while on the stove, as the vegetables are hot it is mashed easily. Hope these answers will be helpful to you. All the best and do give us your feedback, once you have made the recipe. Happy Cooking!!

Khanahain.blogspot.com
May 3, 2015, 5:11 p.m.
I like the way explaning recipe easy to understand and make .Thank You. Khanahain.blogspot.com

rekha
April 13, 2015, 4:43 p.m.
How much is one cup in your recipe?

Sandhya Sharma
Dec. 31, 2014, 1:17 p.m.
If we don t have pav bhaji masala, what spices we can use available in our home ?

Blessina Horo
March 21, 2014, 4:29 p.m.
I have tried this recipe for many occasions now. And it has been loved by all my family and friends. So much so that they have started asking to make it again for them. So whenever time is less and i have guests coming over, this recipe is the one i go for surely. Thank you Tarla Dalal, for i''ve always looked upto your recipes whenever i''ve tried cooking and they''ve always come out so deliciously, nobody can tell i''m new to cooking. Though you are not around any more your legacy through these wonderful and delicious recipes will always be appreciated. Thank you Blessina Horo

Foodie #666936
June 22, 2013, 12:18 p.m.
can I use olive oil instead of butter? if yes,how many tbsp?

Trupti
May 3, 2013, 1:50 p.m.
Tried this recipe. Pav bhaji turned out really tasty. Thank you for sharing

Tarla Dalal
May 3, 2013, 1:50 p.m.
Hi Trupti, Thank you for your kind words. Do try more and more recipes and let us know how you enjoyed them. Happy Cooking !!

BABAN JHA
Jan. 16, 2013, 9:31 a.m.

Tarla Dalal
Jan. 16, 2013, 9:31 a.m.
Hi Baban , we are delighted you loved the Pav Bhaji recipe. Please keep posting your thoughts and feedback and review recipes you have loved. Happy Cooking.

Sunita Madan
Sept. 8, 2012, 7:23 p.m.
The recipe was nice but don''t you think nutrients will be lost if we drain out excess water from the vegetables? So, we should boil the vegetables with just enough water.

Tarla Dalal
Sept. 8, 2012, 7:23 p.m.
Hi Sunita, We are very happy to know you loved the recipe. Do try more and more recipes and let us know how they turned out. Happy Cooking !!

Sonali
Aug. 23, 2012, 7:37 p.m.

Nehrin
July 16, 2012, 10:15 a.m.
Very nice recipe Thanks

Tarla Dalal
July 16, 2012, 10:15 a.m.
Hi Nehrin , we are delighted you loved the Pav Bhjai recipe. Please keep posting your thoughts and feedback and review recipes you have loved. Happy Cooking.

rabia
July 14, 2012, 3:43 p.m.
Its really nice recipe and easy to cook

Tarla Dalal
July 14, 2012, 3:43 p.m.
Hi Rabia, We are very happy to know you loved the recipe. Do try more and more recipes and let us know how they turned out. Happy Cooking !!

Deepa N Jangid
June 29, 2012, 2:24 p.m.
Hello!!! Mam I would like to Thanks..for the method of PavBhaji recipe...very very nice & tasty ...

Tarla Dalal
June 29, 2012, 2:24 p.m.
Hi Deepa, We are very happy to know you loved the recipe. Do try more and more recipes and let us know how they turned out. Happy Cooking !!

Mugdha
May 20, 2012, 5:34 a.m.
always superb and delicious

Tarla Dalal
May 20, 2012, 5:34 a.m.
Hi Thank you for your kind words. Do try more and more recipes and let us know how they turned out. Happy Cooking !!

chinky
April 19, 2012, 1:35 p.m.

Foodie #657551
Jan. 4, 2012, 5:43 p.m.

Chithra suresh
Nov. 3, 2011, 1:02 p.m.
Yes I''ve tried this recipe ...it was a delightful experience ..its my daughter''s favourite dish ??????

Tarla Dalal
Nov. 3, 2011, 1:02 p.m.
Hi, Thank you for your kind words. Do try more and more recipes and let us know how you enjoyed them. Happy Cooking !!

Richa Barnwal
July 31, 2011, 3:48 a.m.
it is amazing. i just love it bhut dino se kuch tasty or masaledar khaya nhi tha. ab jakr jrur bnaugi. ek question tha. kya bhaji me paneer dal skte hai??

Tarla Dalal
July 31, 2011, 3:48 a.m.
Hi Richa, Yes you can add paneer if you wish to. add it at last and then do not cook it just mix it.

Abhishek
June 13, 2011, 2:33 p.m.
Tried it today.Turned out a bit spicy but yummily tasty.

Tarla Dalal
June 13, 2011, 2:33 p.m.
Hi Abhishek, We are very happy to know you loved the recipe. Do try more and more recipes and let us know how you liked them. Happy Cooking !!

Meera
Feb. 25, 2011, 3:40 p.m.
Pav bhaji came out very well. My family liked it a lot. Thanks.

Tarla Dalal
Feb. 25, 2011, 3:40 p.m.
Hi Meera, We are very happy to know you loved the recipe. Do try more and more recipes and let us know how they turned out. Happy Cooking !!

Rajni
Jan. 1, 2011, 1:18 p.m.
Please answer the questions don''t copy paste

Tarla Dalal
Jan. 1, 2011, 1:18 p.m.
Hi Rajni: What''s your question? Thanks...

Rekha Ahluwalia
Dec. 23, 2010, 1:11 p.m.

Tarla Dalal
Dec. 23, 2010, 1:11 p.m.
Hi Rekha, we are delighted you loved the Pav Bhaji recipe. Please keep posting your thoughts and feedback. Happy Cooking

Foodie #643058
Dec. 1, 2010, 11:20 a.m.
I tried various recipes for this but this one is Best pav bhaji I ever tried ... And every one said .... Vow !!!

KittyZ
Sept. 3, 2010, 11:38 a.m.
I do not own a pressure cooker, what could be an alternative? I love Pav Baji and really want to try this recipe the first I made was horrible but I had no recipe to go by.
-796.webp)

-2024.webp)
