You are here: Home> Cuisine > Indian Veg Recipes > Mirchi Ka Salan ( Hyderabadi Style)
Mirchi ka Salan recipe, Hyderabadi Mirchi Ka Salan Recipe for Biryani

Tarla Dalal
18 February, 2020
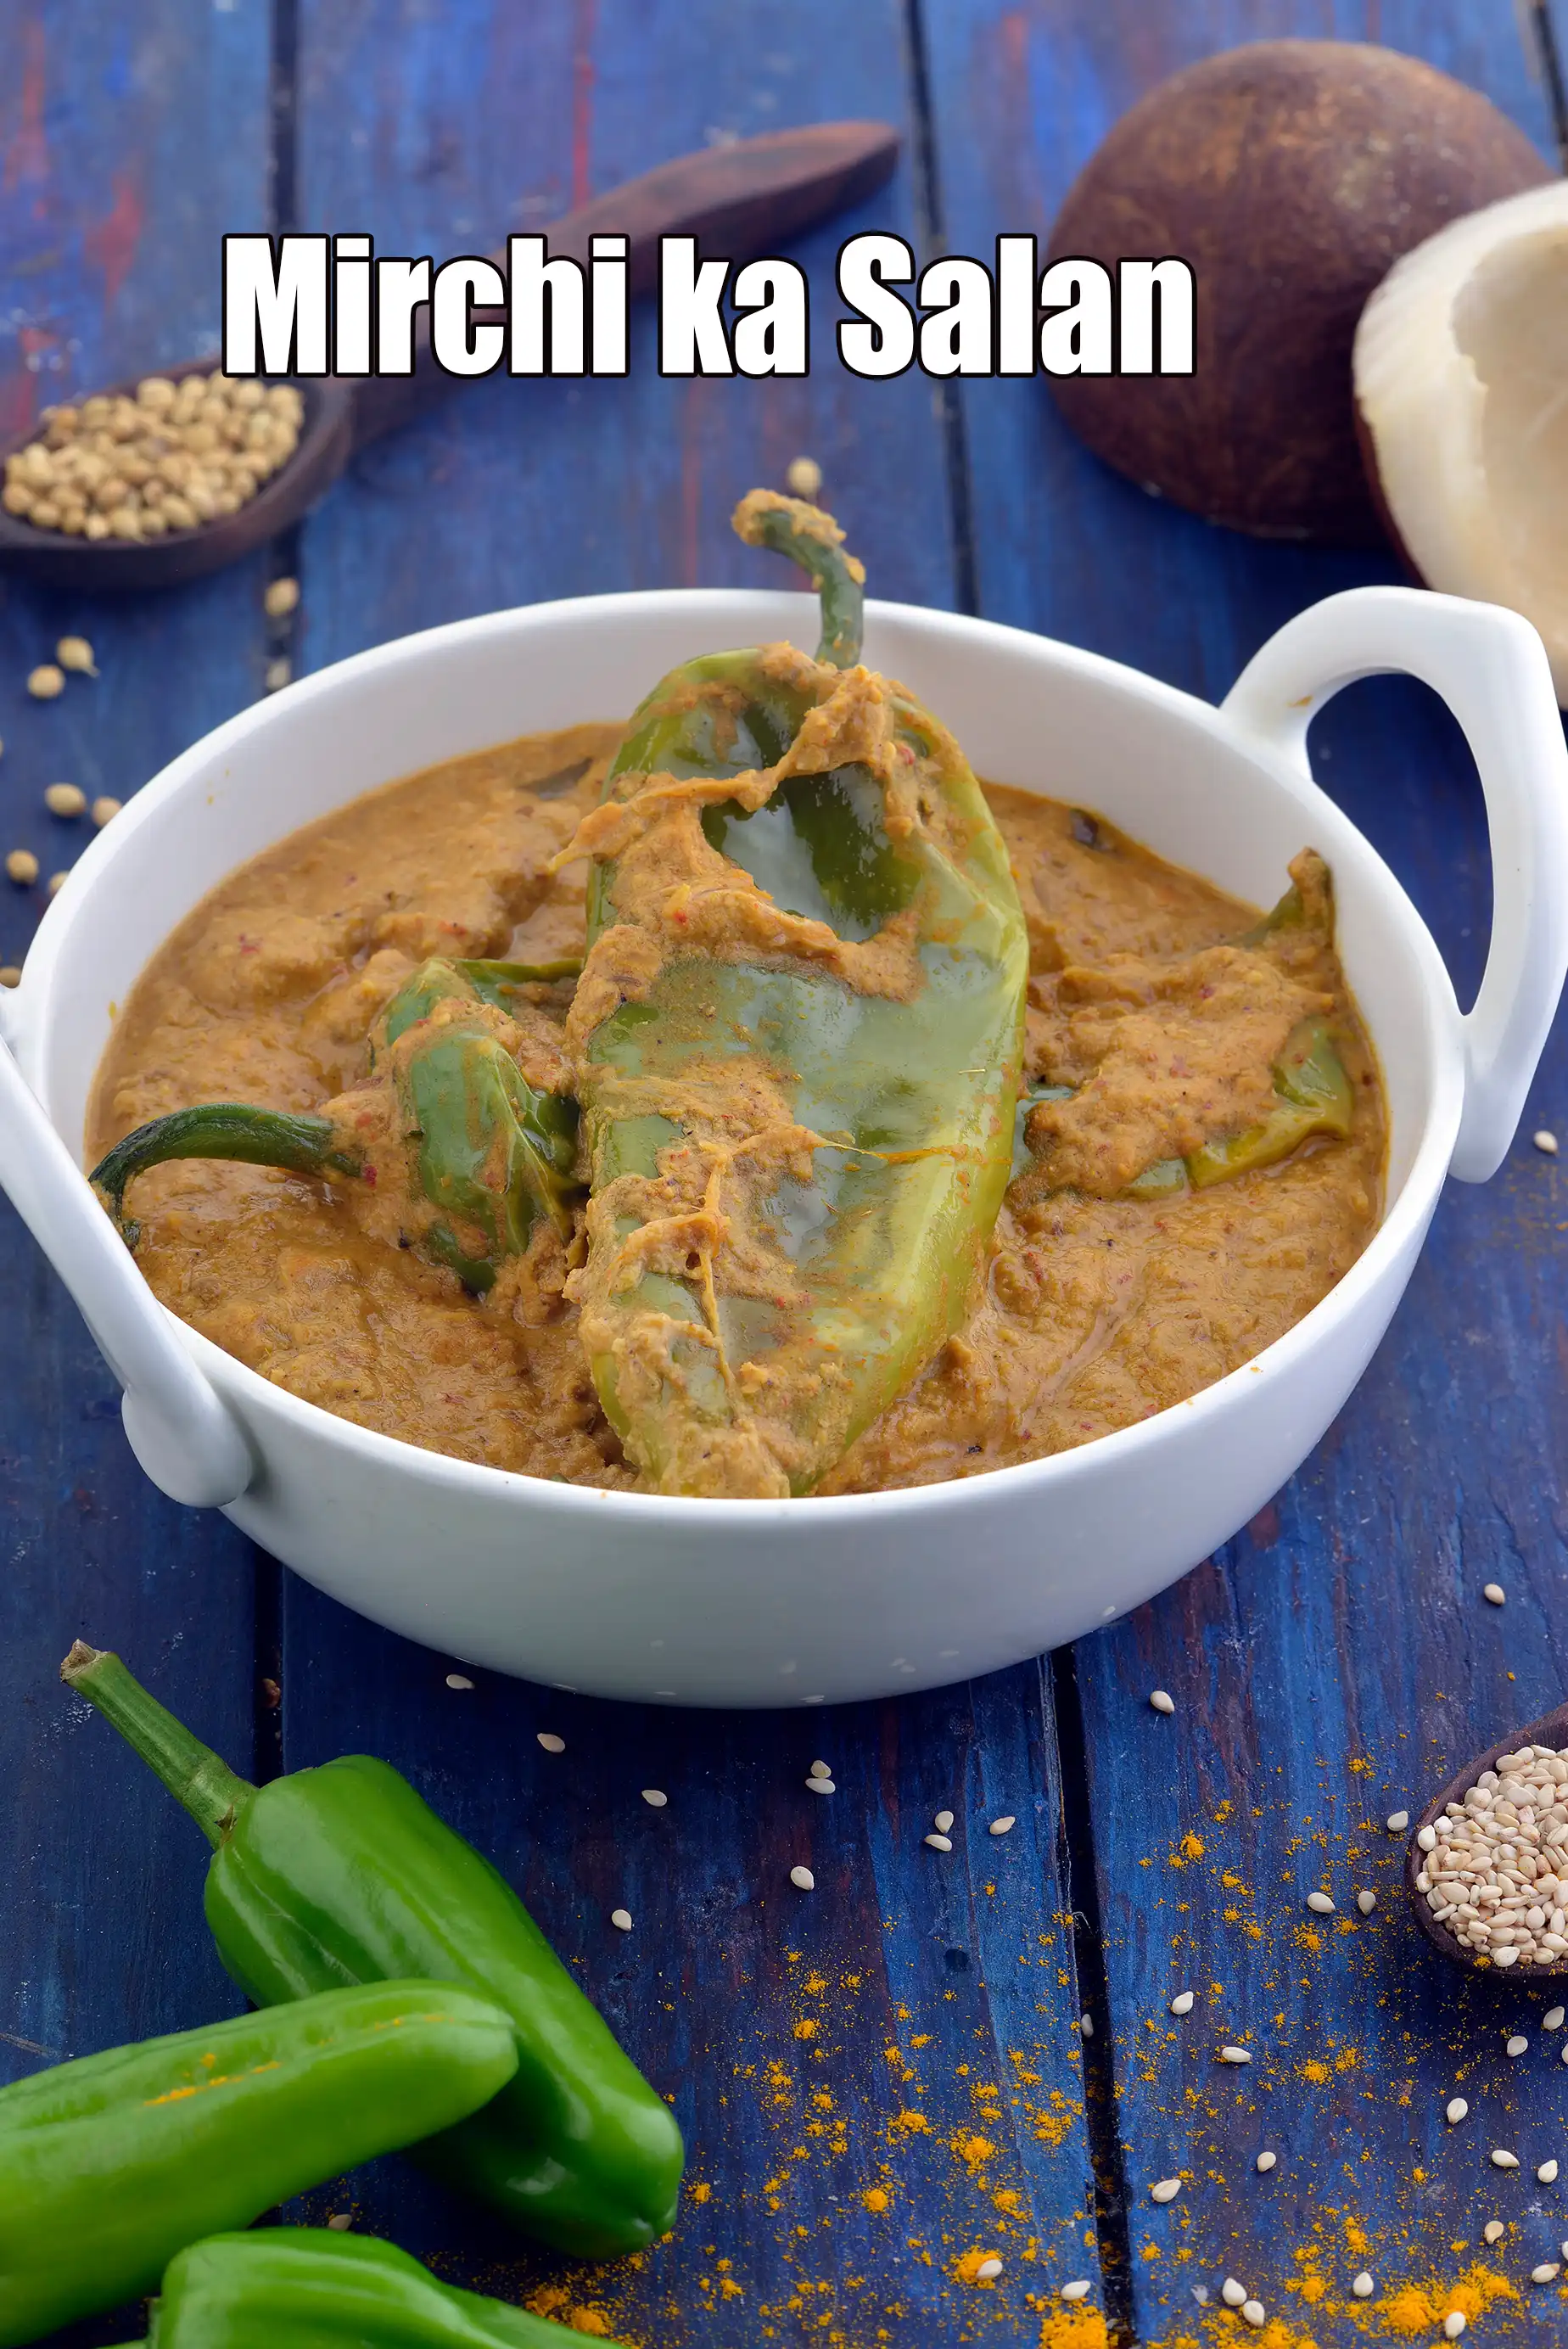
Table of Content
mirchi ka salan recipe | Hyderabadi mirchi ka salan | healthy mirchi ka salan | with amazing 28 images.
Hyderabadi mirchi ka salan is an Indian curry of Bhavnagri chillies, flavoured with a rich paste of roasted peanuts, coconut, sesame seeds and red chillies.
mirchi ka salan is a curry very famous from Hyderabad and Telangana which is usually had with Hyderabadi biryani. All the ingredients blend very well and the taste is heavenly. If you are a spicy food lover, this mirchi ka salan is definitely for you!!
Mirchi in hindi refers to green chilli and salan in an urdu word which refers to curry. People have Hyderabadi mirchi ka salan along biryani but this versatile curry also goes very well with chapatti, rice or paratha.
The spicy paste in Hyderabadi mirchi ka salan gives you a delectable kick, while tamarind pulp packs the extra punch. The chillies are not all that spicy, so it complements the paste very well.
Also make sure, the smooth and creamy gravy of Hyderabadi mirchi ka salan recipe should not be very thin. You can retain the seeds in the chillies if you like a spicy mirchi ka salan. The gravy has healthy ingredients like peanuts, sesame and coconut which gives the gravy an earthy and nutty flavour. Before adding raw peanuts in the mirchi ka salan recipe, taste one to ensure its freshness as rancid peanuts can destroy the entire dish. Also, do check the dry coconut, as sometimes the oils in it go rancid.
In every respect, this tongue-tickling curry is the perfect match for Hyderabadi Biryani – and definitely a must-try.
You can also have a go at other recipes like the Hyderabadi Sofiyani Biryani or Hyderabadi Baingan Subzi.
Learn to make mirchi ka salan recipe | Hyderabadi mirchi ka salan | healthy mirchi ka salan | with detailed step by step recipe photos and video below.
Mirchi Ka Salan ( Hyderabadi Style) recipe - How to make Mirchi Ka Salan ( Hyderabadi Style)
Tags
Preparation Time
10 Mins
Cooking Time
30 Mins
Total Time
40 Mins
Makes
4 servings
Ingredients
For Mirchi ka Salan
5 tbsp raw peanuts
2 1/2 tsp cumin seeds (jeera)
2 tbsp sesame seeds (til)
2 tbsp coriander (dhania) seeds
1 whole dry Kashmiri red chilli , broken into two pieces
1 tbsp grated dry coconut (kopra)
2 tsp roughly chopped garlic (lehsun)
1 tsp roughly chopped ginger (adrak)
2 tbsp oil
3/4 cup grated onions
1 tsp garam masala
1 tsp chilli powder
1/4 tsp turmeric powder (haldi)
4 tbsp tamarind (imli) pulp
salt to taste
Method
For mirchi ka salan
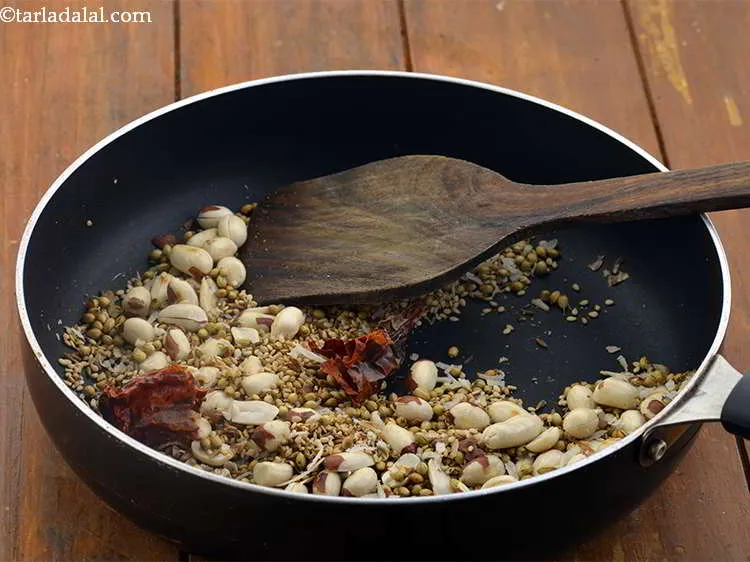
- To make mirchi ka salan, ombine the peanuts, 2 tsp of cumin seeds, sesame seeds, coriander seeds, dry kashmiri red chilli and coconut in a broad non-stick pan and dry roast on a medium flame for 1 to 2 minutes, while stirring occasionally. Keep aside to cool.
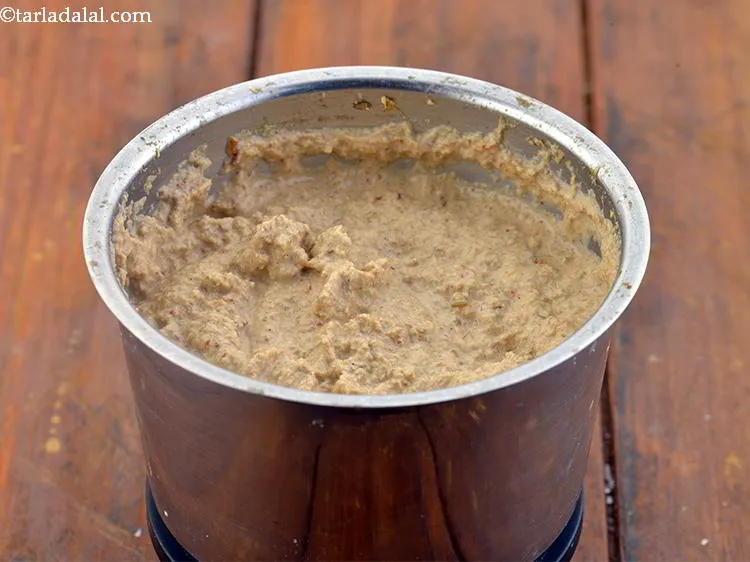
- Combine the roasted ingredients, garlic, ginger and ¾ cup of water in a mixer and blend to make a smooth paste. Keep aside.
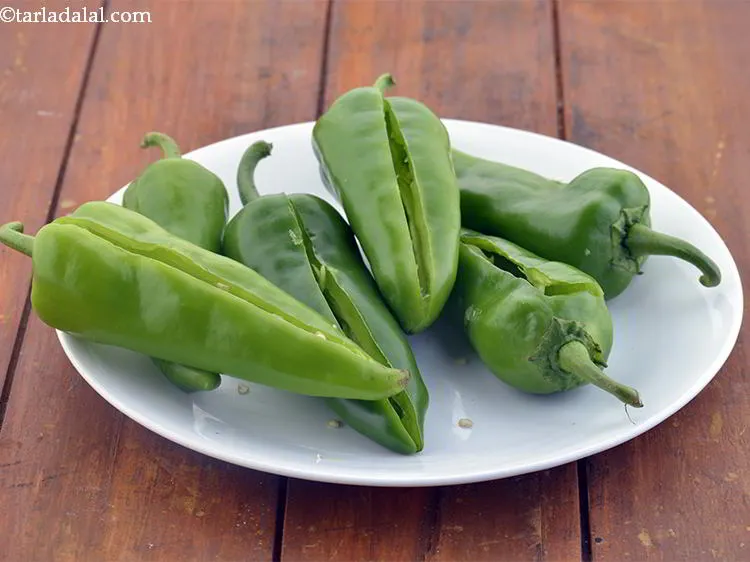
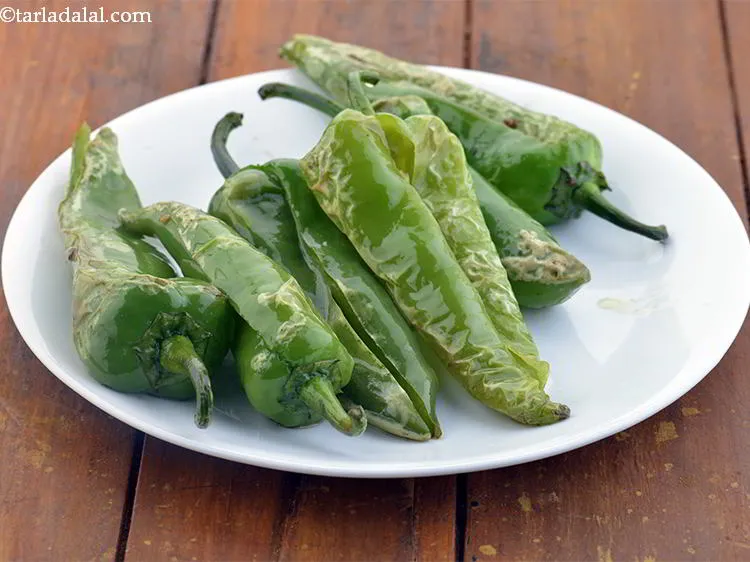
- Slit all the chillies lengthwise. Remove the seeds carefully using a small spoon and discard them.
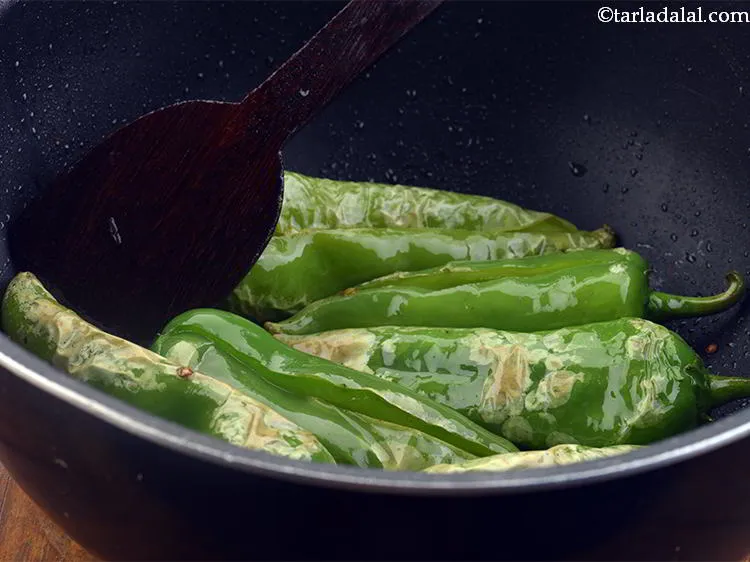
- Heat the oil in a deep non-stick pan, add the chillies and shallow fry them on a medium flame for 3 minutes, while stirring occasionally.
- Remove the chillies and keep aside.
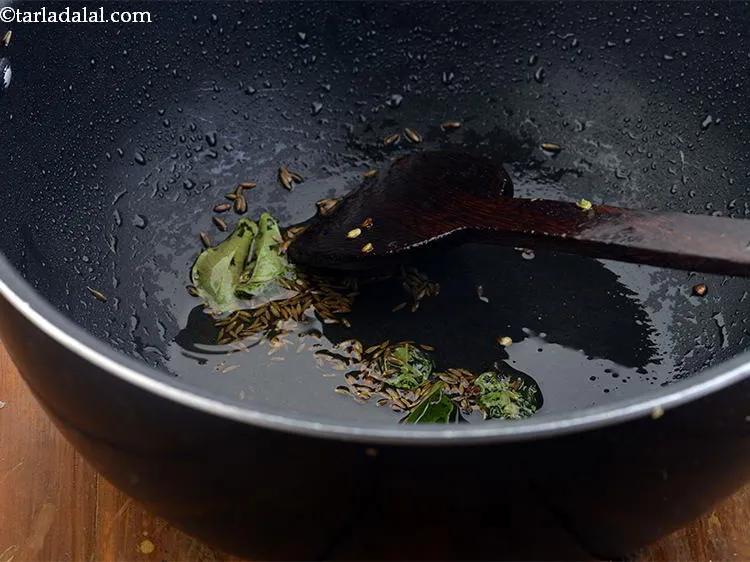
- In the same deep non-stick pan, add the curry leaves and remaining cumin seeds and sauté on a medium flame for 30 seconds.
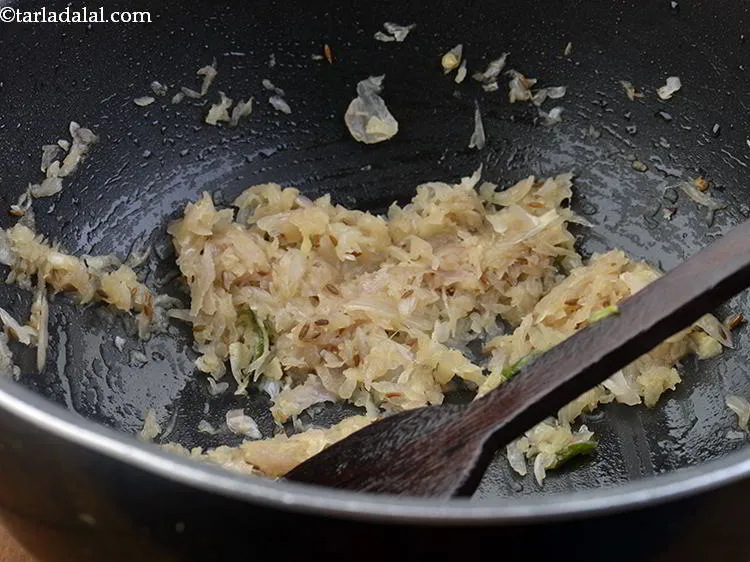
- Add the onions, mix well and sauté on a medium flame for 2 minutes.
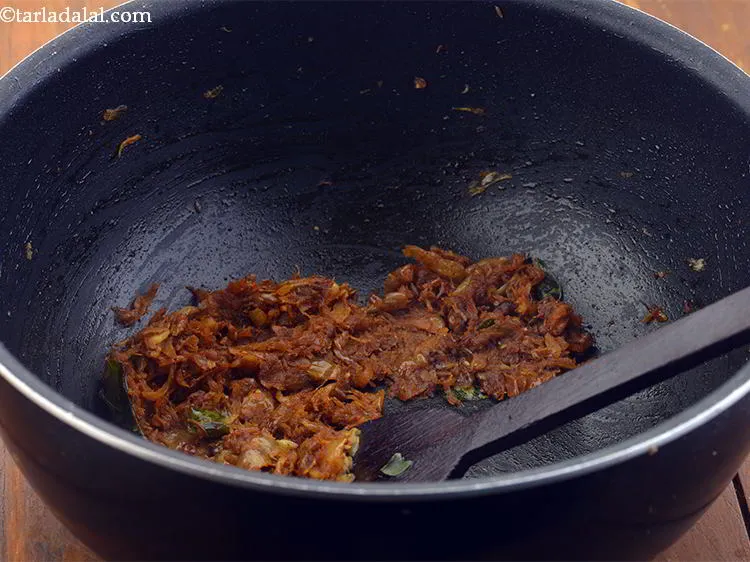
- Add the garam masala, chilli powder and turmeric powder, mix well and sauté on a medium flame for 1 minute.
- Add the prepared paste, tamarind pulp, salt and 2 cups of water, mix well and cover with a lid and cook on a medium flame for 17 minutes, while stirring occasionally.
- Add the chillies, mix well and cover with a lid and cook on a medium flame for 4 minutes, while stirring occasionally.
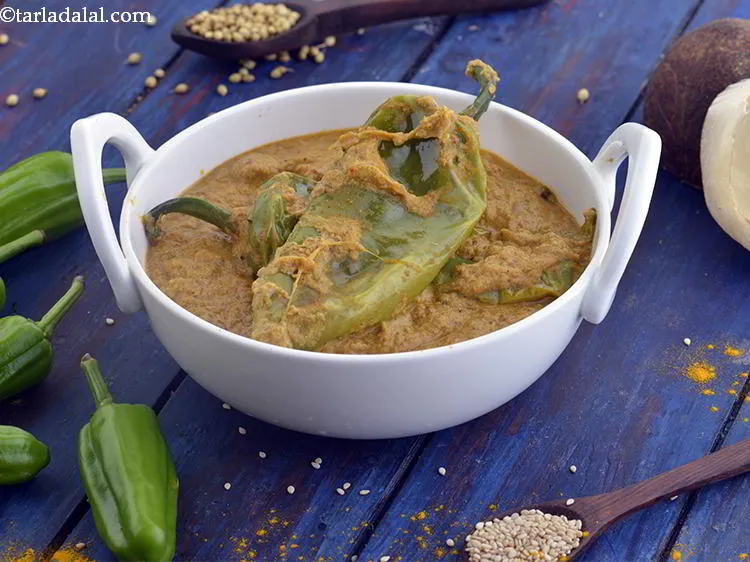
- Serve the mirchi ka salan immediately.
Mirchi ka Salan recipe, Hyderabadi Mirchi Ka Salan Recipe for Biryani Video by Tarla Dalal
Mirchi Ka Salan ( Hyderabadi Style) recipe with step by step photos
-
- If you like mirchi ka salan recipe | Hyderabadi mirchi ka salan | healthy mirchi ka salan | then see our other Hyderabadi recipes.
-
- The smooth and creamy gravy of Hyderabadi mircha ka salan recipe should not be very thin.
- You can retain the seeds in the chillies if you like a spicy salan.
- The gravy has healthy ingredients like peanuts, sesame and coconut which gives the gravy an earthy and nutty flavour.
- Before adding raw peanuts in the recipe, taste one to ensure its freshness as rancid peanuts can destroy the entire dish.
- Also, do check the dry coconut, as sometimes the oils in it go rancid.
-
-
To make a paste for mirchi ka salan recipe | Hyderabadi mirchi ka salan | healthy mirchi ka salan | heat a broad non-stick pan on a medium flame. Add the raw peanuts.
-1-185605.webp)
![]()
-
Add cumin seeds and sesame seeds.
-2-185605.webp)
![]()
-
Add the coriander seeds.
-3-185605.webp)
![]()
-
Break the dry red Kashmiri chilli into pieces and add them to the pan.
-4-185605.webp)
![]()
-
Add the grated dry coconut.
-5-185605.webp)
![]()
-
Combine all the ingredients and dry roast on a medium flame for 1 to 2 minutes, while stirring occasionally.
![]()
- Keep aside to cool.
-
Once cooled put the dry roasted ingredients in a mixer jar.
-8-185605.webp)
![]()
-
Add garlic.
-9-185605.webp)
![]()
-
Add ginger.
-10-185605.webp)
![]()
-
Now add ¾ cup of water and blend to a smooth paste. Keep aside.
![]()
-
To make a paste for mirchi ka salan recipe | Hyderabadi mirchi ka salan | healthy mirchi ka salan | heat a broad non-stick pan on a medium flame. Add the raw peanuts.
-
-
For shallow frying the chillies for mirchi ka salan | Hyderabadi mirchi ka salan | healthy mirchi ka salan | take a chilli and slit it length wise and remove the seeds.
-1-185606.webp)
![]()
-
Similarly slit and remove seeds from all the chillies.
![]()
-
Heat the oil in a deep non-stick pan, add the chillies and shallow fry them on a medium flame for 3 minutes, while stirring occasionally.
-3-185606.webp)
![]()
-
Shallow fry the chillies till light brown from both the sides.
![]()
-
Remove them in a plate and keep aside.
![]()
-
For shallow frying the chillies for mirchi ka salan | Hyderabadi mirchi ka salan | healthy mirchi ka salan | take a chilli and slit it length wise and remove the seeds.
-
-
For the mirchi ka salan recipe | Hyderabadi mirchi ka salan | healthy mirchi ka salan | in the same oil, add the curry leaves. Add the remaining cumin seeds.
![]()
-
When the seeds crackle add the grated onions mix well and sauté on a medium flame for 2 minutes.
![]()
-
Add the garam masala.
-4-185607.webp)
![]()
-
Add the chilli powder and turmeric powder.
-5-185607.webp)
![]()
-
Mix well and sauté on a medium flame for 1 minute.
![]()
-
Add the prepared paste.
-7-185607.webp)
![]()
-
Add the tamarind pulp.
-8-185607.webp)
![]()
-
Add salt to taste and 2 cups of water.
-9-185607.webp)
![]()
-
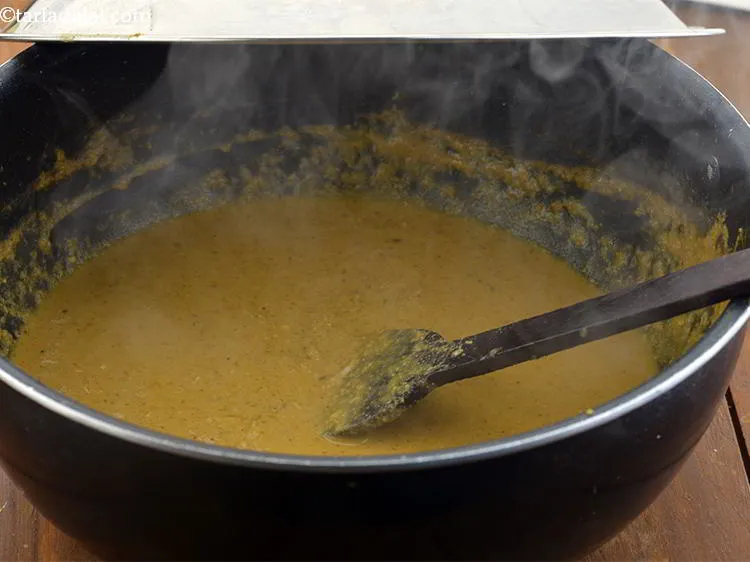
Mix well and cover with a lid and cook on a medium flame for 17 minutes, while stirring occasionally.
![]()
-
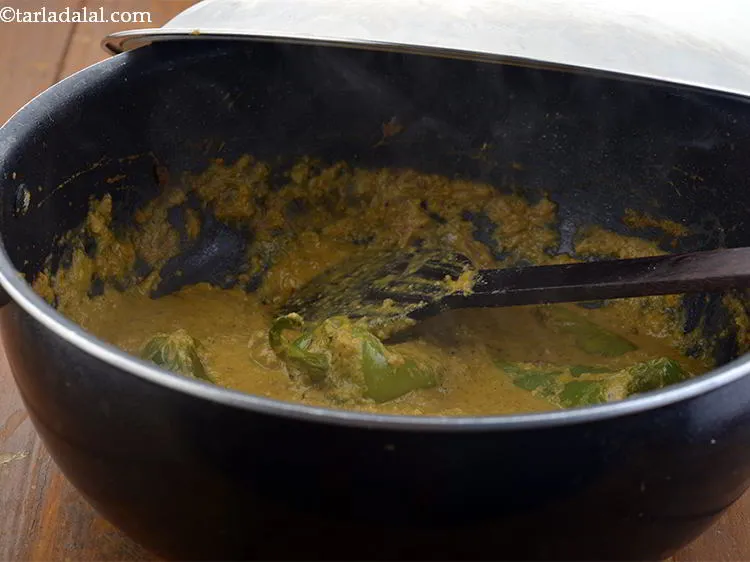
Add the chillies, mix well and cover with a lid and cook on a medium flame for 4 minutes, while stirring occasionally.
![]()
-
Serve mirchi ka salan | Hyderabadi mirchi ka salan | healthy mirchi ka salan | immediately.
![]()
-
Besides biryani, mirchi ka salan | Hyderabadi mirchi ka salan | healthy mirchi ka salan | also goes well with plain cooked rice or any Indian bread .
-
For the mirchi ka salan recipe | Hyderabadi mirchi ka salan | healthy mirchi ka salan | in the same oil, add the curry leaves. Add the remaining cumin seeds.
Nutrient values (Abbrv)per plate
| Energy | 143 cal |
| Protein | 1.8 g |
| Carbohydrates | 9.2 g |
| Fiber | 1.2 g |
| Fat | 11.3 g |
| Cholesterol | 0 mg |
| Sodium | 3.9 mg |
Click here to view Calories for Mirchi Ka Salan ( Hyderabadi Style)
The Nutrient info is complete

Dwarak
July 22, 2021, 7:59 p.m.
Tried this today and came out really well. Thanks for posting the recipe.

Tarla Dalal
July 22, 2021, 7:59 p.m.
Hi Dwarak, We''re glad to know you liked the recipe. Keep trying more recipes from our website and share your valuable feedback with us.
Surekha Mishra
March 10, 2021, 1:44 p.m.
Tarla Dalal
March 10, 2021, 1:44 p.m.
Sureskha thanks for the feedback !!! keep reviewing recipes, articles you loved.
vidya_6_2000
Feb. 16, 2021, 5:56 a.m.
Wonderful recipe,comes perfect
Ajay
Nov. 24, 2020, 3:31 p.m.
I tried this several times and I have now perfected it. It goes great with Biryanis or just with chapatees ... Thanks a ton!
mercy
Sept. 13, 2020, 9:18 a.m.
Very educative and nutricious
Tarla Dalal
Sept. 13, 2020, 9:18 a.m.
Thank you for your kind words. Please keep trying more recipes and sharing your comments with us.
Foodie#462805
Sept. 7, 2020, 3:33 p.m.
Love this recipe.
Foodie #624383
July 18, 2020, 2:24 p.m.
I tried the recipe and it came out to be really awesome :) everybody at home was delighted as I served it with veg biryani!
Ram Mohan
May 6, 2020, 3:29 p.m.
Tarla Dalal
May 6, 2020, 3:29 p.m.
Hi Ram, thanks for the feedback. This will help others to try the recipe.
Deepak pandey
June 26, 2019, 3:43 p.m.
If we will cook green Peas at high temperature for above mentioned recipes normally one cook''s vegetable at that temperature won''t it nutrients get burned, what will be the right way to have its nutients
Deepak pandey
June 26, 2019, 2:58 p.m.
Shreya
March 21, 2016, 5:05 p.m.
hi what should i serve with this recipe?