You are here: Home> Cuisine > Indian Veg Recipes > Gujarati > Gujarati Roti, Thepla recipe collection > Rotlis ( Gujarati Recipe)
Gujarati roti recipe | how to make Gujarati roti | Gujarati flatbread | healthy Gujarati phulka for beginners |

Tarla Dalal
18 July, 2024
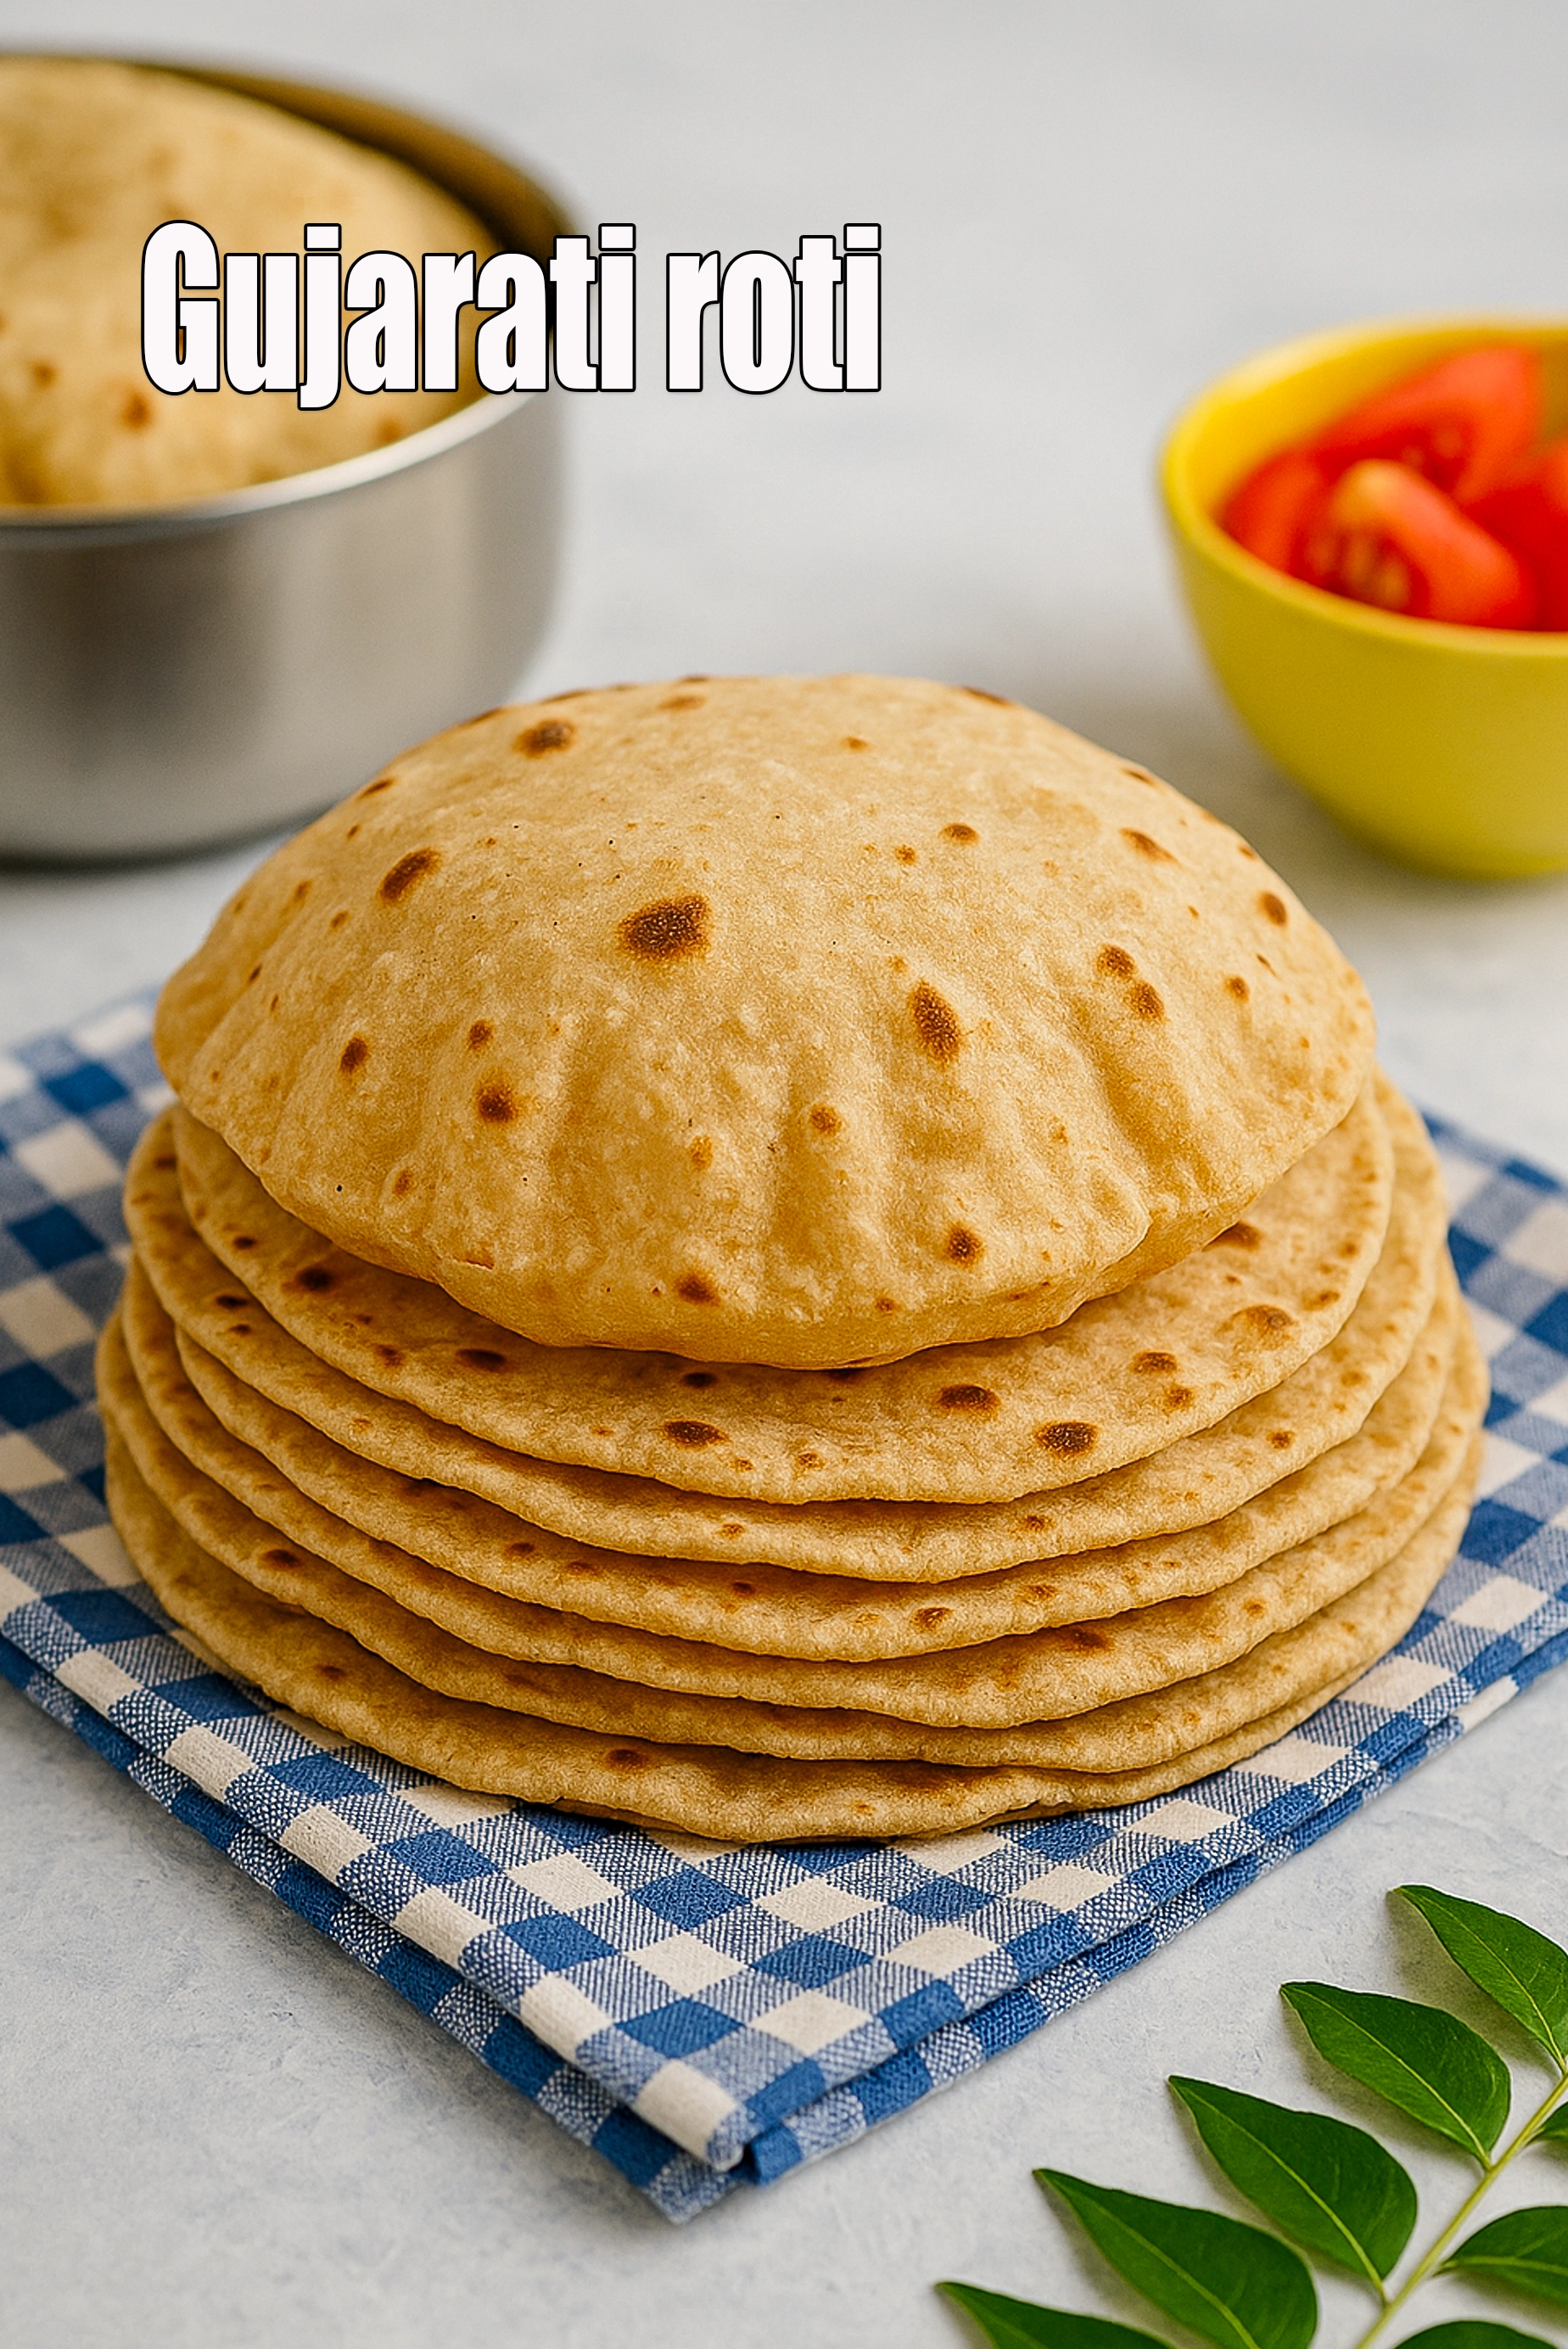
Table of Content
Gujarati roti recipe | how to make Gujarati roti | Gujarati flatbread | healthy Gujarati phulka for beginners | with 21 amazing images.
Unveiling the secrets of a soft and delightful Gujarati rotli is all about perfecting the dough and mastering the heat. Learn how to make Gujarati roti recipe | how to make Gujarati roti | Gujarati flatbread | healthy Gujarati phulka for beginners |
This staple Gujarati flatbread requires just a few ingredients: atta flour, water, oil, and a pinch of salt. The key lies in kneading a supple dough, achieving a near playdough-like consistency. After a relaxing rest, the dough is rolled out paper-thin, aiming for evenness to prevent uneven puffing while cooking.
A preheated tawa becomes your canvas, where the Gujarati rotli transforms with gentle flipping and the magic touch of direct heat over a gas flame (optional, but adds a restaurant-style flavor). A final brush of ghee adds a touch of richness, and voila – your soft, flavorful Gujarati rotli is ready to be enjoyed!
Paper-thin Gujarati phulkas served hot off the tava, smeared with ghee, enjoy them hot with some sukhi sabzi or quick sabzi or vegetarian curry! Rotlis are generally made just before the meal is to be served, but if you make them in advance, then wrap them in a cloth so that they remain hot and soft.
pro tips to make gujarati rotli recipe: 1. Adding a tablespoon of oil to the dough keeps it supple and prevents drying out while rolling. 2. Let the kneaded dough rest for at least 30 minutes. This allows the gluten to relax, making it easier to roll out thin, soft rotis. 3. Use a light dusting of flour on your rolling pin and chakla (rolling board) to prevent sticking. However, avoid over-flouring as it can make the roti tough. 4.Brush the cooked roti with a touch of ghee for added flavor and a soft texture.
Enjoy Gujarati roti recipe | how to make Gujarati roti | Gujarati flatbread | healthy Gujarati phulka for beginners | with detailed step by step photos.
Tags
Preparation Time
5 Mins
Cooking Time
15 Mins
Total Time
20 Mins
Makes
8 rotlis
Ingredients
For Gujarati Roti
1 cup whole wheat flour (gehun ka atta)
salt to taste
1 tsp oil
whole wheat flour (gehun ka atta) for rolling
ghee for smearing
Method
For Gujarati roti
- To make Gujarati roti recipe, combine all the ingredients in a deep bowl and knead into a soft and smooth dough using enough water. Keep aside for 15 to 20 minutes.
- Divide the dough into 8 equal portions and roll out each portion into a 125 mm. (5") diameter thin circle.
- Heat a tava (griddle), place the rotli on it and turn it over after a few seconds.
- Cook on the other side till air pockets appear on the surface and then turn it over onto an open flame for a few seconds till it puffs up.
- Repeat the same procedure to make 7 more rotlis.
- Smear a little ghee on top of each Gujarati rotli and serve immediately.
Rotlis ( Gujarati Recipe) recipe with step by step photos
-
-
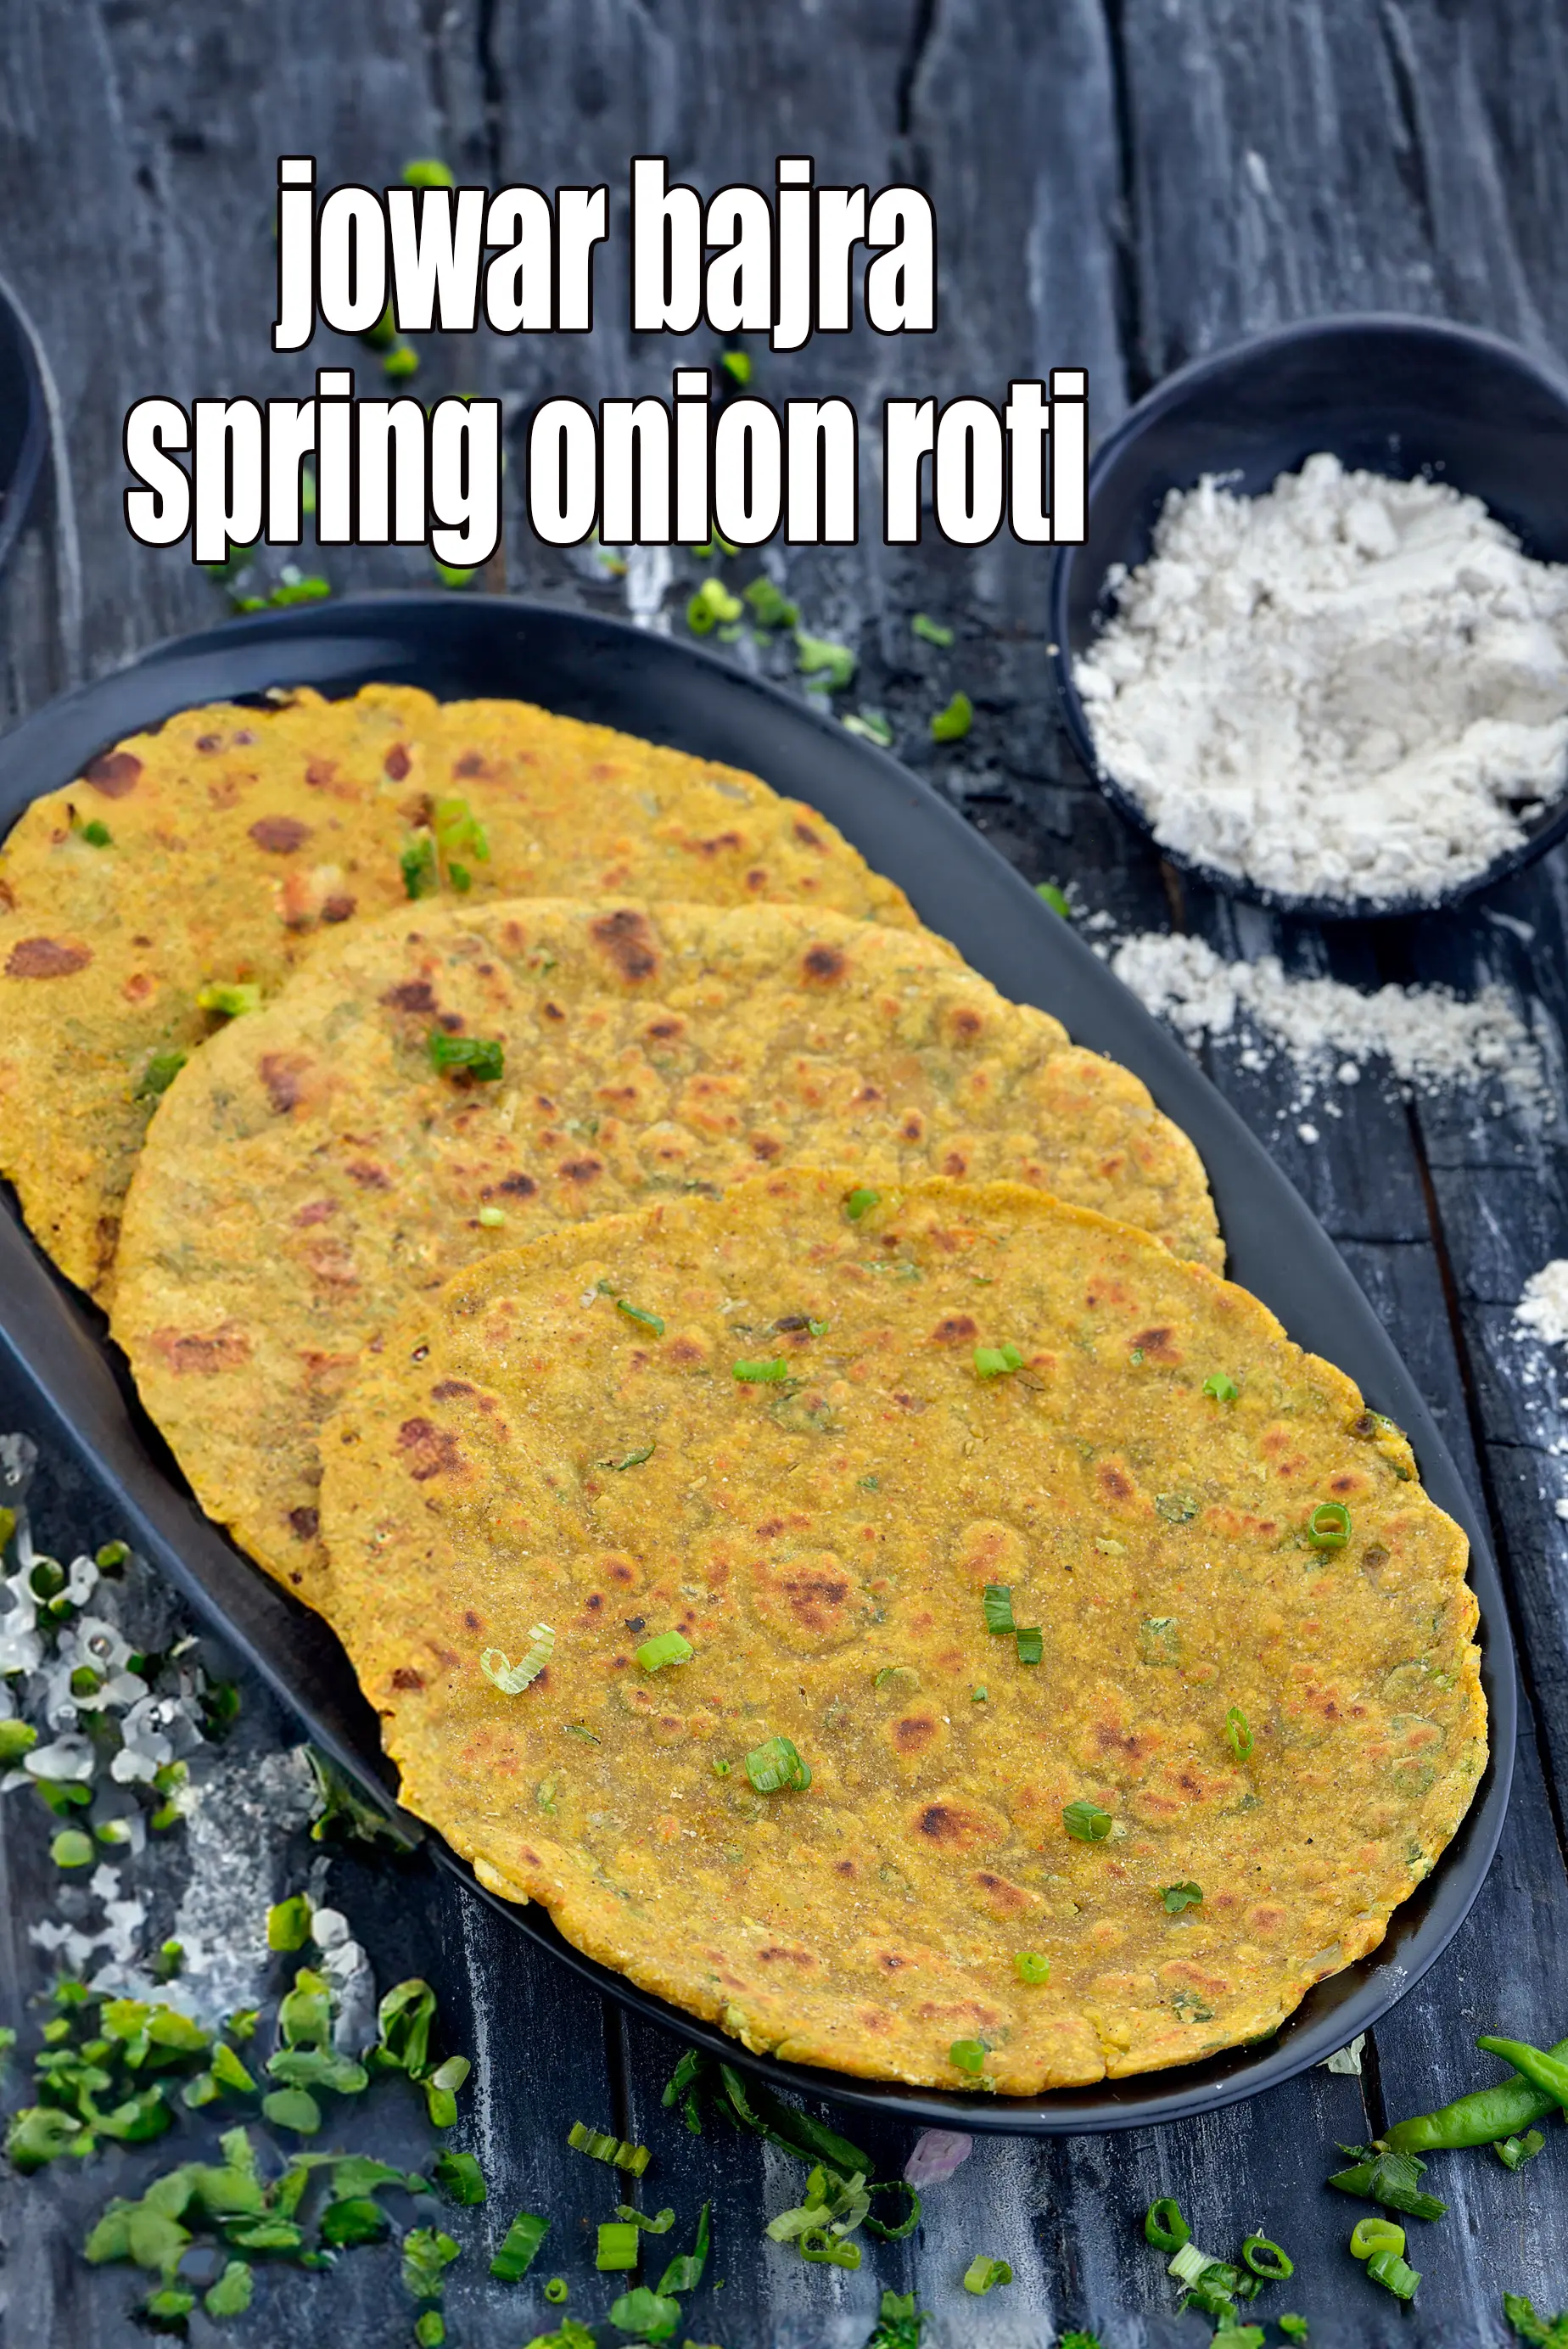
like Gujarati roti recipe | how to make Gujarati rotli | Gujarati flatbread | healthy Gujarati phulka for beginners | then see our collection of Gujarati rotis, theplas and other recipes we love.
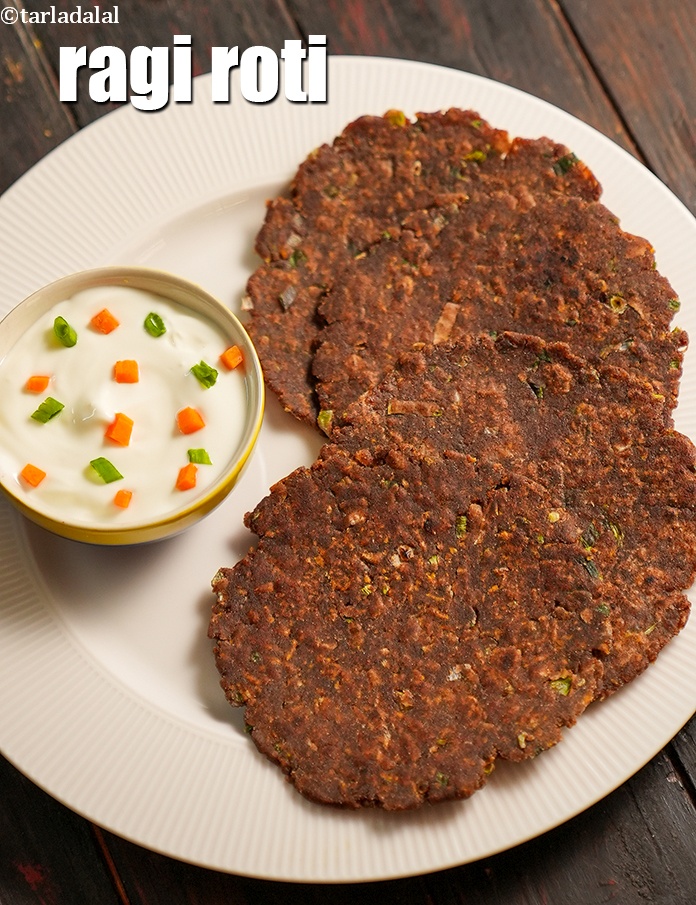
- thepla for travel | thepla without cuds for travel | methi thepla good for 15 days |
- bhakri recipe | Gujarati Style Biscuit Bhakri | Kathiyawadi Bhakri |
-
like Gujarati roti recipe | how to make Gujarati rotli | Gujarati flatbread | healthy Gujarati phulka for beginners | then see our collection of Gujarati rotis, theplas and other recipes we love.
-
-
Gujarati roti ingredients. 1 cups whole wheat flour (gehun ka atta), salt to taste, 1 tsp oil, whole wheat flour (gehun ka atta) for rolling, ghee for smearing. See below image of ingredients for Gujarati roti.
-
-
-
In a deep bowl put 1 cup whole wheat flour (gehun ka atta). To make the roti dough, traditionally a thali called parat, i.e. a stainless steel flour dough kneading plate is used. In this plate the flour won’t spread and fall off and also will be easy to knead the dough.

![]()
-
Then add 1 tsp oil. Oil helps to bind the flour and also keeps the rotis soft.

![]()
-
Then add a pinch of salt, but it’s optional. Salt is to add flavour and taste to the roti, as many people don’t like their rotis bland.

![]()
-
Then add water, taking care to add water little by little as required or else the dough will be sticky and difficult to knead. The quantity of water depends upon the quality of flour.

![]()
-
Keep adding water as required and knead the dough. As you keep kneading the dough you will understand how much more water to add.

![]()
-
Knead and gather the dough from the sides of the parat to form a mass. Add water so that the dough is soft but not sticking to your fingers at all.

![]()
-
Check the dough for softness and add some water and oil as needed. Punch the dough with your knuckles and keep on kneading for around 2 minutes or until the dough is soft and pliable. The dough for rotis should be soft and not stiff as for puris. Also if the dough is very soft it will be sticky and you will be unable to roll.

![]()
-
Keep the kneaded dough aside covered with a soft cloth or bowl for 15 to 20 minutes. If you wish you can make the rotis immediately, but I suggest keep the dough aside for some time as it gives a nice texture and the rotis will be softer and more fluffy.

![]()
-
The roti dough can be refrigerated for 2-3 days. The best way to refrigerate the dough is to lightly oil the dough and the bowl. The bowl you are storing the dough should be spacious and should be covered tightly to prevent it from drying.

![]()
-
-
-
To make Gujarati roti recipe | how to make Gujarati roti | Gujarati flatbread | healthy Gujarati phulka for beginners | Press the dough with your fingertip, and the dent that your fingers make should almost bounce back. If this doesn’t happen, it means that the dough is too hard, and it can cause the Chapati to be dry. After 20 minutes, divide the dough into 8 equal portions. Take a portion of the dough and roll between your palms and flatten it.

![]()
-
Using a little whole wheat flour for rolling, start rolling out the dough till it is a thin circle of 125 mm. (5") diameter. Rolling the roti is not as difficult, start rolling lightly from the centre in a circular motion. If you put a lot of pressure while rolling the roti will not roll nice and round. Use more flour for rolling if you find it difficult to roll, but not much or else the rotis will be hard.
-diameter-2-203656.webp)
![]()
-
Heat a non-stick tava (griddle) on a high flame and when hot, lower the flame and place the roti gently over it. Cook it till small blisters appear on the surface. The best way to check if the tava is ready is to drizzle a few drops of water on the tawa.If it sizzles, you are ready to make your roti.

![]()
-
Turn over the Gujarati roti recipe | how to make Gujarati roti | Gujarati flatbread | healthy Gujarati phulka for beginners | and cook for few more seconds on high flame till light brown spots appear.

![]()
-
Lift the roti off the tava with a tong and keep the first side that was cooked on the open flame, it will puff up.

![]()
-
Turn and keep the other side on the flame for 2 second it will puff further. Don’t cook on the open flame for too long or else the rotis will burn and become hard. Repeat with the remaining dough to make more rotis.

![]()
-
Place the roti on a plate, apply ghee over the roti and serve hot or wrap in a clean soft cloth and keep them in a hot case. Serve with subzis, curries and dal.

![]()
-
To make Gujarati roti recipe | how to make Gujarati roti | Gujarati flatbread | healthy Gujarati phulka for beginners | Press the dough with your fingertip, and the dent that your fingers make should almost bounce back. If this doesn’t happen, it means that the dough is too hard, and it can cause the Chapati to be dry. After 20 minutes, divide the dough into 8 equal portions. Take a portion of the dough and roll between your palms and flatten it.
-
-
Adding a tablespoon of oil to the dough keeps it supple and prevents drying out while rolling.

![]()
-
Let the kneaded dough rest for at least 30 minutes. This allows the gluten to relax, making it easier to roll out thin, soft rotis.

![]()
-
Use a light dusting of flour on your rolling pin and chakla (rolling board) to prevent sticking. However, avoid over-flouring as it can make the roti tough.

![]()
-
Brush the cooked roti with a touch of ghee for added flavor and a soft texture.

![]()
-
Adding a tablespoon of oil to the dough keeps it supple and prevents drying out while rolling.
Nutrient values (Abbrv)per plate
| Energy | 83 cal |
| Protein | 2.1 g |
| Carbohydrates | 12.6 g |
| Fiber | 2.1 g |
| Fat | 3 g |
| Cholesterol | 0 mg |
| Sodium | 3.5 mg |
Click here to view Calories for Rotlis ( Gujarati Recipe)
The Nutrient info is complete

Hinngora rafiq
Oct. 29, 2012, 11:41 a.m.

Tarla Dalal
Oct. 29, 2012, 11:41 a.m.
Hi Hinngora , we are delighted you loved the Rotli recipe. Please keep posting your thoughts and feedback and review recipes you have loved. Happy Cooking.