You are here: Home> Cuisine > Indian Veg Recipes > Gujarati > Gujarati Sweet Mithai > Daria Chikki, Roasted Chana Dal Chikki
Daria Chikki, Roasted Chana Dal Chikki

Tarla Dalal
06 December, 2024
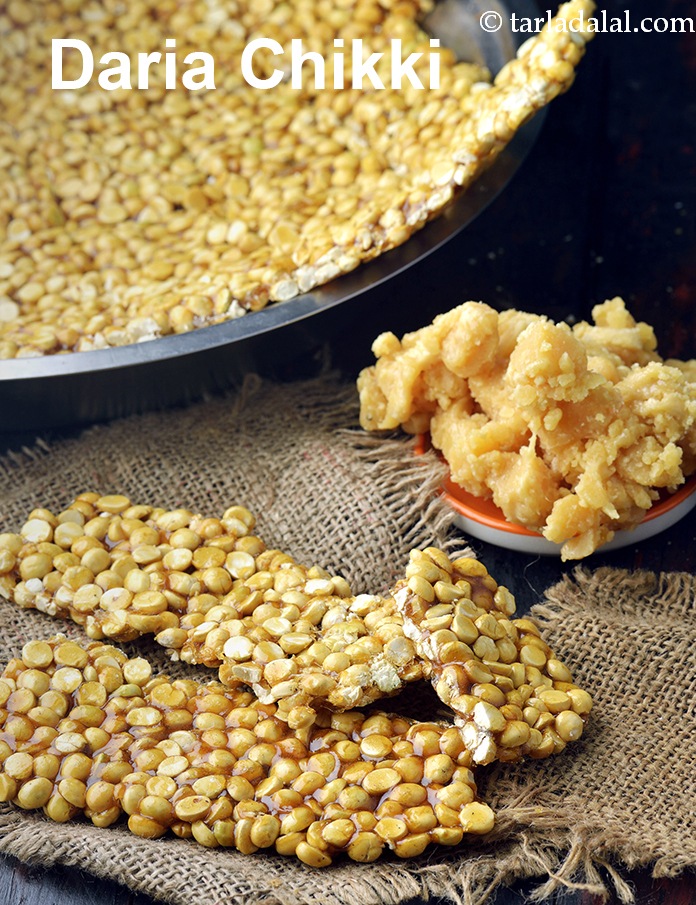
Table of Content
|
About Daria Chikki, Roasted Chana Dal Chikki
|
|
Ingredients
|
|
Methods
|
|
If you like daria chikki
|
|
For the daria chikki
|
|
Nutrient values
|
While peanut chikki, til chikki and mixed nut chikki and cashew chikki are common, people also enjoy this Lonavala daria chikki. Like most chikki recipes, this is also made with only 2 ingredients – daria and jaggery. This chikki has its own unique flavour and an interesting mouthfeel too. It stays fresh in an airtight container for at least one month!
Tips for daria chikki. 1. Ensure to not buy the black variety of jaggery, else the colour of the chikki will be black. 2. Be very quick in making the chikki, as it tends to burn or harden quickly. 3. While the chikki is still hot, remember to turn it upside down frequently as described in the recipe so that both sides will be smooth and glossy. 4. Ensure to cool completely before storing.
To make daria chikki, heat an aluminium kadhai on a high flame. Add the jaggery, mix well and cook on a high flame for 2 minutes, while stirring continuously. Lower the flame to slow and keep stirring continuously for 3 minutes, till it forms foam and changes the colour. Switch off the flame and keep stirring for a few more seconds. Add the daria and mix very well. Put it on a greased platform, while mixing it upside down using a flat ladle. Pat the mixture, with greased hands and roll it using a greased rolling pin to make 275 mm. (11”) diameter circle. While rolling make sure it does not stick on the platform. If it sticks, loosen it using a flat ladle, and roll again. Cut immediately using a sharp knife into equal squares. Cool completely. Break into pieces and store it in an airtight container in a cool and dry place.
When it comes to any mithai, there is no disputing the fact that anything that is homemade with love tastes much better than store-bought ones. This holds true for chikkis too! Yes, chikki – the wonderful Indian snack that continues to enchant several generations of people with its timeless charm. Here is a detailed step-by-step recipe that shows you how to make roasted chana dal chikki at home.
Chikki-making is an art, but this recipe will surely help you master it. Just make sure you keep all the required items ready on the kitchen platform before you begin making the daliya chikki, and make sure you use only an aluminium kadhai to get the right temperature and texture.
Enjoy daria chikki recipe | roasted chana dal chikki | daliya chikki | Lonavala daria chikki | with step by step photos below.
Tags
Preparation Time
15 Mins
Cooking Time
6 Mins
Total Time
21 Mins
Makes
35 pieces
Ingredients
For Daria Chikki
2 1/2 cups roasted chana dal (daria)
2 cups chopped jaggery (gur)
Method
- To make daria chikki, heat an aluminium kadhai on a high flame.
- Add the jaggery, mix well and cook on a high flame for 2 minutes, while stirring continuously.
- Lower the flame to slow and keep stirring continuously for 3 minutes, till it forms foam and changes the colour.
- Switch off the flame and keep stirring for few more seconds.
- Add the daria and mix very well.
- Put it on a greased platform, while mixing it upside down using a flat ladle.
- Pat the mixture, with greased hands and roll it using a greased rolling pin to make 275 mm. (11”) diameter circle.
- While rolling make sure it does not stick on the platform. If it sticks, loosen it using a flat ladle, and roll again.
- Cut immediately using a sharp knife into equal squares. Cool completely.
- Break the daria chikki into pieces and store it in an airtight container in a cool and dry place.
Daria Chikki, Roasted Chana Dal Chikki recipe with step by step photos
-
-
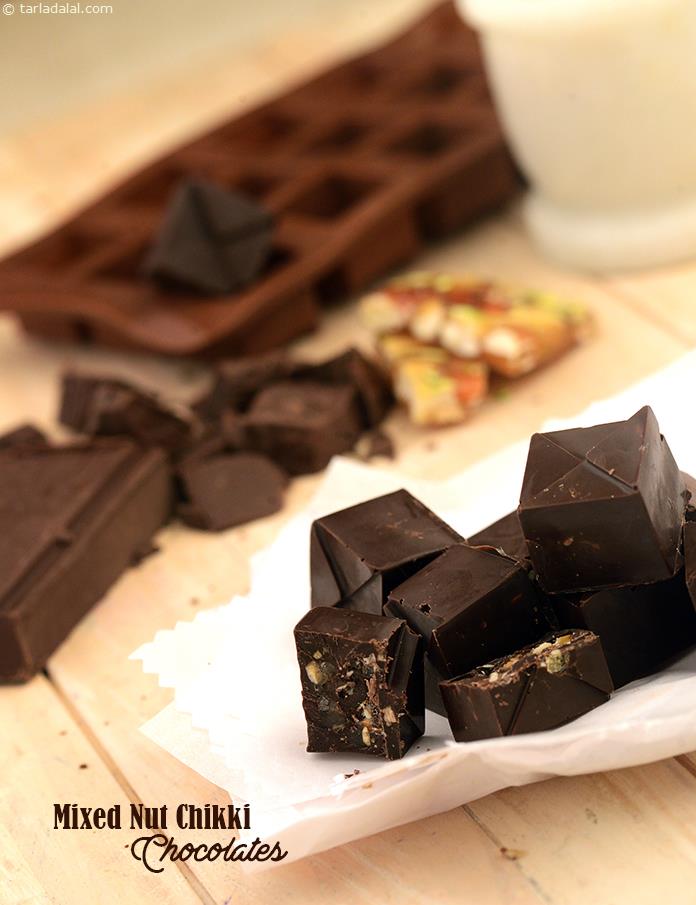
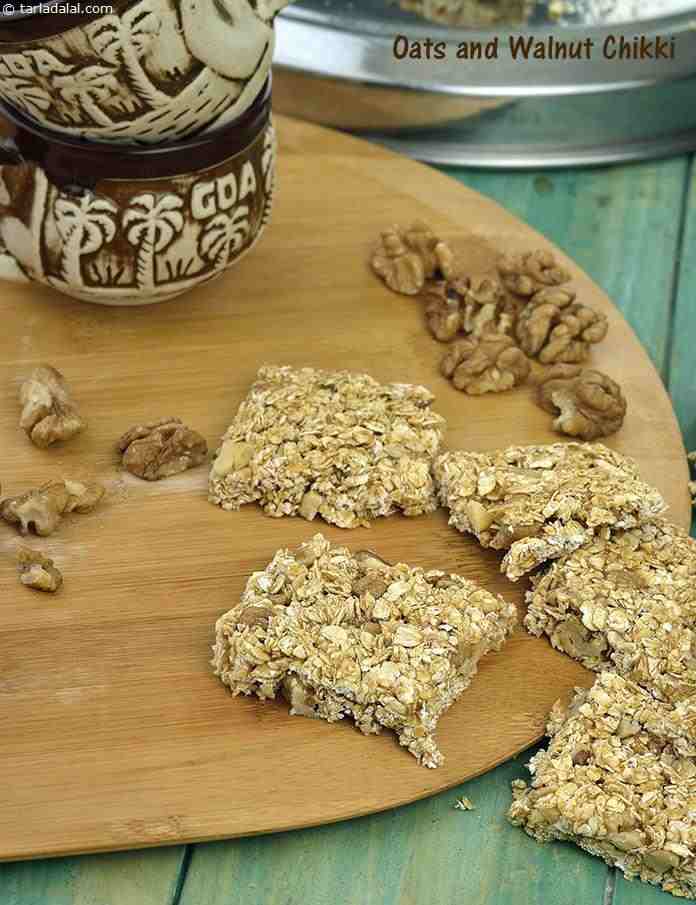
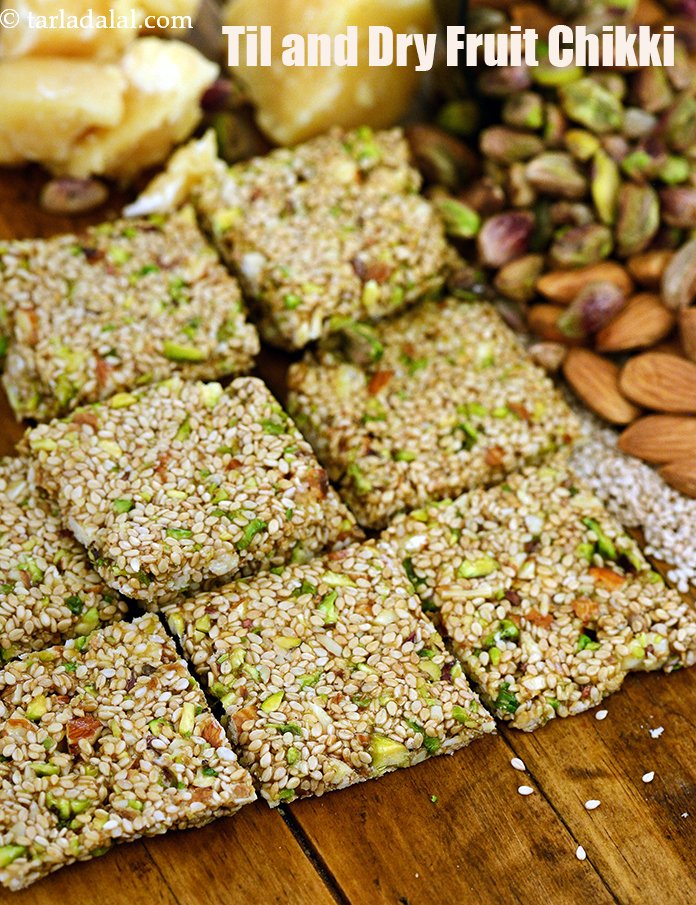
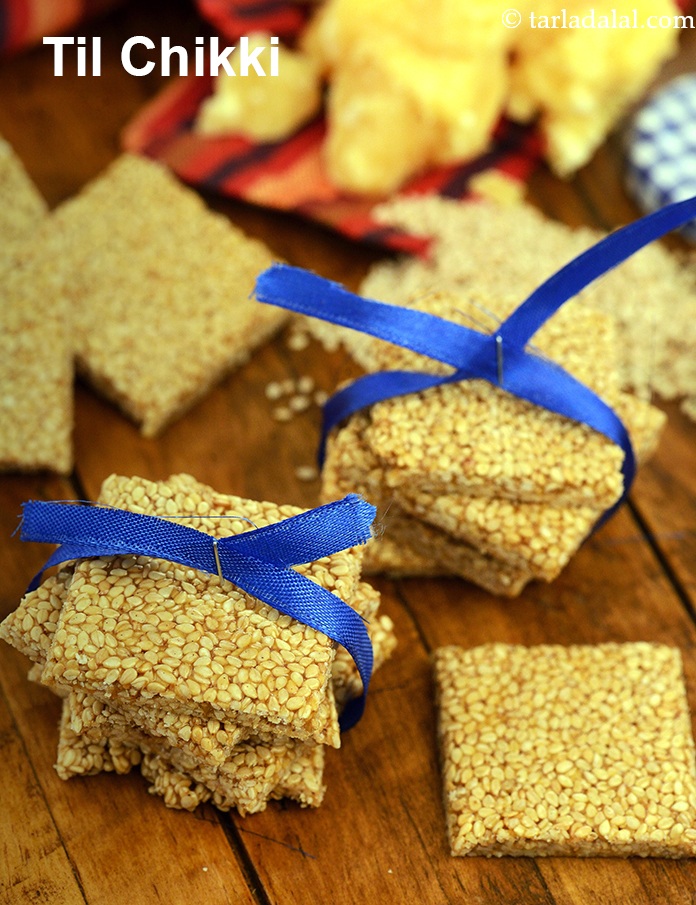
If you like daria chikki recipe | roasted chana dal chikki | daliya chikki | Lonavala daria chikki | then see our collection of chikki recipes and some recipes we love below.
- peanut chikki Makar sankranti recipe | groundnut chikki | 2 ingredient shengdana chikki | moongfali chikki | with 15 amazing images.
- til chikki recipe | til gur ki chikki | 3 ingredient til ki chikki | how to make til chikki at home | with 15 amazing images.
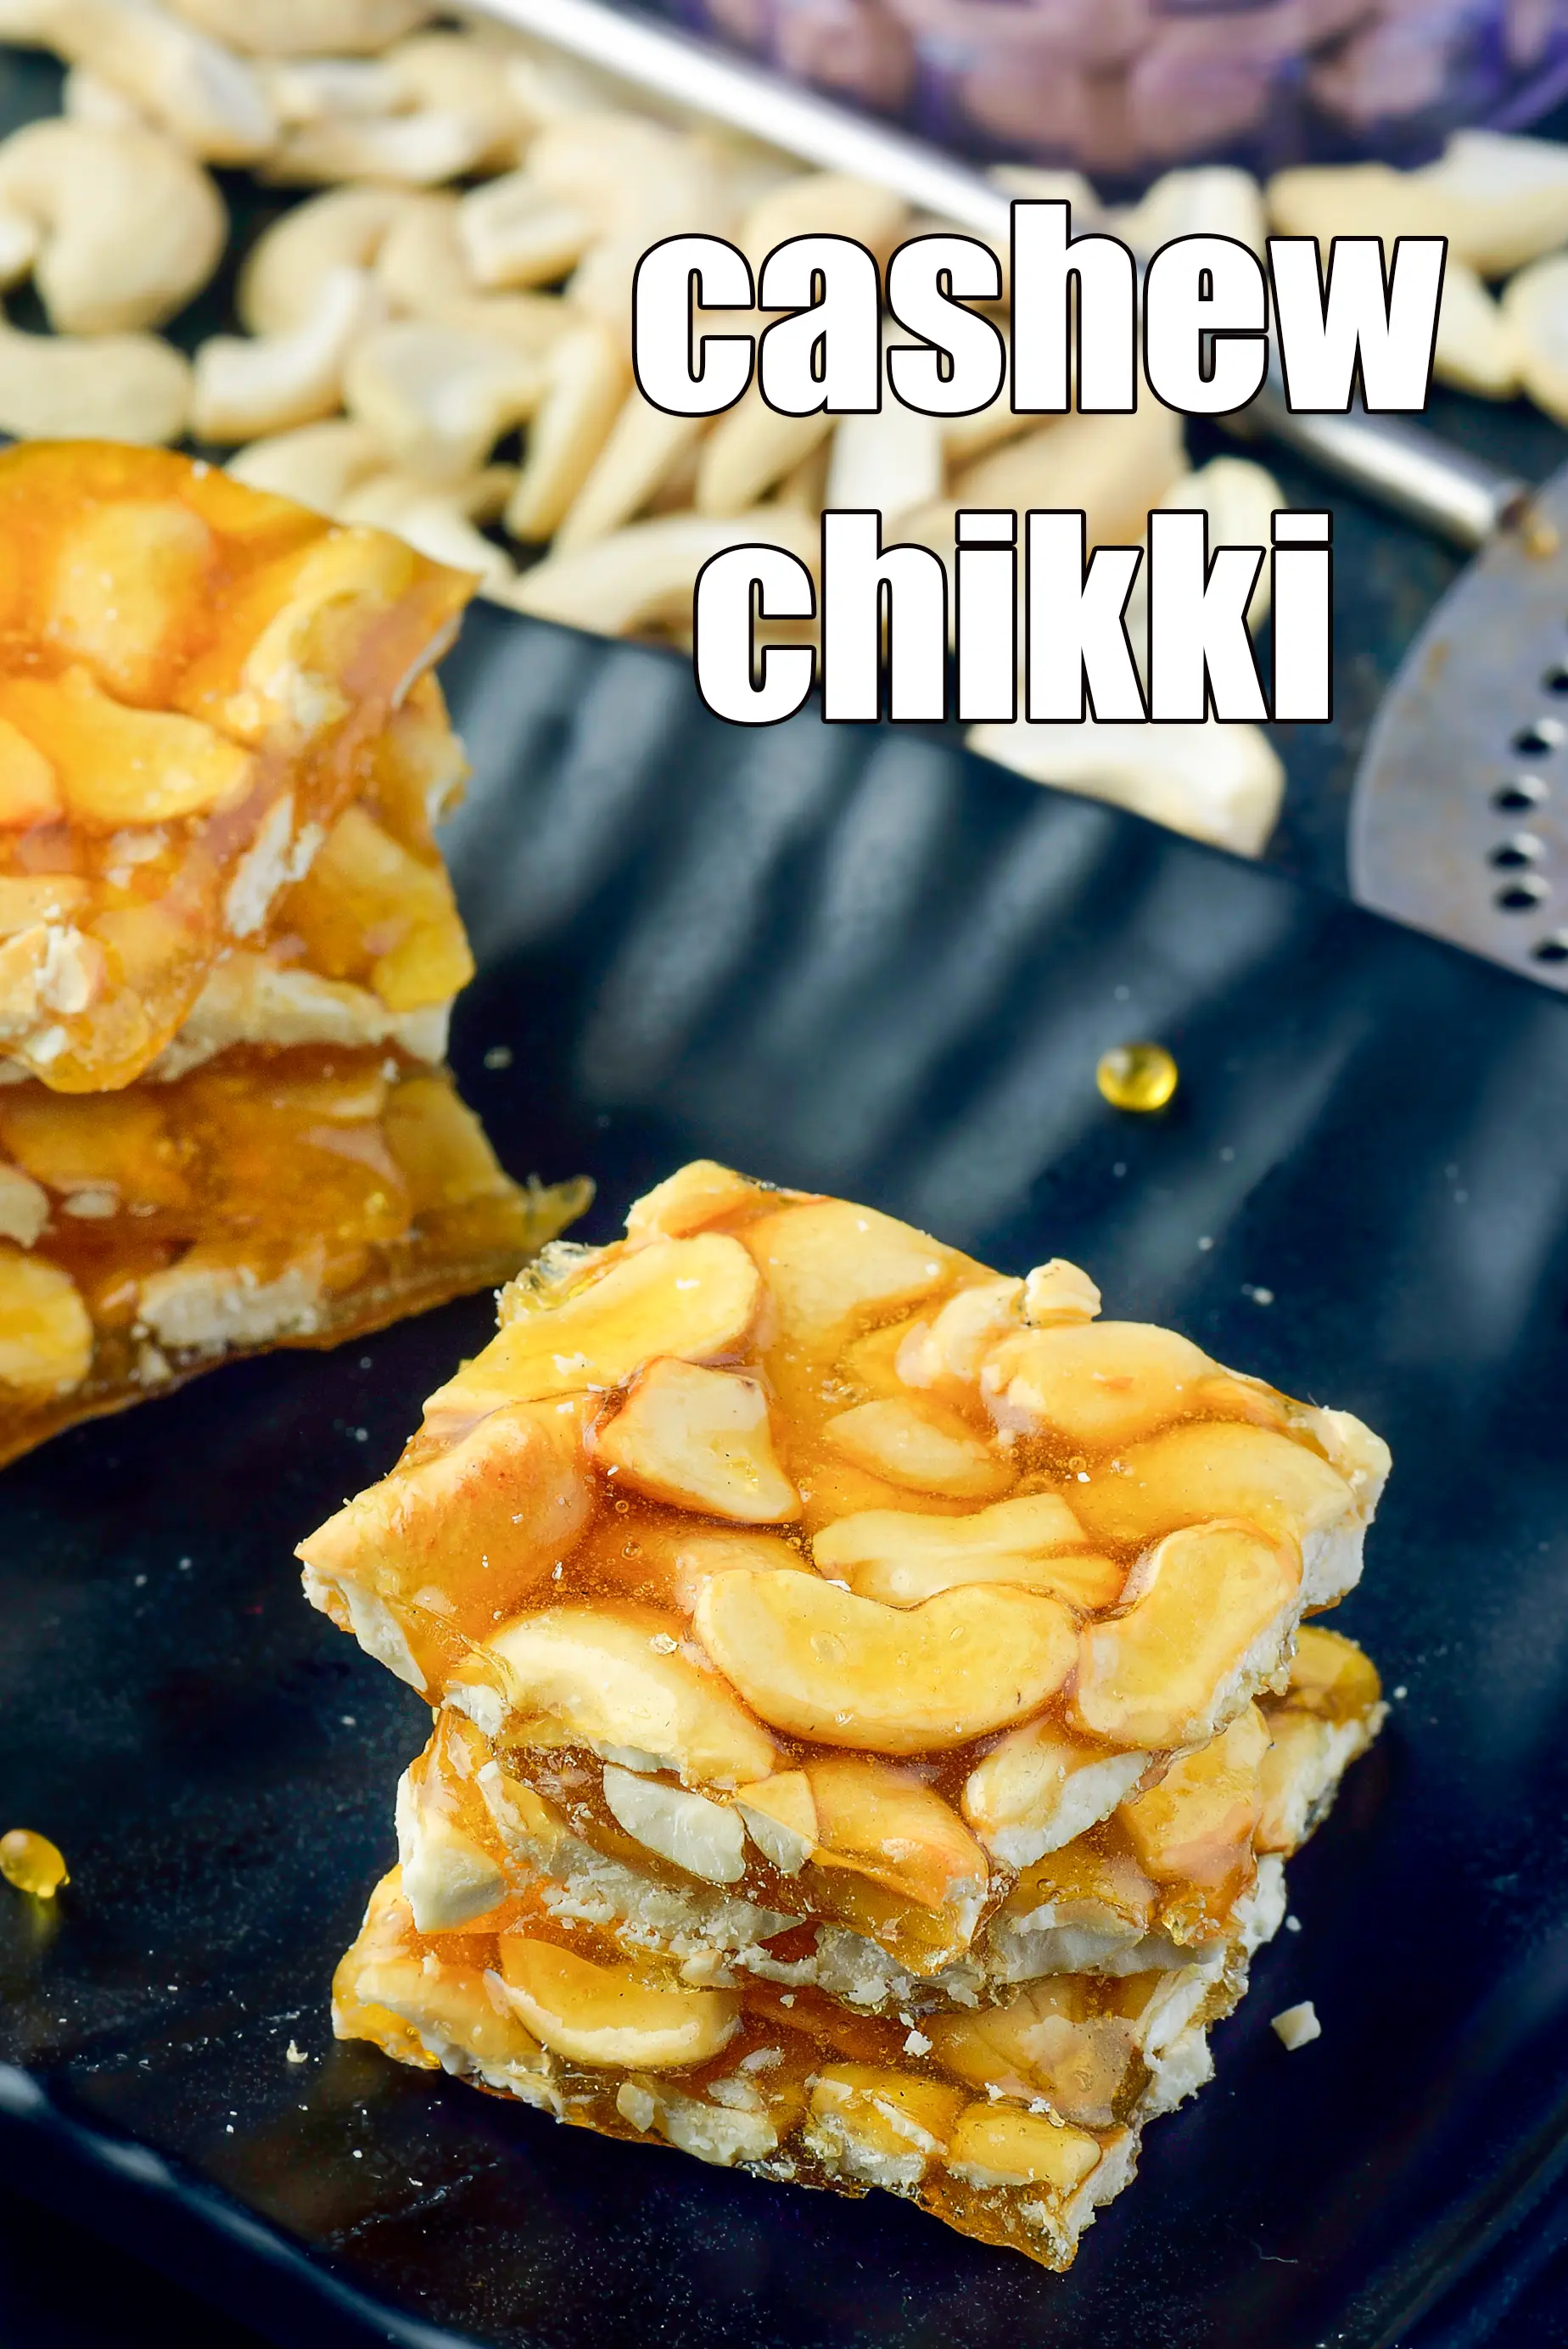
- cashew chikki recipe | cashew nut chikki | cashew nut brittle | kaju chikki | with 16 amazing images
-
If you like daria chikki recipe | roasted chana dal chikki | daliya chikki | Lonavala daria chikki | then see our collection of chikki recipes and some recipes we love below.
-
-
To make daria chikki recipe | roasted chana dal chikki | daliya chikki | Lonavala daria chikki, we need roasted chana dal means daria. While buying inspect that the daria was stored in a covered container, are whole, unblemished, and have no moisture or damage due to worms.
-1-190121.webp)
![]()
- Then heat an aluminium kadhai on a high flame. Prefer to use an aluminium kadhai with a medium thickness base. To thin a base of the kadhai might burn the jaggery. If you don’t have an aluminium kadhai, you can use a non-stick kadhai. We do not recommend the use of steel kadhai.
-
Add the chopped jaggery to it.
-3-190121.webp)
![]()
-
Mix well and cook on a high flame for 2 minutes, while stirring continuously using a slotted spoon. You can use any other big spoon or flat laddle also.
-4-190121.webp)
![]()
-
Lower the flame to slow and keep stirring continuously for 3 minutes, till the jaggery forms foam and changes the colour.
-5-190121.webp)
![]()
- Switch off the flame and keep stirring for few more seconds. This is to avoid further cooking of jaggery syrup.
-
Add the daria for daliya chikki.
-7-190121.webp)
![]()
-
Mix very well using the same spoon.
-8-190121.webp)
![]()
- Immediately, put the mixture on a greased platform, while mixing it upside down using a flat ladle. This is to ensure that both sides will be smooth and glossy.
-
Pat the mixture, with greased hands preferbaly. You can use a greased spoon if you find it difficult to do with your hands. But remember to be quick.
-10-190121.webp)
![]()
-
Roll the roasted chana dal chikki using a greased rolling pin to make 275 mm. (11”) diameter circle. While rolling, ensure you roll the chikki uniformly. Prefer to use a thick rolling pin to ensure uniform pressure on the chikki. Also while rolling make sure it does not stick on the platform. If it sticks, loosen it using a flat ladle, and roll again.
-11-190121.webp)
![]()
-
Cut immediately using a sharp knife into equal square pieces. Make the cut marks of desired shape on the chikki, while it is yet hot. After cooling, it is difficult to break it into pieces of desired shape. Finally cool it completely.
-12-190121.webp)
![]()
-
Break into pieces with your hands.
-13-190121.webp)
![]()
-
Store Lonavala daria chikki in an airtight container in a cool and dry place. It stays fresh for at least one month during the winter days!
-14-190121.webp)
![]()
-
To make daria chikki recipe | roasted chana dal chikki | daliya chikki | Lonavala daria chikki, we need roasted chana dal means daria. While buying inspect that the daria was stored in a covered container, are whole, unblemished, and have no moisture or damage due to worms.
Nutrient values (Abbrv)per plate
| Energy | 44 cal |
| Protein | 0.9 g |
| Carbohydrates | 9.7 g |
| Fiber | 0.3 g |
| Fat | 0.1 g |
| Cholesterol | 0 mg |
| Sodium | 8.6 mg |
Click here to view Calories for Daria Chikki, Roasted Chana Dal Chikki
The Nutrient info is complete

Sulata Coelho
March 13, 2025, midnight
Very nice and easy recipe. Chikki just like shop but assured clean and good ingredients. Thank you and God bless _x0001F64F_

Nisha
March 13, 2025, midnight
Perfect sweetness and perfect texture of a chikki. Just be quick enough in rolling and shaping, and you are sure to get a fab output.

-5905.webp)
