You are here: Home> Cuisine > Italian Vegetarian > Italian Veg Pasta > Garlic Basil Ravioli with Alfredo Sauce
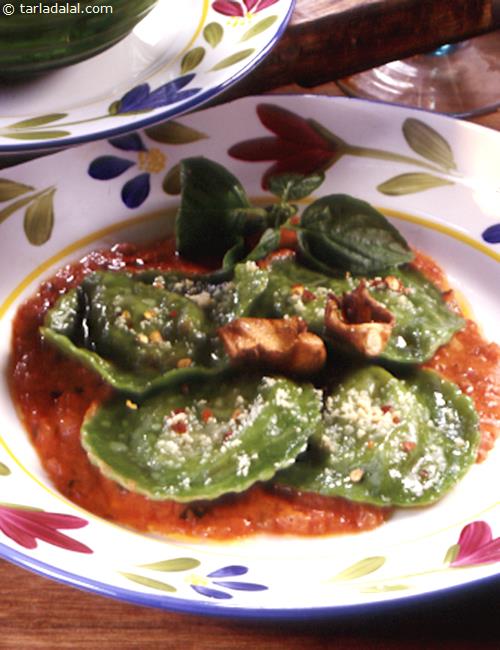
Garlic Basil Ravioli with Alfredo Sauce

Tarla Dalal
06 December, 2024
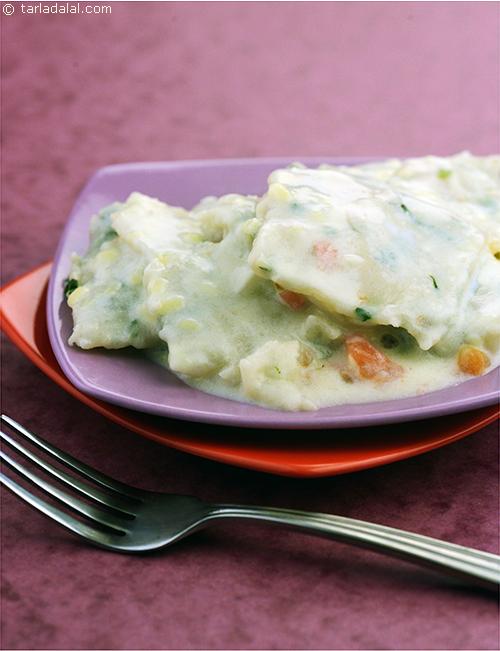
Table of Content
Tags
Preparation Time
30 Mins
Cooking Time
25 Mins
Total Time
55 Mins
Makes
4 null
Ingredients
Main Recipe
For the ravioli
1 cup plain flour (maida)
2 tbsp fresh green garlic (hara lehsun) chopped
2 tbsp fresh chopped basil
4 tbsp olive oil or
salt to taste
1 tsp salt and 1 tablespoon
For the filling
2 blanched tomatoes , deseeded and finely chopped tomatoes
salt to taste
For the Alfredo sauce
1 tbsp plain flour (maida)
2 tbsp butter
2 cups milk
1 tbsp white wine
1/4 cup grated processed cheese
salt to taste
Method
- Heat the butter in a saucepan, add the flour and sauté for 1 minute.
- Gradually, pour the milk into it stirring continuously taking care to see that no lumps form. Bring to a boil.
- Add the white wine, cheese and salt, mix well and keep aside.
- Sieve the flour and salt. Add the fresh green garlic, basil and olive oil.
- Knead into a smooth but firm dough adding a little cold water if necessary.
- Cover the dough with a wet muslin cloth and allow to rest for about 15 minutes.
- Divide the dough into two portions and roll out each portion as thinly as possible without breaking the sheet.
- Brush one sheet with cold water and place the chopped tomatoes in little heaps (using a teaspoon) on it at regular intervals.
- Cover with the second sheet of pasta and press around each mound of filling.
- Cut with a small cookie cutter or knife into squares of 36 mm. X 36 mm. (11/2" X 11/2") and keep aside.
- Boil plenty of water in a large saucepan with 1 teaspoon of salt and 1 tablespoon of oil added to it. Drop the ravioli in it piece by piece into it, a few pieces at a time and cook for 3 minutes.
- Drain the ravioli and transfer into a bowl of fcold water to refresh it.
- Drain again and keep aside.
- Heat the Alfredo sauce and toss the ravioli in it.
- Serve hot.
Garlic Basil Ravioli with Alfredo Sauce recipe with step by step photos




-11088.webp)
