You are here: Home> Cuisine > American > American Ice - Creams & Deserts > Eggless Chocolate Pie, No Bake Indian Pie
chocolate pie recipe | eggless chocolate pie | no bake chocolate pie | homemade Indian chocolate pie |

Tarla Dalal
09 August, 2021
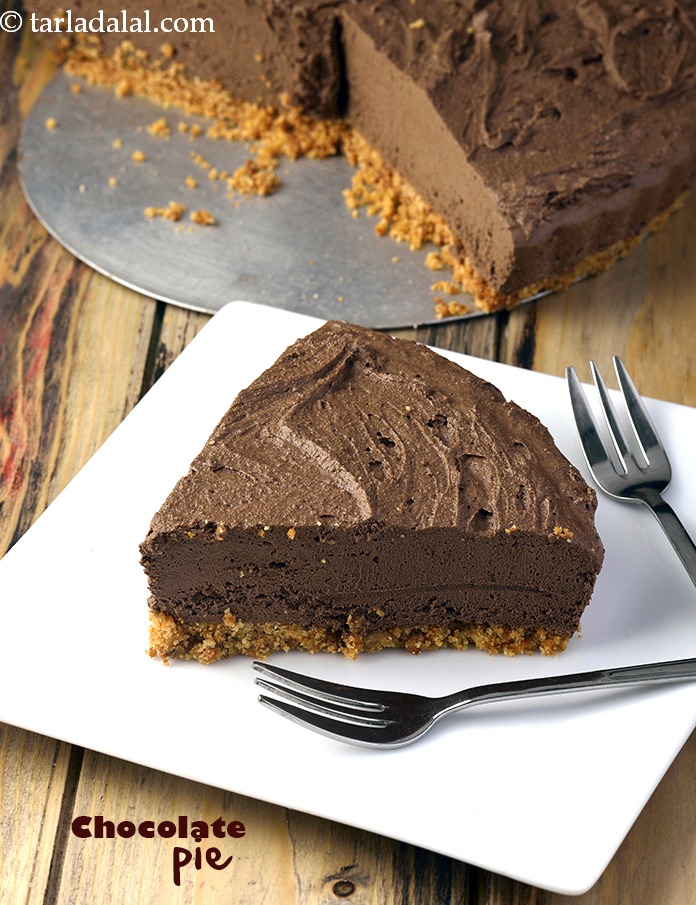
Table of Content
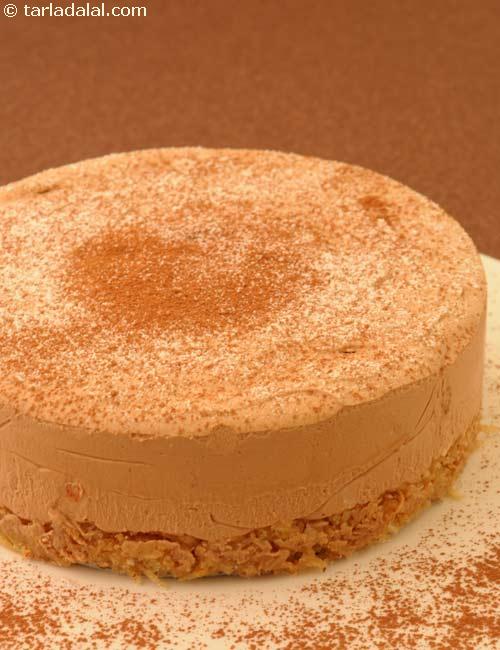
chocolate pie recipe | eggless chocolate pie | no bake chocolate pie | homemade Indian chocolate pie is a yummy dessert to suit all occasions. Learn how to make eggless chocolate pie.
To make chocolate pie, first make the biscuit base. For that combine the biscuit and melted butter in a bowl and mix well. Press the mixture into the base of a 150 mm. (6") loose-bottomed pie dish. Refrigerate for 15 to 20 minutes or till the base is firm. For the filling, combine the chocolate and milk in a microwave-safe bowl and microwave on high for 30 to 40 seconds. Mix gently till no lumps remain. Keep aside. Combine the beaten whipped cream, powdered sugar and vanilla essence in another bowl and fold gently. Add the prepared chocolate-milk mixture and fold gently. Keep aside. Spread the filling evenly over the set biscuit base and refrigerate for 2 to 3 hours or set till firm. De-mould the pie, garnish with grated chocolate, cut into 6 equal wedges and serve chilled.
An evergreen favourite with kids, the chocolate pie is traditionally a time-consuming dessert. Now, here is how you can make no bake chocolate pie quickly and easily using the microwave. All it takes is a few minutes to prepare a biscuit base, a few more minutes to prepare a creamy, chocolaty topping, and a few hours to set in the refrigerator.
The crunchy layer at the bottom with a gooey filling is a perfect blend of texture and flavours to please your palate. Garnish with loads of grated chocolate, and serve chilled. Your guests are sure to applaud you for serving homemade Indian chocolate pie after a hearty meal.
Not only will kids enjoy this eggless chocolate pie, but the irresistible chocolateness of this dessert will kindle the adults too! You can also try other chocolate based desserts like jam filled chocolates and chocolate brownie.
Tips for chocolate pie. 1. You need to use a loose bottomed cake tin so the pie can easily be demoulded before serving. 2. To melt butter, remove it at least half an hour before use. Place it in a microwave safe bowl and microwave it for 10 to 15 seconds. 3. The unbeaten whipped cream should be stored in the deep freezer. 4. Once beaten, it should be immediately stored in an airtight container in the freezer till use. It stays fresh upto 15 days. 5. While mixing chocolate, ensure that there are no lumps remaining. 6. If you don’t have powdered sugar, grind the table sugar in a mixer and sieve it before use.
Enjoy chocolate pie recipe | eggless chocolate pie | no bake chocolate pie | homemade Indian chocolate pie | with step by step photos.
Tags
Preparation Time
20 Mins
Cooking Time
1 Mins
Total Time
21 Mins
Makes
6 wedges
Ingredients
For The Biscuit Base
1 cup crushed digestive biscuit
5 tbsp melted butter
For The Filling
2 cups roughly chopped milk chocolate or chopped dark chocolate
1/4 cup milk
2 cups beaten whipped cream
2 tbsp powdered sugar
1 tsp vanilla essence
For The Garnish
3 tbsp grated milk chocolate or grated dark chocolate
Method
- Combine the biscuit and melted butter in a bowl and mix well.
- Press the mixture into the base of a 150 mm. (6") loose-bottomed pie dish.
- Refrigerate for 15 to 20 minutes or till the base is firm.
- Combine the chocolate and milk in a microwave-safe bowl and microwave on high for 30 to 40 seconds. Mix gently till no lumps remain. Keep aside.
- Combine the beaten whipped cream, powdered sugar and vanilla essence in another bowl and fold gently.
- Add the prepared chocolate-milk mixture and fold gently. Keep aside.
- To make the eggless chocolate pie, spread the filling evenly over the set biscuit base and refrigerate for 2 to 3 hours or set till firm.
- De-mould the eggless chocolate pie, garnish with grated chocolate, cut into 6 equal wedges and serve chilled.
Quick Chocolate Pie recipe | Indian style eggless chocolate pie | Video by Tarla Dalal
Eggless Chocolate Pie, No Bake Indian Pie recipe with step by step photos
-
-
If you like chocolate pie, then also try other chocolate recipes like
- chocolate butter cookies recipe | chocolate butter biscuits | eggless chocolate butter cookies |how to make cookies at home | with 23 amazing images.
- eggless chocolate brownie muffins recipe | fudgy chocolate brownie muffins | Indian eggless brownie muffins | brownie muffins no egg | with 18 amazing images.
- eggless chocolate fudge cake recipe | chocolate fudge cake recipe | Indian style easy chocolate fudge cake | with amazing 26 images.
-
If you like chocolate pie, then also try other chocolate recipes like
-
-
Chocolate pie is made of 1 cup crushed digestive biscuits, 5 tbsp melted butter,
2 cups roughly chopped milk chocolate or dark chocolate, 1/4 cup milk, 2 cups beaten whipped cream, 2 tbsp powdered sugar and 1 tsp vanilla essence.
-
Chocolate pie is made of 1 cup crushed digestive biscuits, 5 tbsp melted butter,
-
-
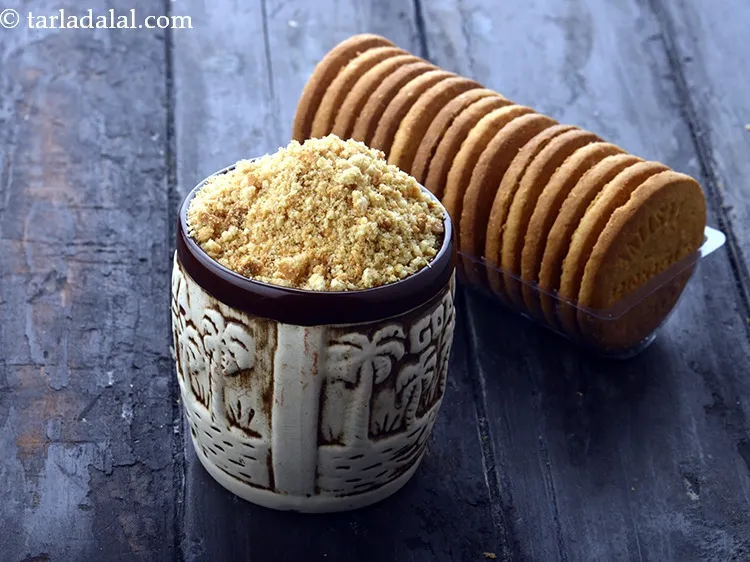
For the biscuit base, add 1 cup crushed digestive biscuits in a bowl.
![]()
-
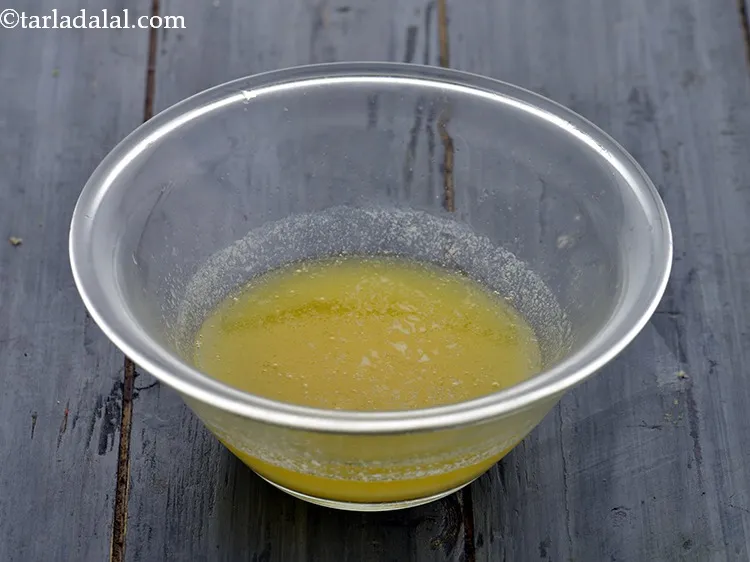
Add 5 tbsp melted butter. To melt butter, remove it at least half an hour before use. Place it in a microwave safe bowl and microwave it for 10 to 15 seconds.
![]()
-
Mix well with hands to get a uniform mixture. At this stage the mixture will bind well. That is an indication that the butter is enough and the mixture is ready.
-3-193623.webp)
![]()
-
Press the mixture into the base of a 150 mm. (6") loose-bottomed pie dish. You need to use a loose bottomed cake tin so the pie can easily be demoulded before serving.
-4-193623.webp)
![]()
- Refrigerate for 15 to 20 minutes or till the base is firm.
-
For the biscuit base, add 1 cup crushed digestive biscuits in a bowl.
-
-
Most supermarkets and specialty stores sell chocolate these days. It is also available in cafes and cake shops. Buy from a trusted store to ensure maximum freshness.

![]()
- Read the text at the back of the packet to check the percentage of cocoa and learn how sweet or bitter the chocolate will be. Match this with your recipe requirement.
- Make sure the chocolate is not soft and molten.
- If the chocolate is soggy, you should use it within a few days.
- When buying, always check the expiry date.
- Chocolate does not expire too soon and can sometimes last for a few months or even years from the time it was made, if stored properly.
-
Most supermarkets and specialty stores sell chocolate these days. It is also available in cafes and cake shops. Buy from a trusted store to ensure maximum freshness.
-
-
To make homemade whipped cream recipe | how to make whipped cream for cake | perfect Indian whipped cream | whipped cream frosting, take 1 1/4 cups unbeaten whipped cream in a deep bowl. This is also called as heavy cream. Remember the heavier the cream, the faster it will whip.
-1-193625.webp)
![]()
-
We need an electric beater for this recipe. It is a hand mixer which is operated using electricity. Basically it is a food mixer powered by electricity. An electric beater is a kitchen utensil which uses a gear-driven mechanism to rotate a set of beaters in a bowl containing the food to be prepared. It automates the repetitive tasks of stirring, whisking or beating.
-2-193625.webp)
![]()
-
Start beating with an electric beater.
-3-193625.webp)
![]()
-
After 2 to 3 minutes, you will realise that the cream has thickened slightly and the volume also increased.
-4-193625.webp)
![]()
-
After 8 to 10 minutes beaten whipped cream is thick and ready. If it forms soft peaks, it is ready. You will see that the beater holds the cream very well. Another way to check if it is ready is to spoon a little cream and try turning the spoon upside down. If the cream doesn’t fall easily, it is beaten well. Whipping till perfect is very important as over whipping will ruin the dessert while less of beating will make it difficult to set.
-5-193625.webp)
![]()
-
To make homemade whipped cream recipe | how to make whipped cream for cake | perfect Indian whipped cream | whipped cream frosting, take 1 1/4 cups unbeaten whipped cream in a deep bowl. This is also called as heavy cream. Remember the heavier the cream, the faster it will whip.
-
-
For the filling, add 2 cups roughly chopped milk chocolate or dark chocolate in a microwave-safe bowl.
-1-193626.webp)
![]()
-
Add1/4 cup milk.
-2-193626.webp)
![]()
-
Microwave on high for 30 to 40 seconds.
-3-193626.webp)
![]()
-
Remove from the microwave and mix gently. There should be no lumps remaining. Always use a spatula for mixing. Keep aside.
-4-193626.webp)
![]()
-
Then add 2 cups beaten whipped cream, in another bowl.
-5-193626.webp)
![]()
-
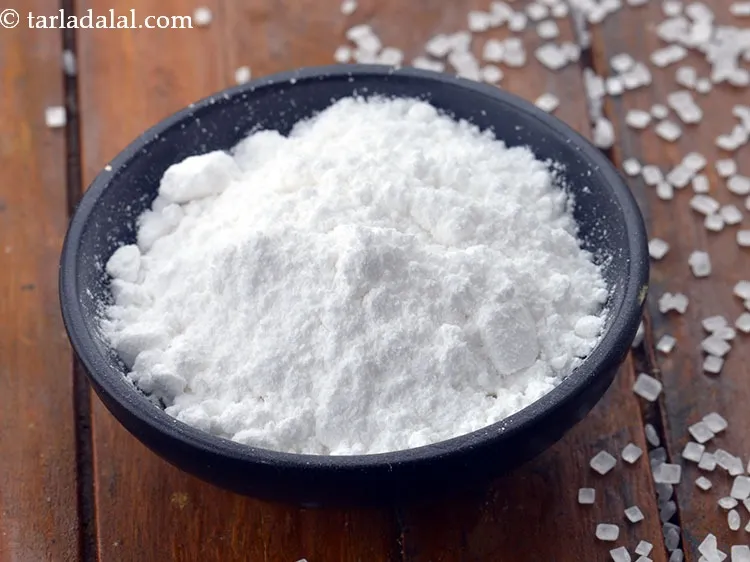
Add 2 tbsp powdered sugar.
![]()
-
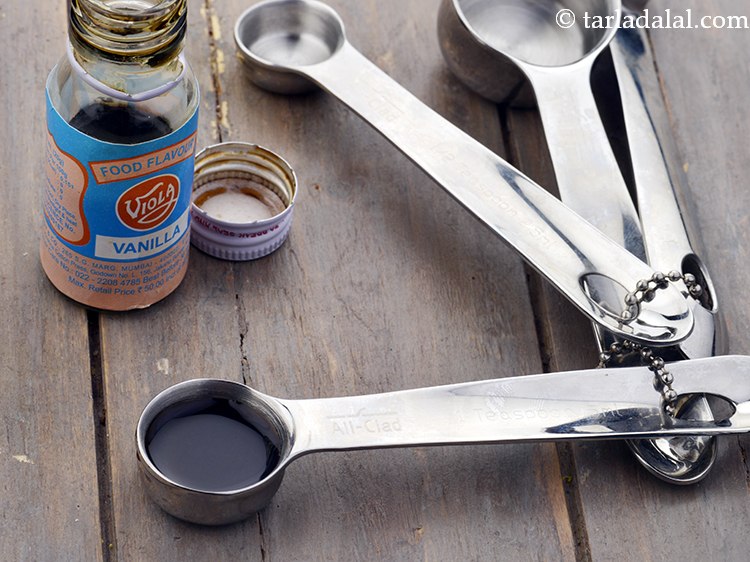
Add 1 tsp vanilla essence.
![]()
-
Fold gently using a spatula.
-8-193626.webp)
![]()
-
Add the prepared chocolate-milk mixture to this whipped cream mixture and fold gently. The filling is ready.
-9-193626.webp)
![]()
-
For the filling, add 2 cups roughly chopped milk chocolate or dark chocolate in a microwave-safe bowl.
-
-
Spread the filling evenly over the set biscuit base and refrigerate for 2 to 3 hours or set till firm.
-1-193627.webp)
![]()
- De-mould the pie and garnish with grated chocolate.
-
Cut into 6 equal wedges and serve chilled.
-3-193627.webp)
![]()
-
Spread the filling evenly over the set biscuit base and refrigerate for 2 to 3 hours or set till firm.
-
-
You need to use a loose bottomed cake tin so the pie can easily be demoulded before serving.
-1-193628.webp)
![]()
-
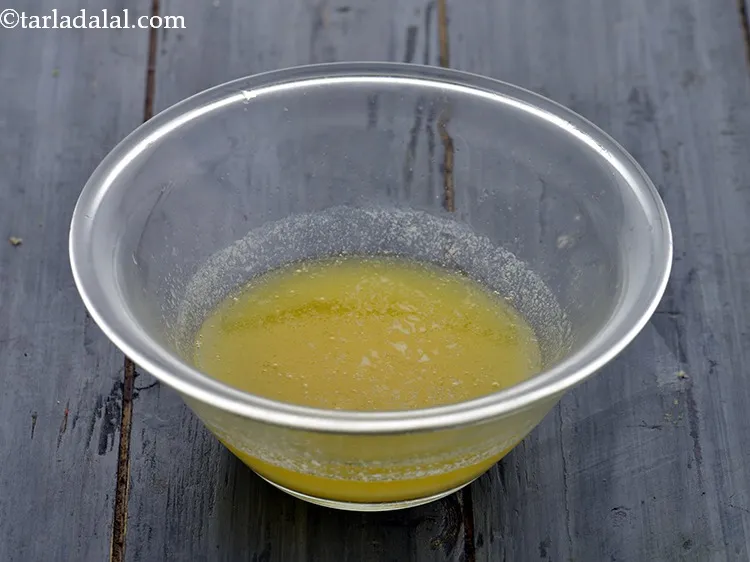
To melt butter, remove it at least half an hour before use. Place it in a microwave safe bowl and microwave it for 10 to 15 seconds.
![]()
-
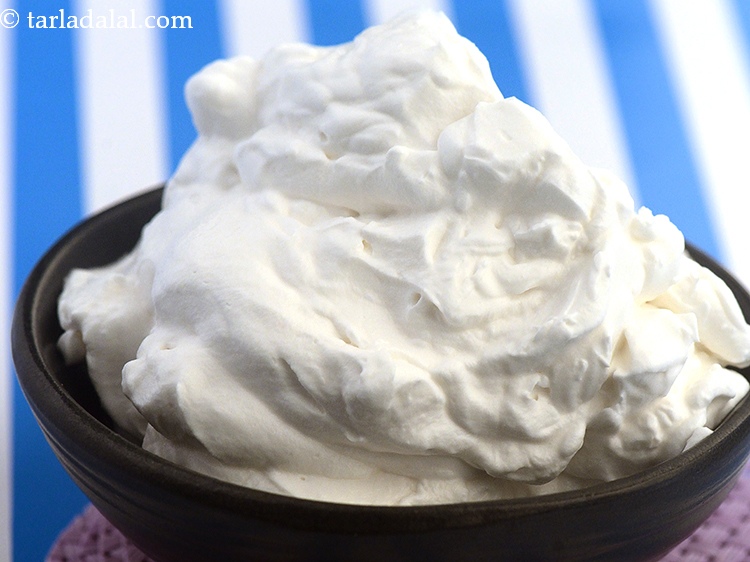
The unbeaten whipped cream should be stored in the deep freezer.
![]()
-
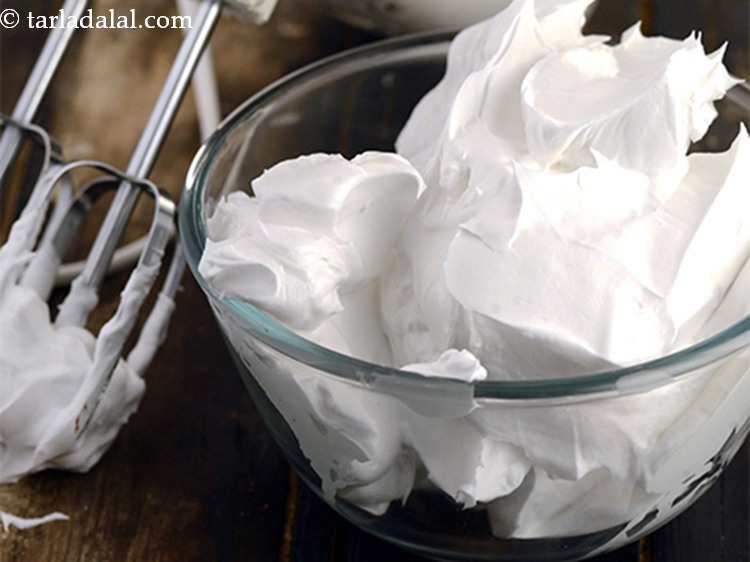
Once beaten, it should be immediately stored in an air tight container in the freezer till use. It stays fresh upto 15 days.
![]()
-
While mixing chocolate, ensure that there are no lumps remaining.
-5-193628.webp)
![]()
-
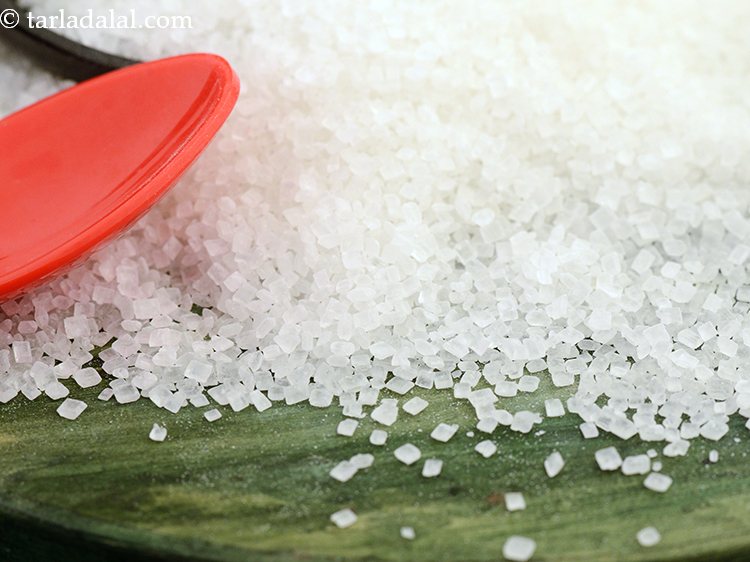
If you don’t have powdered sugar, grind the table sugar in a mixer and sieve it before use.
![]()
-
You need to use a loose bottomed cake tin so the pie can easily be demoulded before serving.
Nutrient values (Abbrv)per plate
| Energy | 562 cal |
| Protein | 7.2 g |
| Carbohydrates | 42.7 g |
| Fiber | 0 g |
| Fat | 48.2 g |
| Cholesterol | 24.2 mg |
| Sodium | 92.9 mg |
Click here to view Calories for Eggless Chocolate Pie, No Bake Indian Pie
The Nutrient info is complete

Chitrangad kharat
Nov. 3, 2020, 2:53 p.m.
wow it was very yummy.

Rashmi Mirchandani
March 27, 2020, 7:09 a.m.
Can i make it in a glass dish instead as I do not have a cheese cske tin

Tarla Dalal
March 27, 2020, 7:09 a.m.
Hi, If you will make it in a glass dish, it will be difficult to demould.

Payal Parikh 86
Feb. 17, 2019, 12:20 p.m.
This Chocolate Pie is sooo easy to make and it is crunchy because of the biscuit base and creamy becasue of cream and chocolate....Perfect to serve for a party !

Pooja Mishra
Sept. 13, 2012, 2 p.m.
aaj mami ne chocolate pai banaya hum sabhi bacho ke bahoot pasad aaya

