You are here: Home> Cuisine > Indian Veg Recipes > Punjabi > Punjabi Breakfast > Moong Dal and Paneer Chilla
moong dal and paneer chilla recipe | moong dal paneer cheela | yellow moong dal cottage cheese pancake |

Tarla Dalal
20 September, 2019
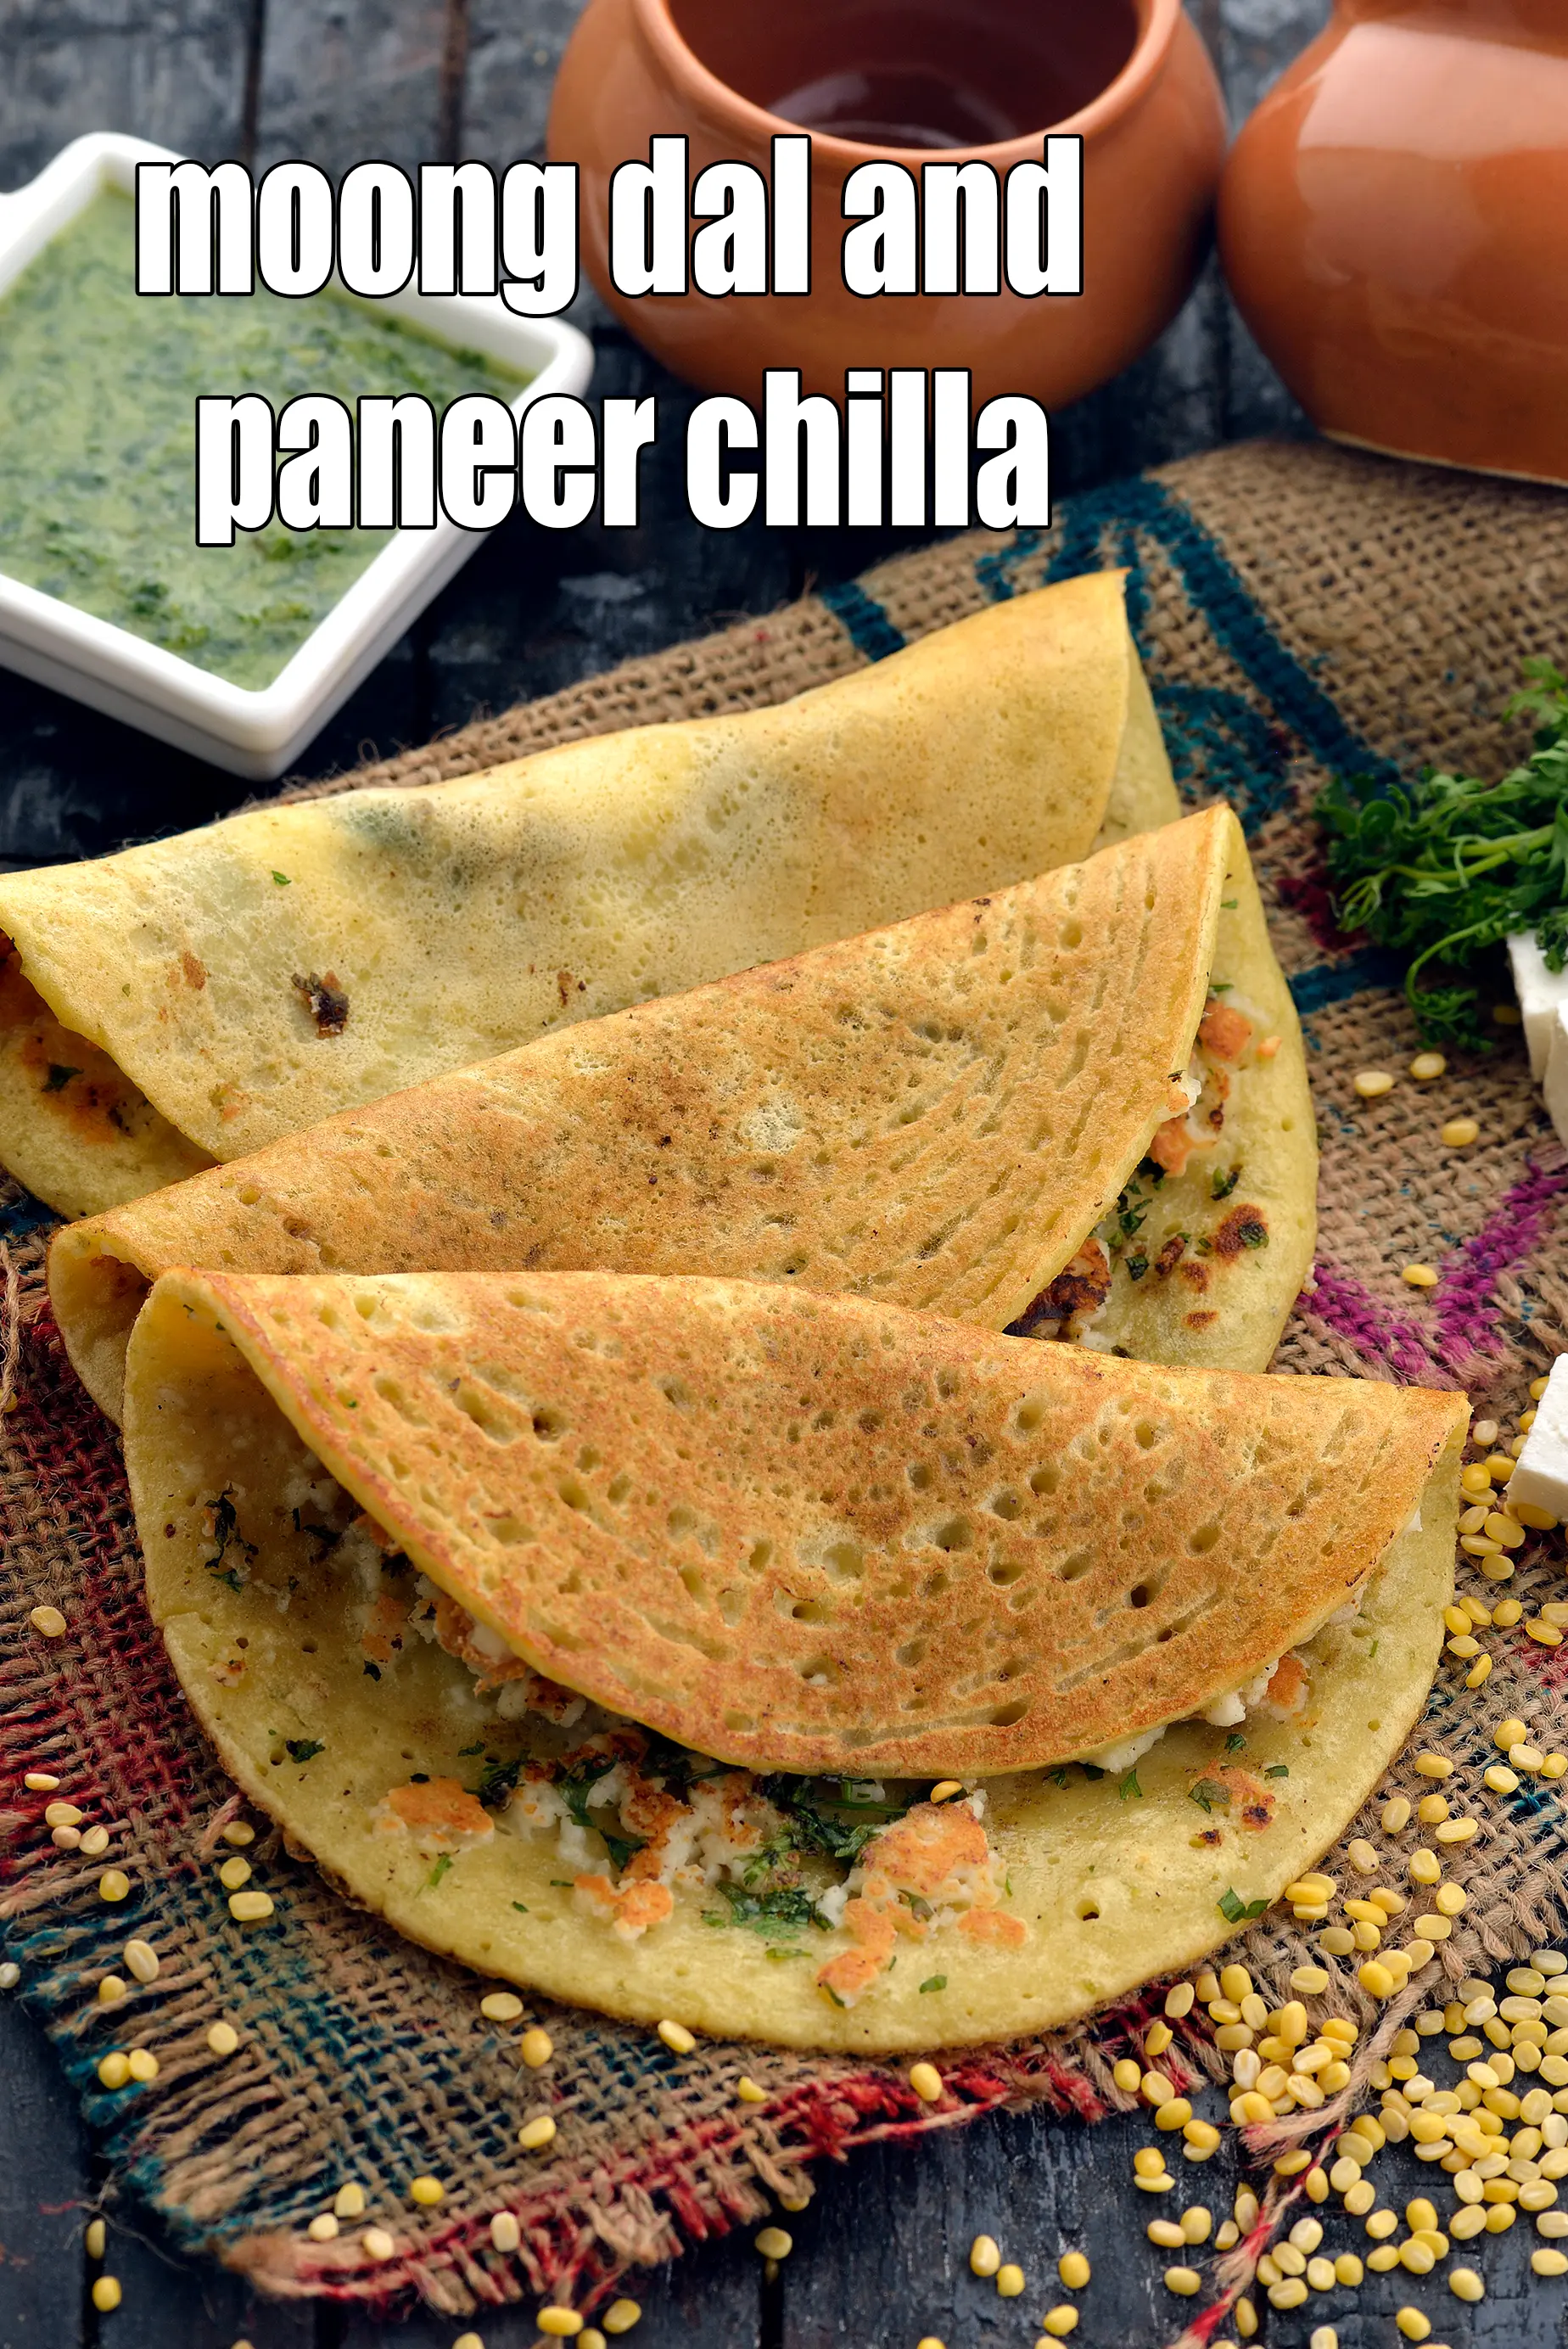
Table of Content
|
About Moong Dal And Paneer Chilla
|
|
Ingredients
|
|
Methods
|
|
Like Moong Dal and Paneer Chilla
|
|
For the batter of moong dal chilla
|
|
How to make moong dal and paneer chilla
|
|
What is a Chilla?
|
|
Nutrient values
|
moong dal and paneer chilla | moong dal paneer cheela | yellow moong dal cottage cheese pancake | with 20 amazing images
moong dal and paneer chilla is made by soaking and blending yellow moong dal with water. Then salt, asafoetida, green chilli paste and besan are added to make a batter. Pour a ladleful of batter on a non stick tava and cook it. Top with some low fat paneer and add any vegetables you wish. Cook and your moong dal paneer cheela is ready.
The moong dal and paneer chilla is also known as yellow moong dal cottage cheese pancake as chilla is an Indian pancake.
This healthy moong dal paneer cheela is good for your heart, helps control acidity and can be enjoyed by diabetics too. The fibre in yellow moong dal prevents the deposition of bad cholesterol (LDL) in the arteries, thereby improving heart health.
It is also packed with nutrients like zinc, protein and iron, which help to maintain the elasticity of your skin and keep it moist. fibre, potassium and magnesium also work together to regular high blood pressure and soothe the nerves.
Stuffing paneer into the moong dal paneer chilla makes them more filling, and also adds to the protein and calcium content. Have a go at this awesome snack, and you will never opt for unhealthy biscuits at tea-time!
moong dal and paneer chilla is ideally perfect for chillas for breakfast or at times we have it as a one meal dinner. Serve moong dal paneer cheela with green chutney.
Enjoy how to make moong dal and paneer chilla | moong dal paneer cheela | yellow moong dal cottage cheese pancake with detailed step by step photos and video
Moong Dal and Paneer Chilla recipe - How to make Moong Dal and Paneer Chilla
Tags
Soaking Time
0
Preparation Time
5 Mins
Cooking Time
5 Mins
Baking Time
0 Mins
Baking Temperature
0
Sprouting Time
0
Total Time
10 Mins
Makes
4 chillas
Ingredients
For Making Moong Dal and Paneer Chilla
1/2 cup yellow moong dal (split yellow gram) , soaked for 3 to 4 hours
salt to taste
a pinch of asafoetida (hing)
2 pinches of sugar
1 tsp green chilli paste
1 tbsp besan (Bengal gram flour)
10 tbsp crumbled low fat paneer (cottage cheese)
5 tbsp finely chopped coriander (dhania)
3 tsp peanut oil for greasing and cooking
Method
For making moong dal and paneer chilla
- To make moong dal and paneer chilla, combine the moong dal along with little water and blend in a mixer till smooth.
- Transfer it to a bowl, add the salt, asafoetida, sugar and green chilli paste and mix well.
- Heat ¼ tsp of oil in a non-stick tava (griddle) and pour a ladleful of the batter and spread it evenly to make a thin round of approx. 125 mm. (5”).
- Sprinkle 2 tbsp low-fat paneer, 1 tbsp coriander and ¼ tsp chaat masala and cook on a medium flame using ½ tsp of oil till they turn golden brown in colour from both the sides.
- Repeat with the remaining ingredients to make 3 more moong dal and paneer chilla.
- Serve the moong dal and paneer chilla immediately.
moong dal and paneer chilla | moong dal paneer cheela | yellow moong dal cottage cheese pancake Video by Tarla Dalal
Moong Dal and Paneer Chilla recipe with step by step photos
-
- Like moong dal and paneer chilla | moong dal paneer cheela | yellow moong dal cottage cheese pancake then check some other healthy chilla recipes.
-
-
For preparing the moong dal chila, pick and clean the yellow moong dal. You can also use green moong dal or a combination of both. Also, you can add some urad dal to increase the nutrient content.
-1-187090.webp)
![]()
-
Wash and transfer the moong dal to a deep bowl.
-2-187090.webp)
![]()
-
Pour enough water to submerge the dal & keep it aside to soak for 3 to 4 hours.
-3-187090.webp)
![]()
-
After 4 hours, drain the dal.
-4-187090.webp)
![]()
-
Transfer to a mixer jar.
-5-187090.webp)
![]()
-
For preparing the moong dal chilla, pick and clean the yellow moong dal. You can also use green moong dal or a combination of both. Also, you can add some urad dal to increase the nutrient content.
-6-187090.webp)
![]()
-
Transfer it to a bowl. Add the salt.
-8-187090.webp)
![]()
-
Add asafoetida. This aids in digestion.
-9-187090.webp)
![]()
-
Add sugar. You can skip adding it if you dislike.
-10-187090.webp)
![]()
-
Furthermore, add green chilli paste. Add more or less to suit your palate. If making cheelas for kids, then skip adding green chilies if they don't prefer eating spicy food.
-11-187090.webp)
![]()
-
Add the besan.
-12-187090.webp)
![]()
-
Mix well using a whisk and our moong dal chilla batter is ready!
-13-187090.webp)
![]()
-
For preparing the moong dal chila, pick and clean the yellow moong dal. You can also use green moong dal or a combination of both. Also, you can add some urad dal to increase the nutrient content.
-
-
To prepare the moong dal cheela recipe stuffed with paneer, heat ¼ tsp of oil in a non-stick tava (griddle).
-1-187091.webp)
![]()
-
Pour a ladleful of batter.
-2-187091.webp)
![]()
-
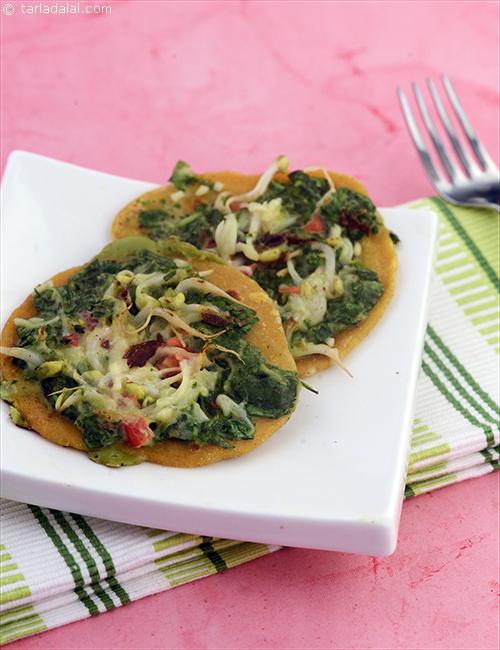
Spread it evenly to make a thin round of approx. 125 mm. (5”). You can keep the size of chila small or big as per your desire.
-3-187091.webp)
![]()
-
Sprinkle 2 tbsp low-fat paneer. Alternatively, you can mix together paneer with vegetables and spices & make a wholesome stuffing & then make stuffed chilas.
-4-187091.webp)
![]()
-
Sprinkle 1 tbsp coriander and ¼ tsp chaat masala.
-5-187091.webp)
![]()
-
Cook on a medium flame using ½ tsp of oil till they turn golden brown in colour from both sides.
-6-187091.webp)
![]()
-
Remove the moong dal chilla stuffed with paneer on a plate. Repeat with the remaining ingredients to make 3 more paneer moong dal chillas.
-7-187091.webp)
![]()
-
Serve the moong dal and paneer chilla, moong dal paneer cheela immediately.
-8-187091.webp)
![]()
-
To prepare the moong dal cheela recipe stuffed with paneer, heat ¼ tsp of oil in a non-stick tava (griddle).
-
-
What is a chilla? Chilla is India’s answer to pancakes. While South India is famous for its innumerable types of dosa, West and North India go with chilla! There are different types of chilla – made with ground pulses, a mix of dry flours, fermented batters as well as quick-fix ones.
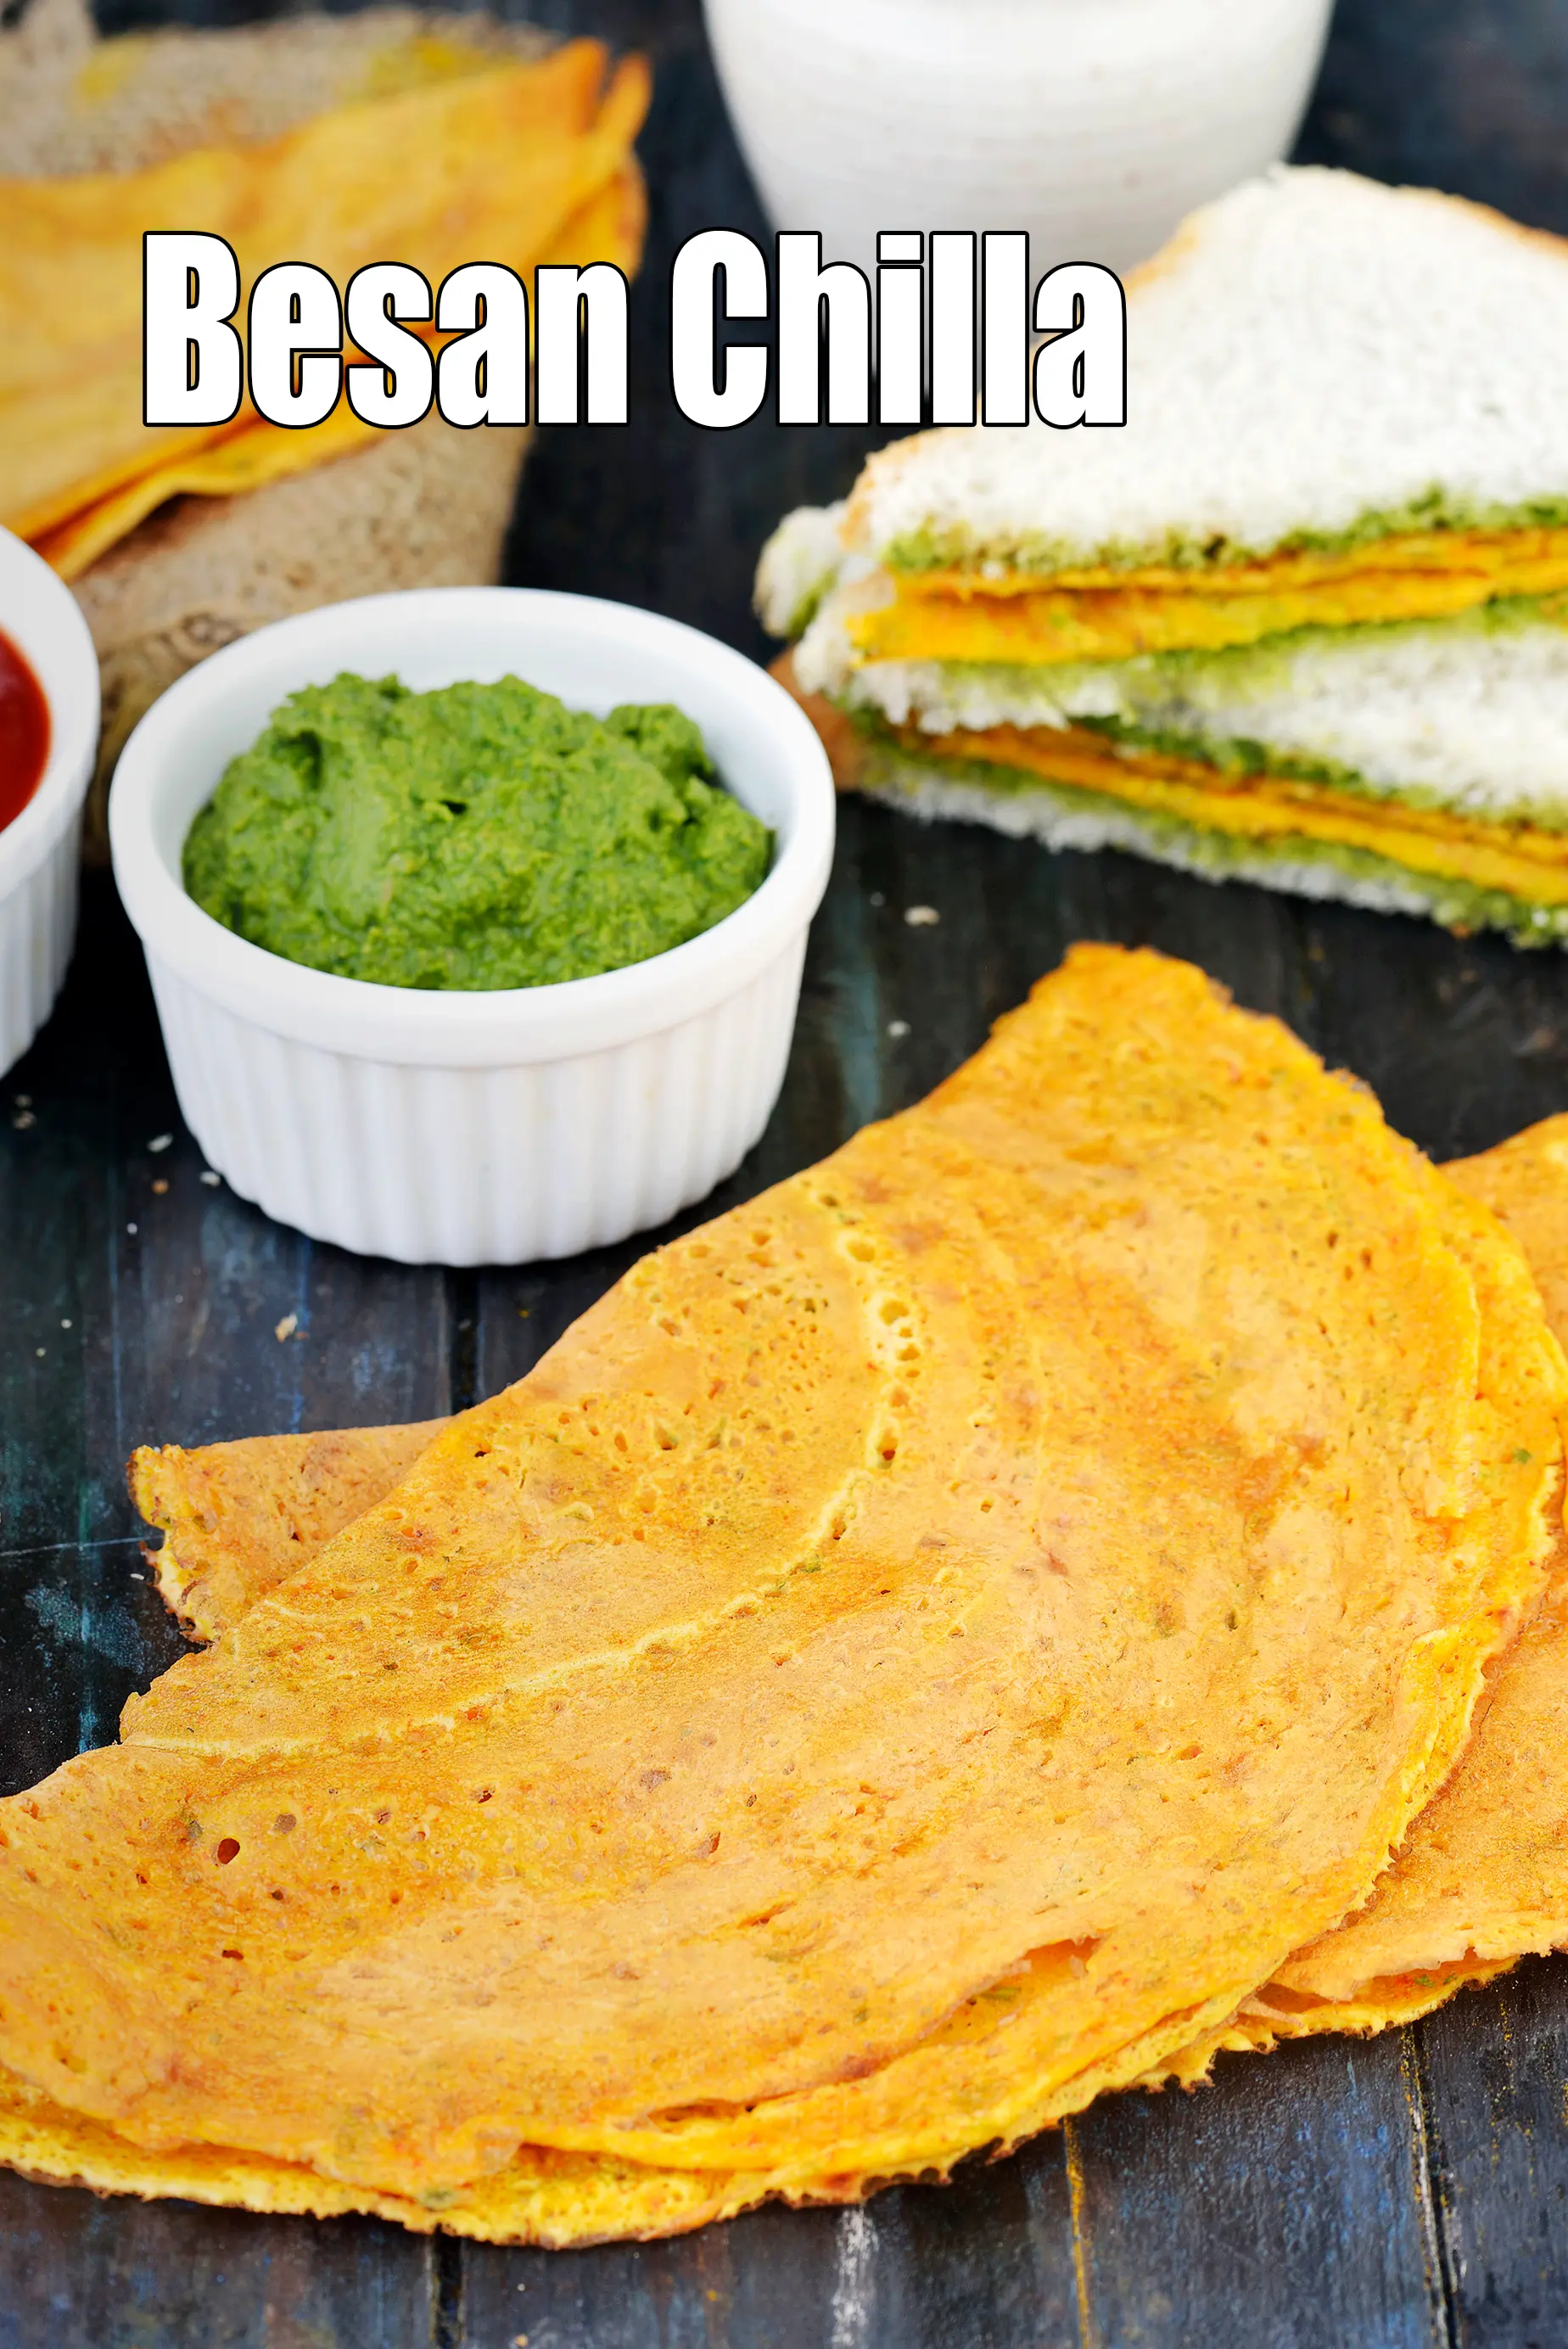
The most common type of chilla is made with besan. Quickly mix besan with a dash of spices, allow it to stand for a few minutes and you are all ready to make a healthy breakfast of hot chillas. You can fortify the Besan Chilla batter with just about anything that is within reach and healthy – grated veggies, crumbled paneer, chopped greens, or whatever!
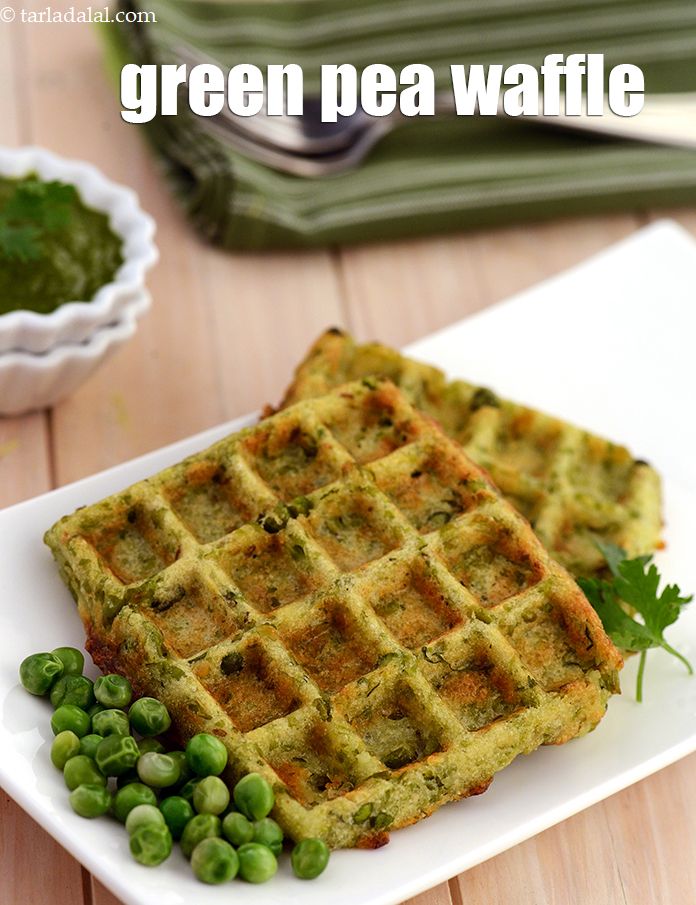
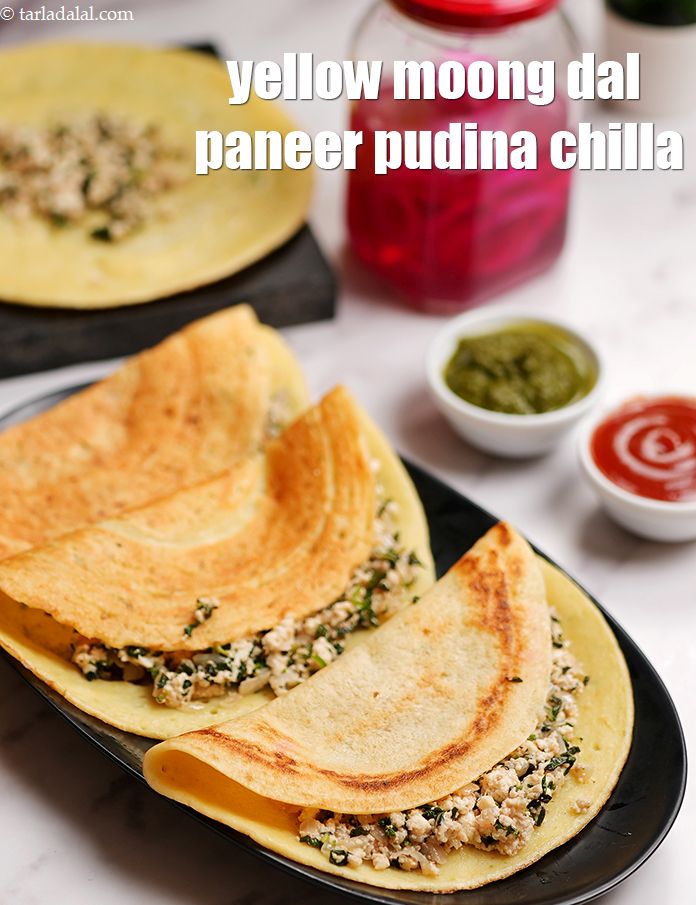
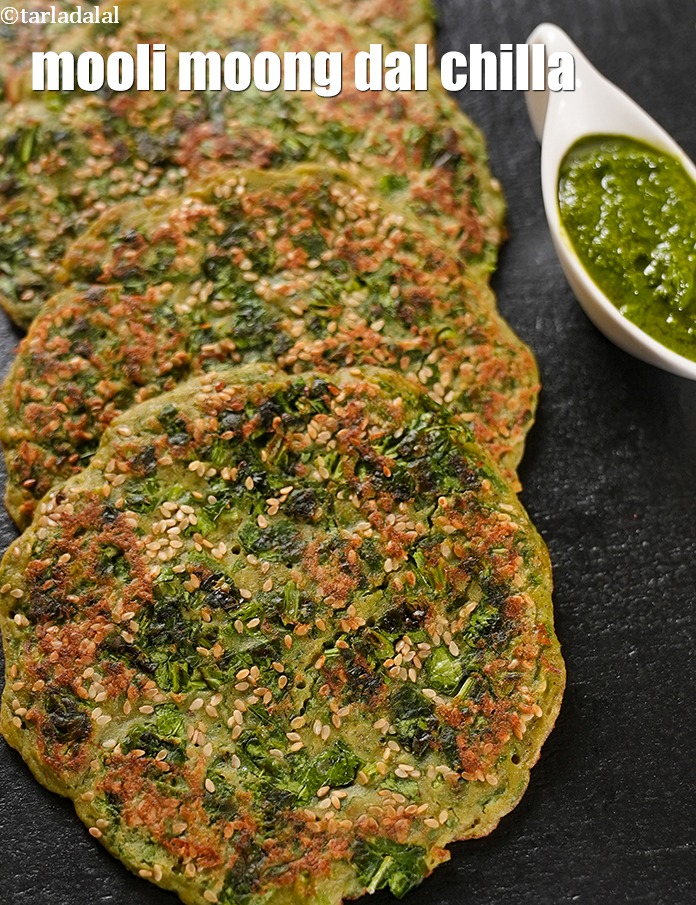
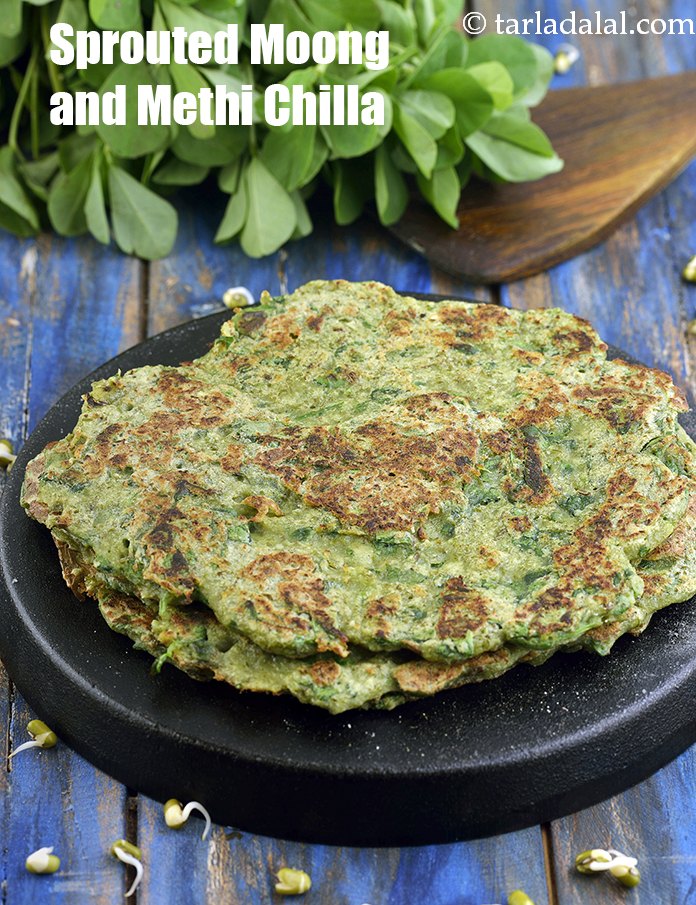
The next most common option after Besan Chilla is the Moong Dal Chilla. Here, you soak and grind moong dal with green chillies, jeera etc. to make the batter for a comforting and healthy chilla. The Moong Dal Chilla is believed to be more nutritious yet easier to digest. You can add grated veggies and greens to the batter, or even make a mixed veg or paneer stuffing for the chilla! Try the Stuffed Moong Dal Chilla and Moong Dal and Paneer Phudina Chilla.
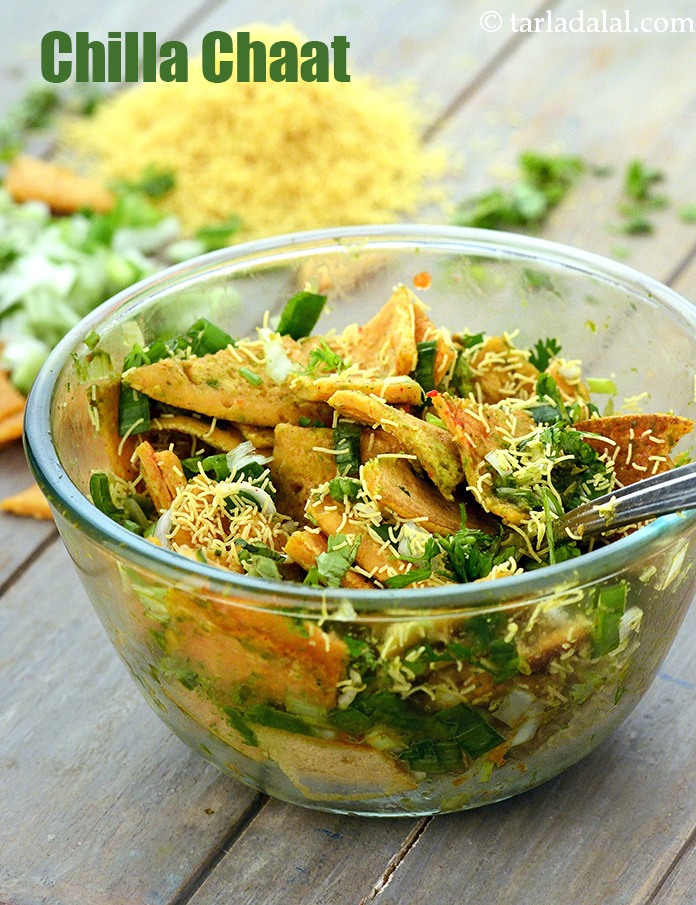
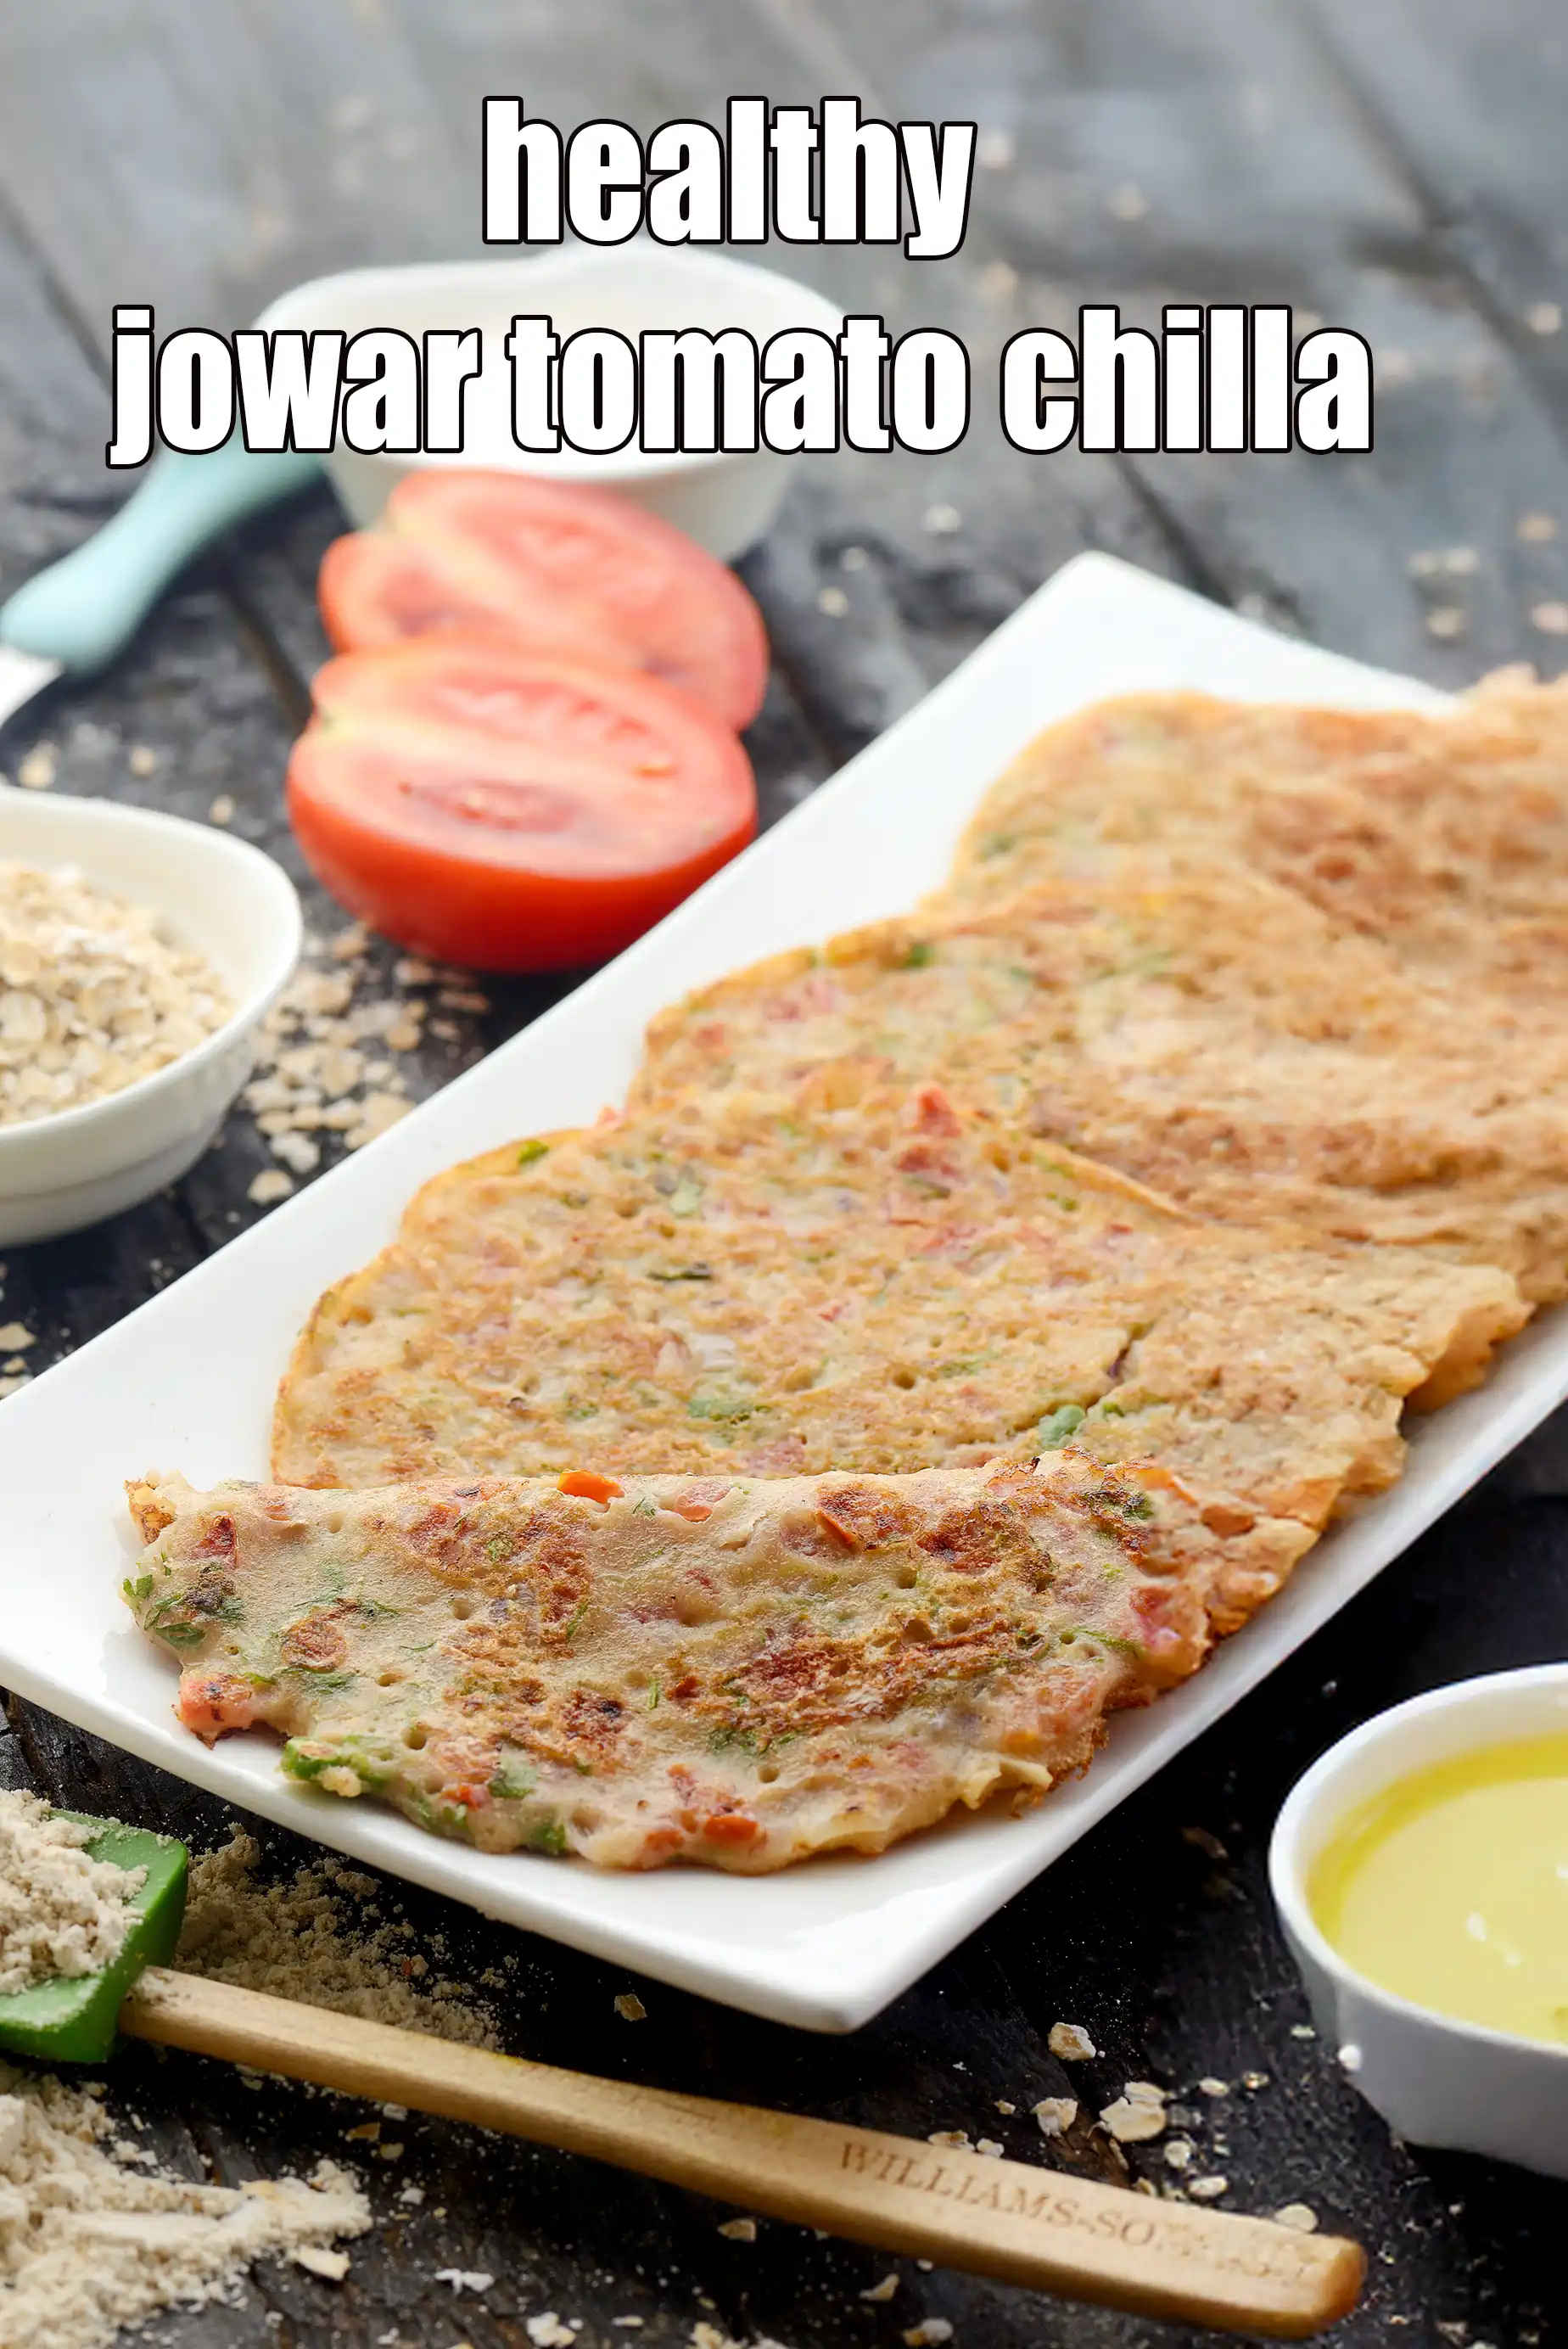
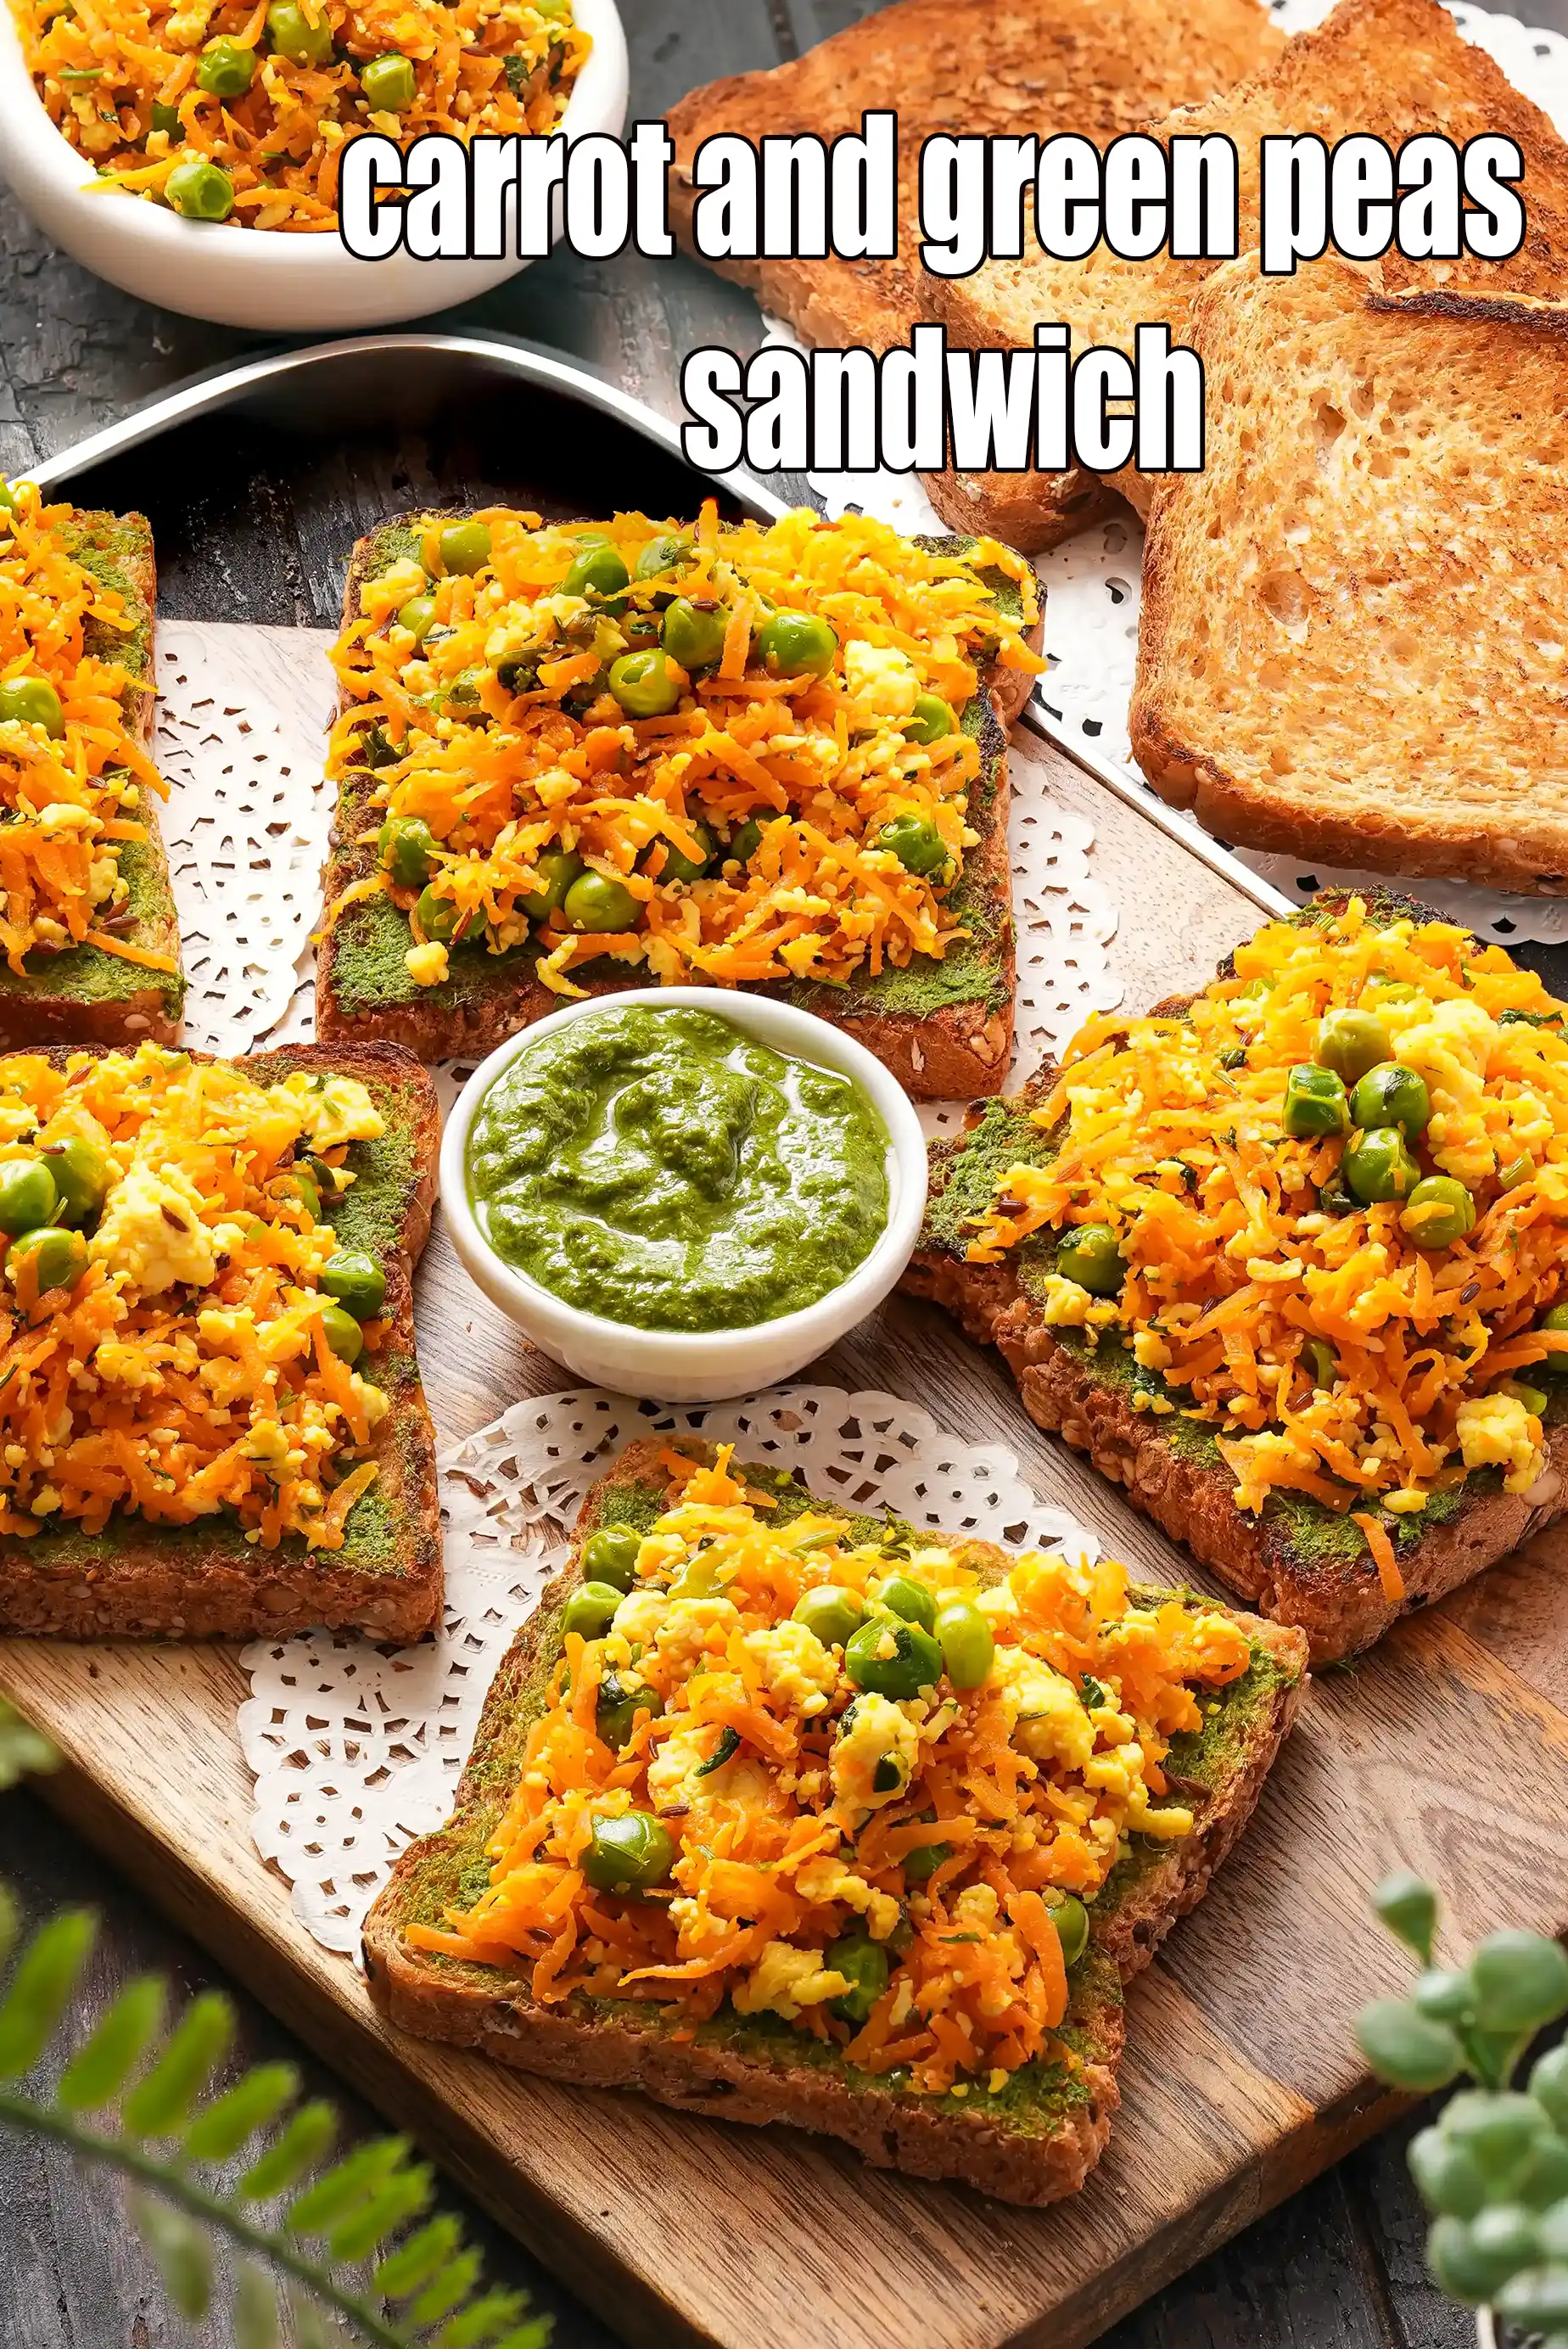
Similarly, you can make chillas with other pulses and flours too, such as the Nutritious Jowar and Tomato Chilla or the High Fibre Chilla that help to keep up your health quotient.
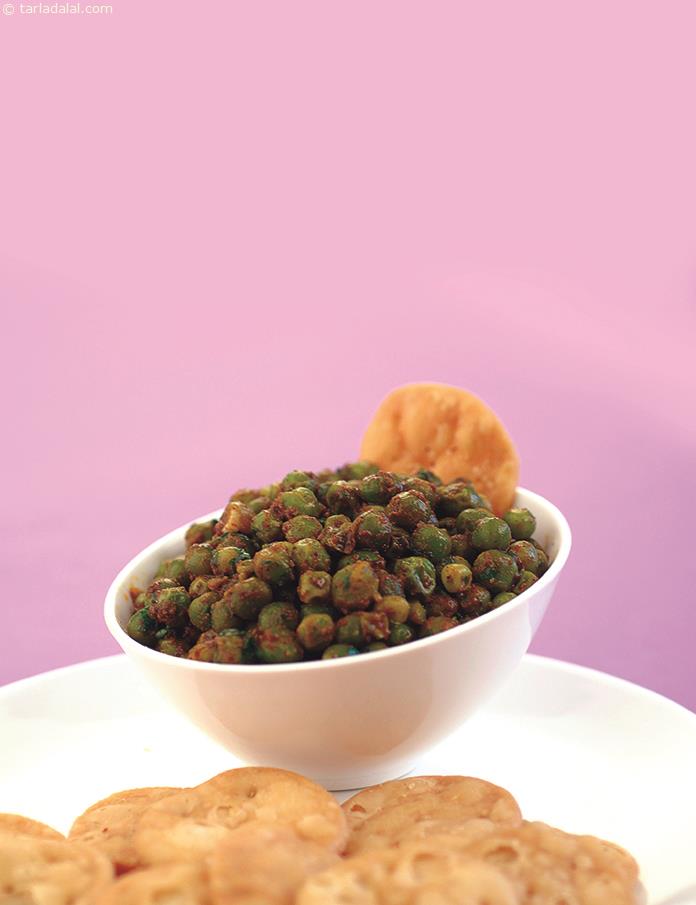
When you are in a real dash, go for options like the Besan and Green Pea Chilla that can be cooked in a jiffy in the microwave, and when you want to swing your kids in favour of the Indian pancake, go for something interesting like the Mini Green Moong Dal Chilla. Name your need, and there is a chilla to fill the gap! You can even mix-and-match the ingredients available at home and come up with your own exciting combos – right from the batter to the stuffing.
Serve your chillas with Mint Chutney, Coriander Chutney or Tomato Chutney. If you are in a hurry, just ketchup would do. Grated jaggery and soft butter are also very homely and comforting accompaniments to the chilla.
-
What is a chilla? Chilla is India’s answer to pancakes. While South India is famous for its innumerable types of dosa, West and North India go with chilla! There are different types of chilla – made with ground pulses, a mix of dry flours, fermented batters as well as quick-fix ones.
Nutrient values (Abbrv)per plate
| Energy | 194 cal |
| Protein | 12.8 g |
| Carbohydrates | 25.7 g |
| Fiber | 2.8 g |
| Fat | 4.4 g |
| Cholesterol | 0 mg |
| Sodium | 94.2 mg |
Click here to view Calories for Moong Dal and Paneer Chilla
The Nutrient info is complete

n_katira
Aug. 14, 2021, 11:57 a.m.
Quick, healthy and jhatpat is what describes this protein and calcium rich snack
pinky jotwani
May 12, 2020, 9:29 a.m.
I tried it.it was very good in taste
Tarla Dalal
May 12, 2020, 9:29 a.m.
Hi Pinky , we are delighted you loved the Moong Dal and Paneer Chila recipe. Please keep posting your thoughts and feedback and review recipes you have loved. Happy Cooking.
arati
April 22, 2020, 2:22 p.m.
5 stars for taste and 5 for simplicity in preparation wonderful thank you so much !
Foodie #570756
Nov. 19, 2019, 10:14 p.m.
karuna patak
Nov. 16, 2016, 12:42 p.m.
???? ?????? ??? ???? ????? ?? ??? ???? ???? ?? ?? ???? ?? ???? ?????? ????? ?? ?? ??????? ?? ????????? ?????? ???? ???? ??
Swati jain
Aug. 25, 2016, 3:56 p.m.
I tried it.it was very healthy yummi tasty and easy dish .mam i am your fan
Tarla Dalal
Aug. 25, 2016, 3:56 p.m.
Hi Swati , we are delighted you loved the Moong Dal and Paneer Chila recipe. Please keep posting your thoughts and feedback and review recipes you have loved. Happy Cooking.
Pallavi Singh
March 11, 2016, 3:20 p.m.
When to use besan listed in the igrediants?
Tarla Dalal
March 11, 2016, 3:20 p.m.
Pallavi, we have updated the recipe. Look at step 11 image.
renu
Feb. 20, 2016, 10:46 a.m.
saloni.vj
Oct. 14, 2014, 5:29 p.m.
Very yummy and healthy.
alka
Aug. 14, 2014, 12:32 p.m.
recipe seems good. but the attached video is of Rasgulla. pl. put the correct video. thanks
Tarla Dalal
Aug. 14, 2014, 12:32 p.m.
Alka, there seems to be a bug in the app but on the website the correct video of moong dal paneer chilla is showing. Thanks for the feedback.
Foodie #669139
March 28, 2014, 3:36 p.m.
pinky teli
Dec. 3, 2010, 2:06 p.m.
It was really so nice n easy recipe... N for jain people its really nice... Thanks
Tarla Dalal
Dec. 3, 2010, 2:06 p.m.
Hi Pinky , we are delighted you loved the Moong Dal and Paneer Chila recipe. Please keep posting your thoughts and feedback and review recipes you have loved. Happy Cooking.